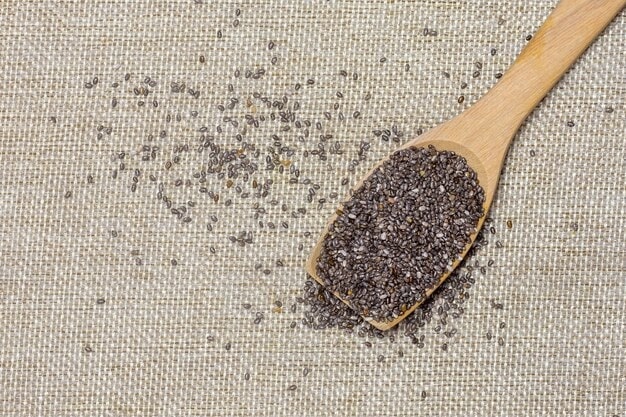
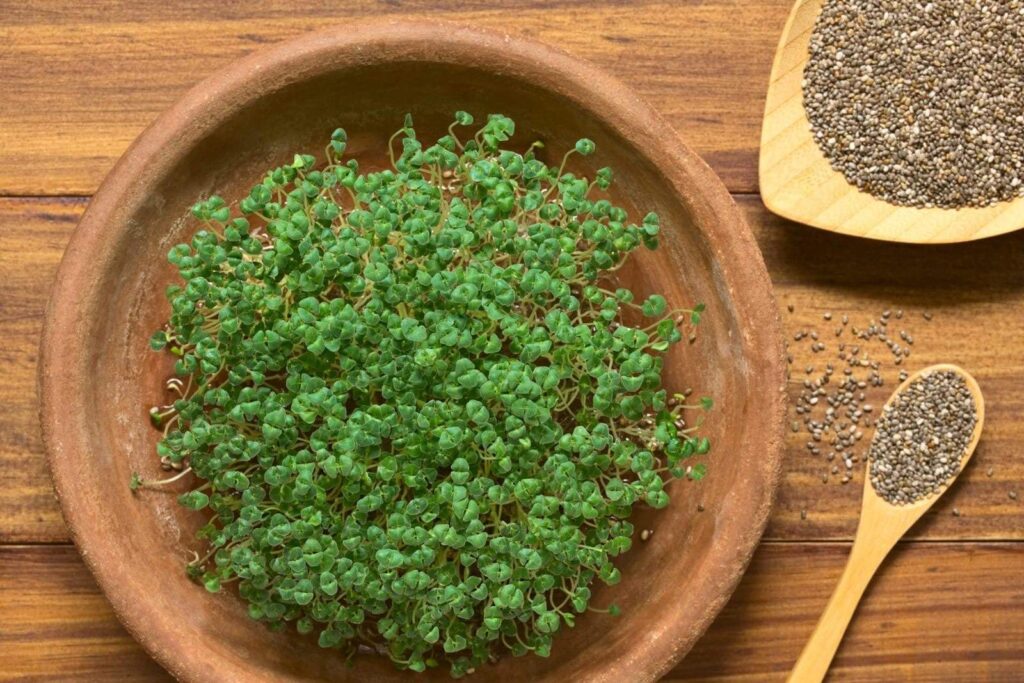
A while back, I had a vegan pal swing by for a visit. Keen on keeping her happy, I whipped up salads, sandwiches, and smoothies featuring chia seed sprouts — I had a heap of those at the time.
And boy, was she thrilled!
Fast forward a bit, and my frugal (and still vegan) friend shoots me an email, wanting to know the ins and outs of sprouting chia seeds solo.
Being the good buddy I am, I laid out several DIY methods for her how to sprout chia seeds with whatever she had lying around.
But then it hit me: not everyone’s a chia seed sprouting pro, and not everyone knows there’s more than one way to go about it!
So, if you’re feeling a bit lost in the green jungle of chia sprouting, relax — this guide’s just for you!
Paper Towel Method
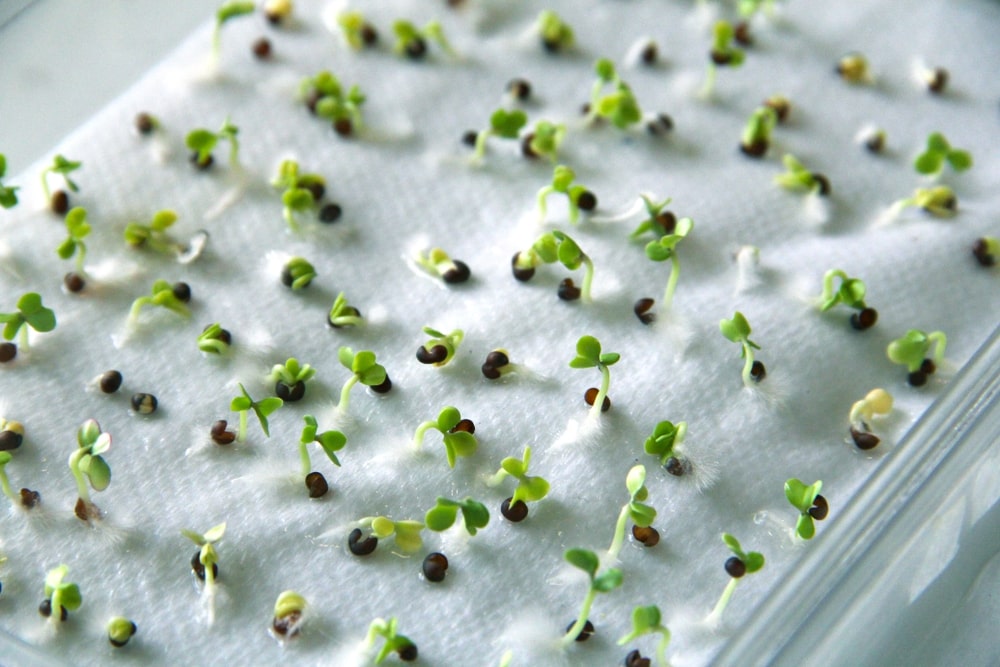
The paper towel method keeps things simple: just like a chia seed’s dream, it’s all about staying moist. By sandwiching those tiny seeds between damp paper towels, you’re creating a cozy little environment where they can sprout and grow into green wonders!
Materials:
- Chia seeds
- Paper towels
- Water spray bottle
How to Grow Chia Seeds in Paper Towels
- Take two sheets of paper towel and dampen them with water.
- Lay one damp paper towel flat on a plate or tray.
- Spread a layer of chia seeds evenly on top of the paper towel.
- Gently cover the seeds with the second damp paper towel.
- Keep the paper towels moist by lightly spraying them with water every day.
Pro Tip
Keep the paper towels moist, but not waterlogged, for optimal sprouting success.
Cotton Ball Method

Just like a cozy blanket on a cold night, cotton balls provide the perfect amount of moisture for sprouting without drowning your seeds. It’s like a spa day for your seeds, but instead of cucumber slices, they get cotton balls!
Materials:
- Chia seeds
- Cotton balls
- Water spray bottle
How to Grow Chia Seeds in Cotton Balls
- Take a few cotton balls and moisten them with water.
- Spread the damp cotton balls out on a plate or tray.
- Sprinkle a layer of chia seeds evenly on top of the cotton balls.
- Keep the cotton balls moist by lightly spraying them with water every day.
Pro Tip
Make sure the cotton balls stay moist but not drenched. Give them just enough water to keep them happy and watch them sprout!
Covered Tray Method
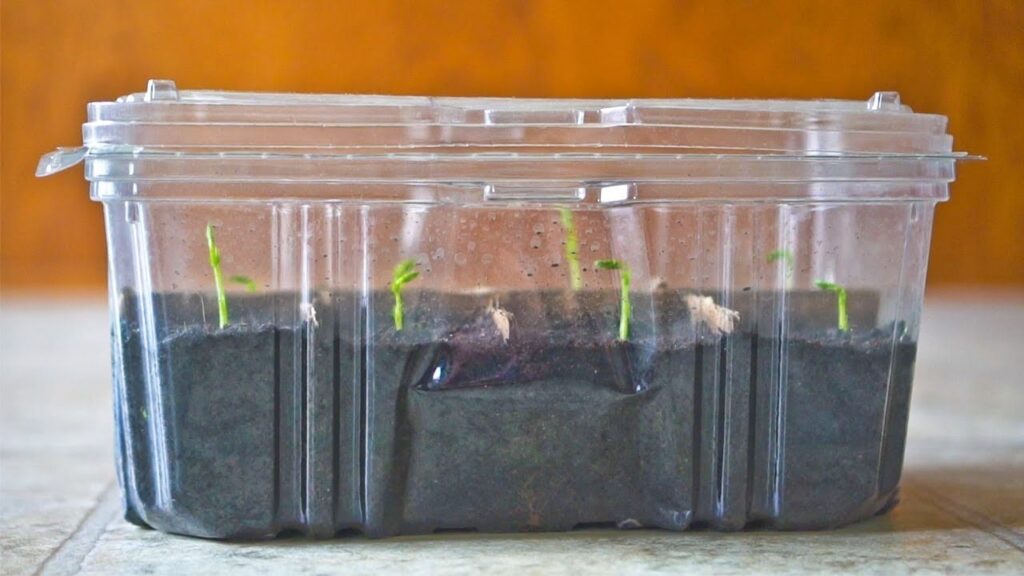
The covered tray method is all about creating a cozy, humid environment for your chia seeds to sprout.
By covering the seeds with a lid or plastic wrap, you trap moisture — creating the perfect conditions for sprouting without the need for fancy equipment!
Materials:
- Chia seeds
- Plate or tray
- Lid or plastic wrap
How to Grow Chia Seeds in Covered Trays
- Spread a layer of chia seeds evenly on a plate or tray.
- Sprinkle a few drops of water over the seeds, just enough to moisten them.
- Cover the plate or tray with a lid or plastic wrap to trap moisture.
- Check on your seeds daily and add a few more drops of water if the environment starts to dry out.
Pro Tip
Make sure to remove the lid or plastic wrap once the seeds start sprouting to allow for proper air circulation. While they love a humid environment, they also need some fresh air.
Plastic Bag Method
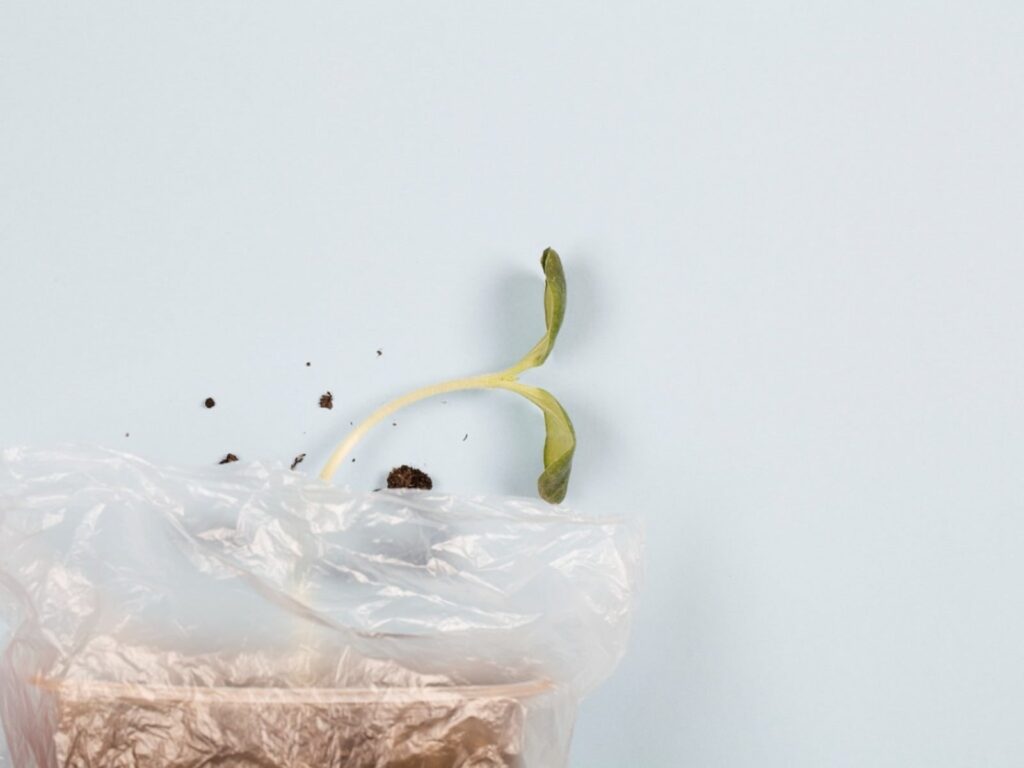
The plastic bag method is a simple yet effective way to create a humid environment perfect for sprouting, without using anything else. Just like a cozy cocoon, the plastic bag traps moisture, providing the ideal conditions for your seeds to sprout and grow.
Materials:
- Chia seeds
- Damp paper towel
- Plastic bag
How to Grow Chia Seeds in Plastic Bags
- Take a damp paper towel and lay it flat on a surface.
- Spread a layer of chia seeds evenly on top of the damp paper towel.
- Gently fold the paper towel over the seeds to cover them completely.
- Place the paper towel with the seeds inside a plastic bag.
- Seal the plastic bag tightly to trap moisture.
- Check on your seeds regularly and re-moisten the paper towel if it starts to dry out.
Pro Tip
Make sure to open the plastic bag occasionally to allow for proper air circulation!
Linen or Nylon Method
The nylon or linen cloth method is one of the most simple and effective ways to provide moisture while ensuring good drainage and air circulation.
Using a breathable cloth like linen or nylon, you create the perfect environment for your seeds to sprout without getting waterlogged. It’s like giving your seeds a breathable hug!
Materials:
- Chia seeds
- Nylon or linen cloth
- Water spray bottle
How to Grow Chia Seeds in Linen or Nylon
- Cut a piece of nylon or linen cloth to your preferred size.
- Dampen the cloth with water.
- Spread a layer of chia seeds evenly on top of the damp cloth.
- Gently fold the cloth over the seeds to cover them completely.
- Place the cloth with the seeds in a shallow tray or container.
- Keep the cloth moist by lightly spraying it with water every day.
- Check on your seeds regularly and ensure they have proper drainage and air circulation.
Pro Tip
Make sure the cloth stays moist but not waterlogged, and provide adequate drainage to prevent mold and rot.
Large-Mouthed Jar Method
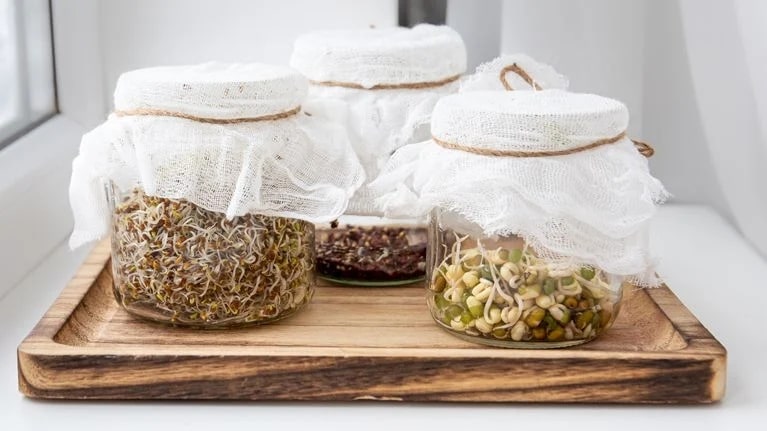
The large-mouthed jar method is like giving your chia seeds their own little greenhouse to thrive in. By using a wide open-mouthed jar covered with breathable fabric, you create the perfect environment for sprouting!
Materials:
- Chia seeds
- Large-mouthed jar
- Breathable fabric (cheesecloth, mesh fabric)
- Rubber band
How to Grow Chia Seeds in a Large-Mouthed Jar
- Place a layer of chia seeds at the bottom of the large-mouthed jar.
- Cover the mouth of the jar with breathable fabric, such as cheesecloth or mesh fabric.
- Secure the fabric in place with a rubber band, ensuring it’s tight enough to keep pests out but loose enough to allow for air circulation.
- Place the jar in a bright area with indirect sunlight.
- Check on your seeds regularly and add water if the fabric starts to dry out.
Pro Tip
Your seeds also need proper ventilation to thrive so make sure the fabric covering the jar allows for adequate air circulation to prevent mold and mildew!
Biodegradable Pot Method
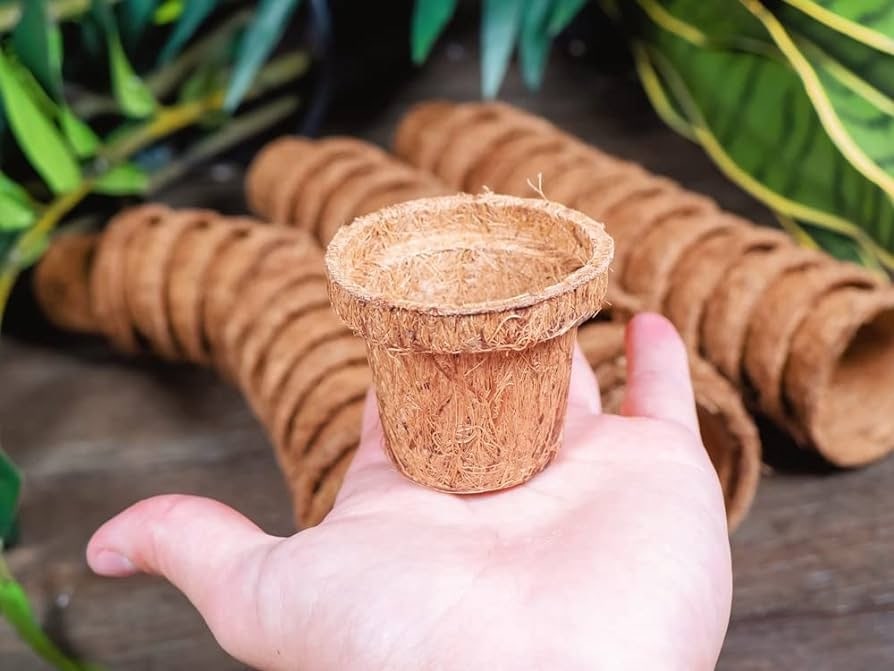
By using biodegradable pots made from materials like peat, coconut coir, or cardboard, you provide a nurturing environment for your seeds without harming the environment.
It’s like giving your seeds a sustainable start to life to help them thrive and flourish guilt-free!
Materials:
- Chia seeds
- Small biodegradable pots
- Potting soil or seed starting mix
- Water spray bottle
How to Grow Chia Seeds in Biodegradable Pots
- Fill each biodegradable pot with potting soil or seed starting mix, leaving a small indentation in the center.
- Place a few chia seeds in the indentation of each pot. Don’t overcrowd them — give each seed some space to grow and spread its roots.
- Lightly cover the seeds with a thin layer of soil and gently pat it down to ensure good contact with the seeds.
- Place the pots in a bright area with indirect sunlight.
- Water the pots gently using a spray bottle, ensuring the soil is evenly moist but not waterlogged.
- Check on your pots regularly and water them as needed to keep the soil moist.
Pro Tip
Give your seeds a head start by pre-soaking them overnight before planting. This can help speed up the germination process and give your seeds a boost of energy to kickstart their growth!
Common Challenges in Chia Sprouting [With Solutions]
Mold or Mildew Growth
Excessive moisture or poor air circulation can lead to mold or mildew growth on the sprouts.
You can keep things breezy by ensuring your sprouting setup has good airflow. Don’t drown your seeds — give them a sip, not a soak.
And if mold dares to rear its fuzzy head, show it the compost bin pronto!
Seed Spoilage
Using old or contaminated seeds can lead to seed spoilage and poor germination rates.
To prevent seed spoilage, stick with fresh, top-notch seeds from a trusted source. Give them a thorough rinse to wash away any dirt or dubious debris.
Uneven Sprouting
Uneven sprouting can occur due to inconsistent moisture levels, inadequate seed coverage, or improper temperature conditions.
You can treat each seed like a VIP guest at a garden party and give them all the same amount of water and space to strut their stuff. Keep the party vibe going with consistent temperatures and watch those sprouts pop up like the life of the party!
Seed Rot
Seed rot can occur when seeds are exposed to excessive moisture or stagnant water.
Just give your seeds enough water to keep them happy, not waterlogged. Keep things dry between watering sessions to avoid soggy bottoms!
Pest Infestation
Pests such as fungus gnats or aphids may be attracted to the moist environment of sprouting trays or pots.
Keep your sprouting area squeaky clean to discourage uninvited guests. Set up some sticky traps to catch those pesky party crashers.
And if things get out of hand, whip out the insecticidal soap and send them packing — this is a sprouting party, not a pest buffet!
Harvesting and Storing Chia Sprouts
Harvesting Chia Sprouts
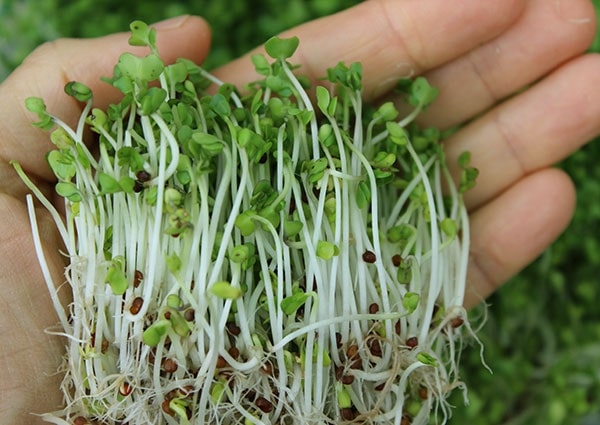
It’s all about timing when it comes to harvesting chia sprouts. The sprouts are typically ready to harvest within 7 to 10 days after planting.
They should have reached a height of 1 to 2 inches and developed a lush, green color.
How to Harvest Chia Sprouts
Use clean scissors to snip off the sprouts just above the soil level. Alternatively, you can gently pull them out by grasping the base of the sprout near the soil line and pulling upward with a twisting motion.
Chia sprouts can be harvested multiple times from the same batch of seeds. After the initial harvest, allow the remaining seeds to continue growing, and repeat the harvesting process as needed.
Storing Chia Sprouts
Chia sprouts are best enjoyed fresh, so try to use them within a few days of harvesting for optimal flavor and texture. But if you have more than enough to eat, then you can store them.
Before storing chia sprouts, rinse them under cold water to remove any dirt or debris. Allow them to dry thoroughly by spreading them out on a clean kitchen towel or paper towel.
Refrigeration
For short-term storage, place the dry chia sprouts in a breathable container or perforated plastic bag and store them in the refrigerator. They can last for up to a week when stored this way.
Freezing
If you want to store chia sprouts for longer periods, consider freezing them. Spread the dry sprouts in a single layer on a baking sheet and freeze them until they’re firm.
Then, transfer them to a freezer-safe bag or container and store them in the freezer for up to three months.
Pro Tip
To prevent mold or spoilage, make sure the chia sprouts are completely dry before storing them. Excess moisture can cause them to spoil quickly!