We used to be all about that matchy-matchy life, especially with our plant pots and saucers. We didn’t want soggy floors (and tables and shelves), but we also didn’t want our pots looking like a hot mess either!
Following that design rule quickly turned into a comedy of errors and a mountain of mismatched stuff lurking in every nook and cranny.
So, we said, “Enough!” and jumped on the recycling and upcycling bandwagon. And guess what — it was a total game-changer!
Our plants were still happy, our floors stayed drier, and our bank accounts stopped screaming for mercy every time we went shopping. Best decision ever!
If you’ve ever thought about DIY-ing your own plant saucers, or even just entertained the idea, then this article is right up your gardening alley!
1. Broken Wall Clock

Ever glanced at a broken wall clock and thought, “What a waste of space”? Well, think again! This forsaken timepiece is about to undergo a glorious transformation into a plant saucer.
Simply remove the glass and clock hands, seal off the pesky hole, and voilà! You’ve got yourself a chic and functional saucer fit for any botanical masterpiece.
Not only are you saving the planet from more landfill fodder, but you’re also giving that clock a new lease on life — albeit in a more grounded role.
Pros
- Unique and creative
- Repurposes old items
Cons
- Limited availability of broken clocks
- Fragile compared to other materials
2. Empty Alcohol Containers
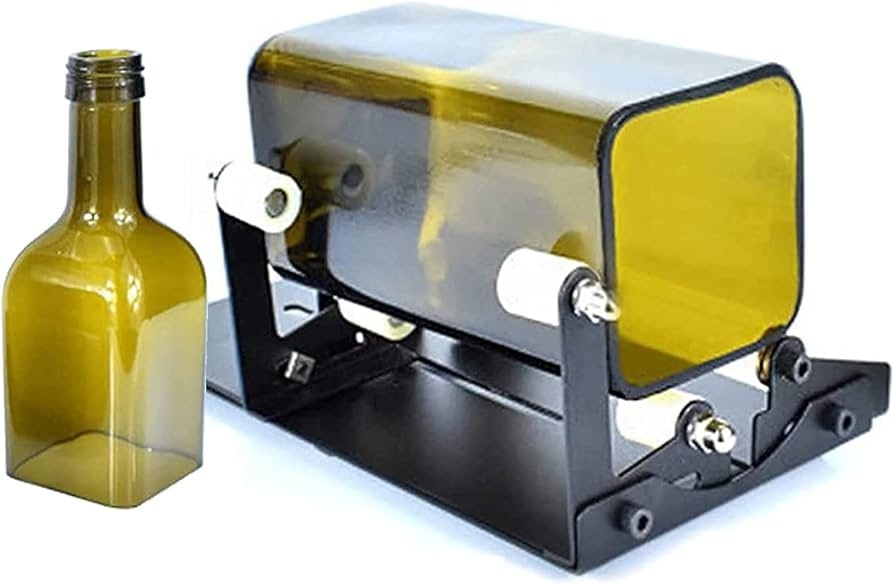
Ah, the aftermath of a lively soirée — empty alcohol containers scattered like confetti. But before you toss them into the recycling bin, consider their untapped potential.
With a dash of creativity and a sprinkle of DIY magic, these containers can be reborn as stylish plant saucers!
First cut off their bottoms, leaving behind a sturdy vessel perfect for cradling your leafy companions. After a thorough cleanse, give them with a touch of flair — a braided string, perhaps?
These repurposed relics not only add a touch of whimsy to your botanical oasis but also serve as a delightful reminder of past revelries. Cheers to recycling with a twist!
Pros
- Upcycles waste materials
- Versatile and readily available
Cons
- May require thorough cleaning
- Limited size and shape options
3. Plastic Bottles
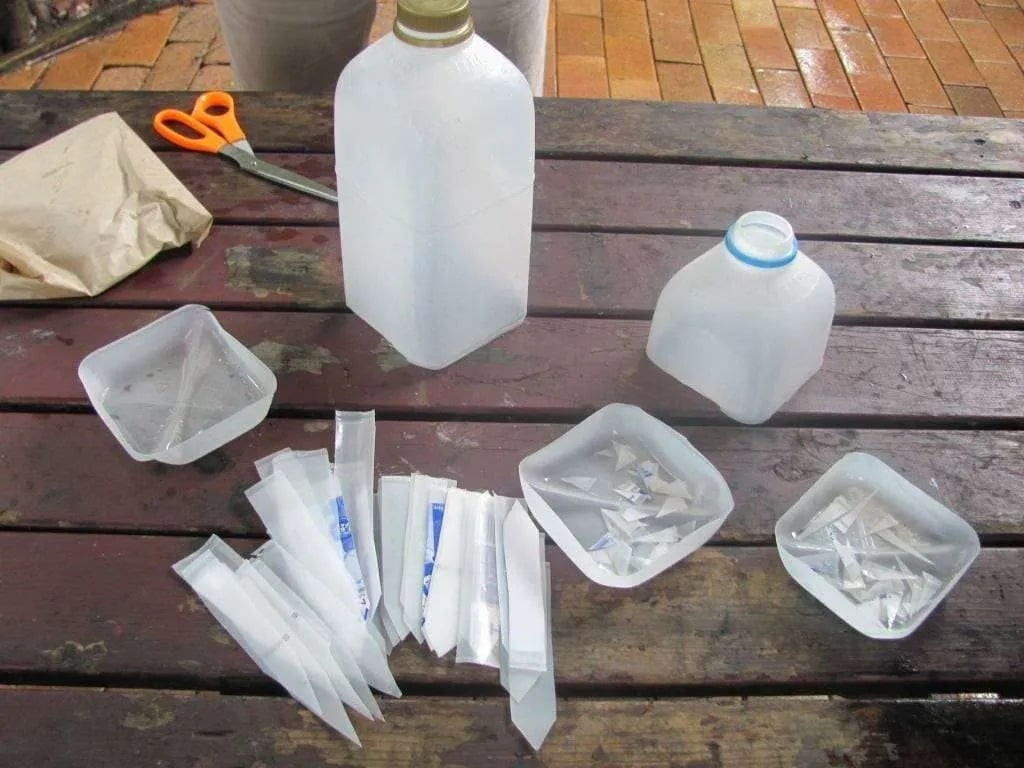
The ubiquitous plastic bottle is the symbol of convenience and waste in equal measure. Just give them a trim, slicing off the bottom half to create a shallow basin for your beloved greens!
Want to add a touch of flair? Wrap some jute rope around the edges in a crisscross pattern for a rustic vibe.
You’ve just diverted a piece of single-use plastic from the landfill and given it new life as a stylish and functional saucer for your beloved plants!
Pros
- Easily accessible and inexpensive
- Can be customized with various designs
Cons
- May degrade over time
- Limited aesthetic appeal compared to other materials
4. Mason Jar Lids
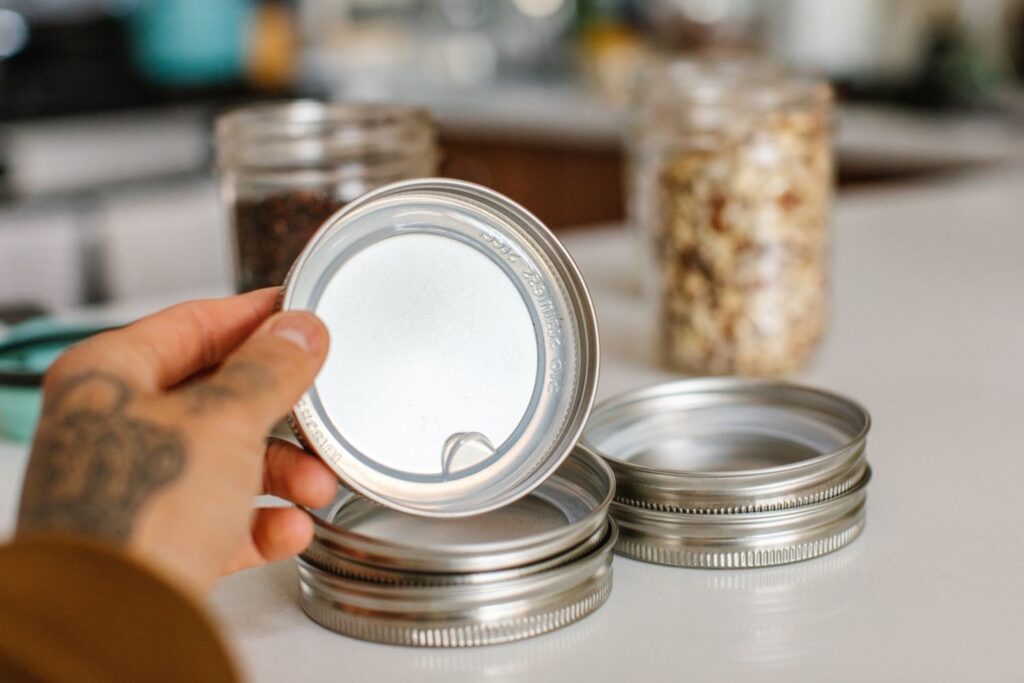
Are you ready to give those trusty mason jar lids a new lease on life? Start by raiding your kitchen stash for a collection of lids — metal or plastic, the choice is yours.
Simply place a lid beneath your potted plant, offering a snug fit to catch any wayward drips. Eureka! You’ve transformed a kitchen staple into a functional and stylish addition to your indoor garden!
Pros
- Sturdy and durable
- Can be easily customized
Cons
- Limited size options
- May require additional sealing for water resistance
5. Plastic Plates and Lids
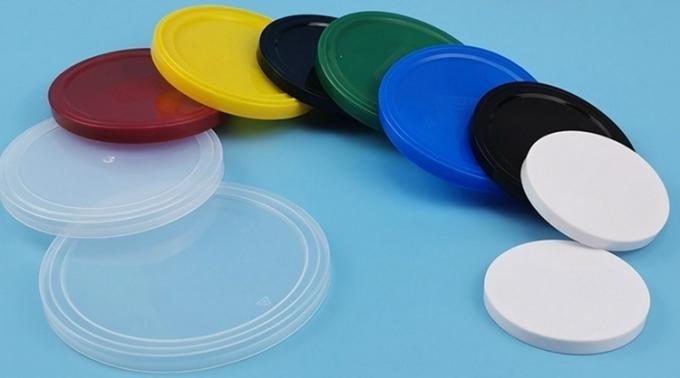
Now, rethink the humble plastic plates and lids you might have stashed away in your drawers.
First, get your plastic plates and lids — any shape or size will do. Then, unleash your inner DIY guru by repurposing these overlooked treasures into saucers fit for your leafy friends.
Place them beneath your potted plants to catch excess water, making sure your surfaces stay dry and your plants stay happy. Congratulations — you just turned disposable plastic into eco-friendly garden essentials!
Pros
- Repurposes disposable items
- Lightweight and versatile
Cons
- Limited durability
- May not withstand heavy pots or prolonged exposure to moisture
6. Hypertufa Saucers
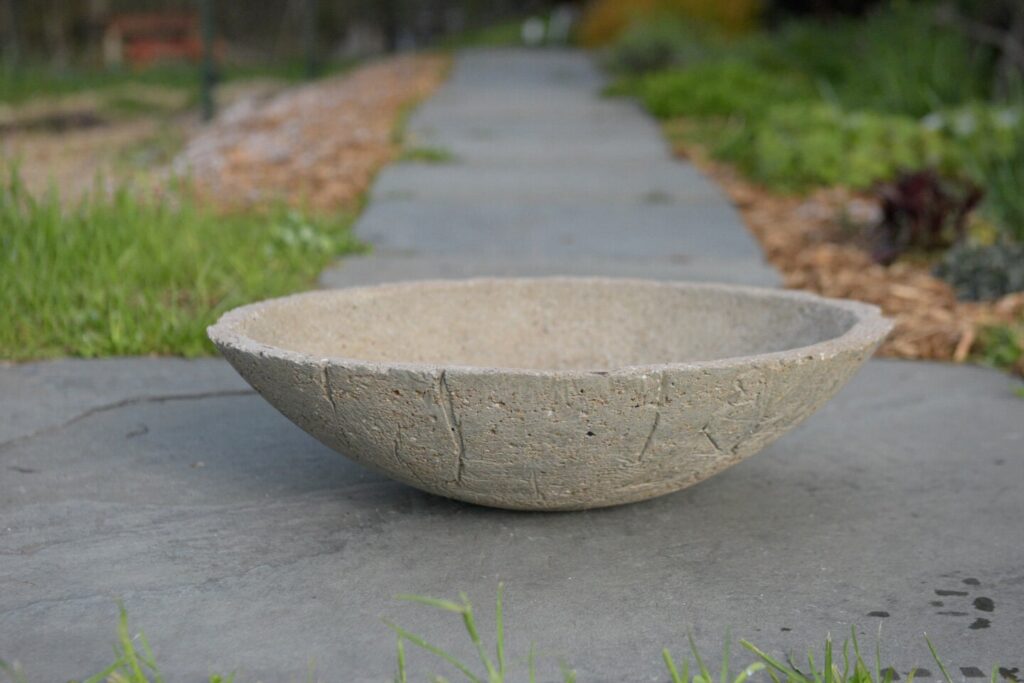
Wait, hyper-what? So, hypertufa is derived from a blend of cement, peat moss, sand, and perlite or vermiculite — a mundane mix despite its intriguing name!
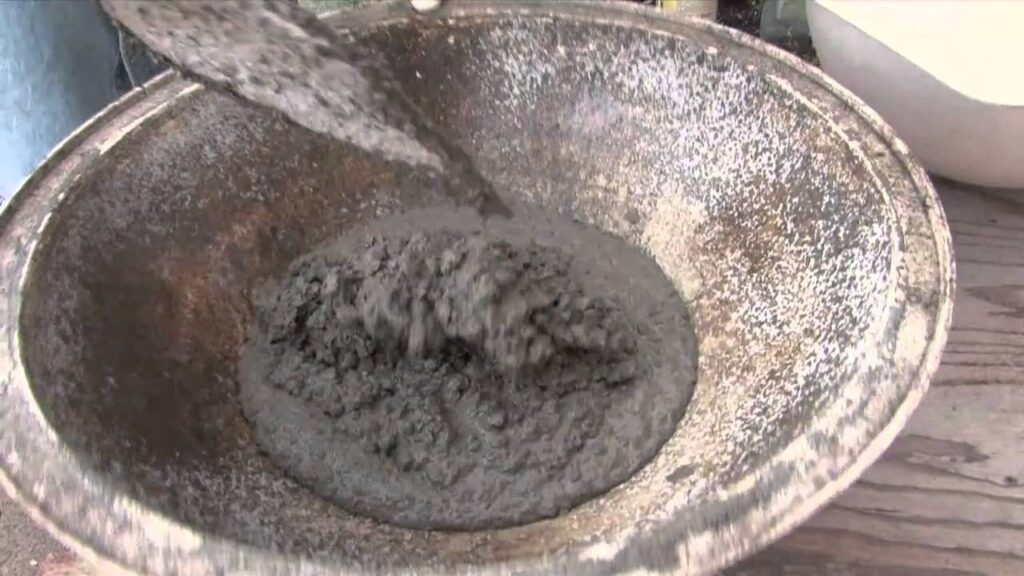
Now let’s get on your hypertufa hijinks by mixing these ingredients in equal proportions. This will give you a slurry that’s both malleable and durable.
Mold the mixture into your desired saucer shape. Just make sure there are enough drainage holes for your green companions!
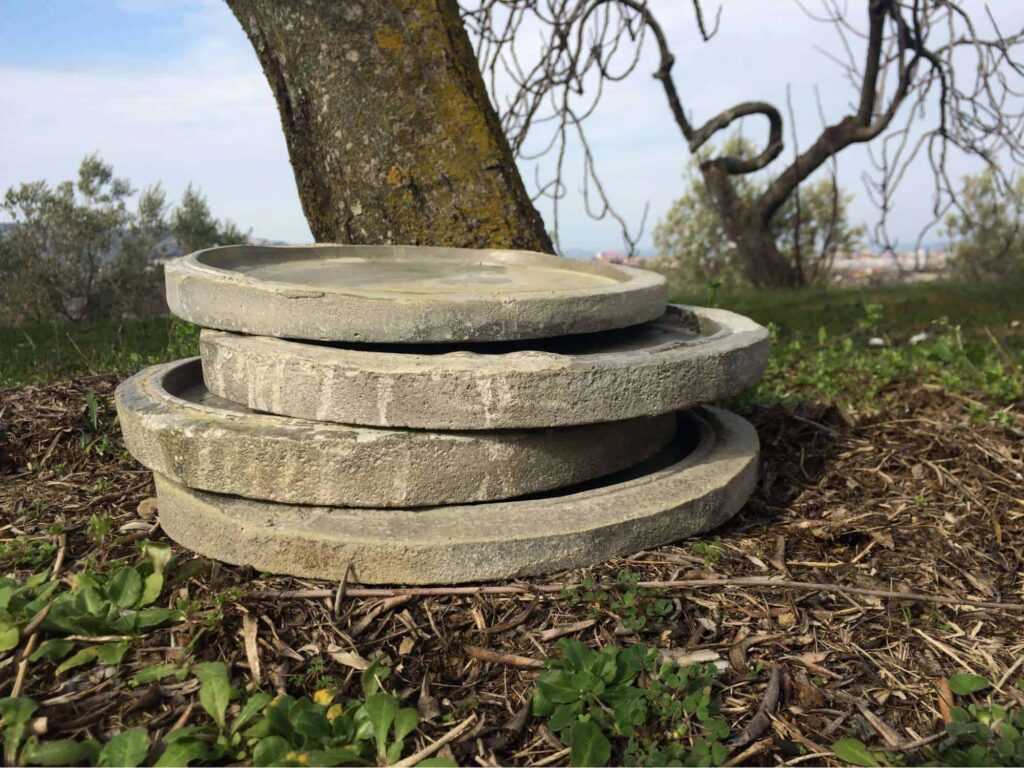
As the hypertufa cures, it develops a weathered patina reminiscent of natural stone — adding character to your garden oasis!
Pros
- Customizable texture and appearance
- Durable and weather-resistant
Cons
- Requires specific materials and techniques
- Longer curing time compared to other materials
7. Cement Saucers
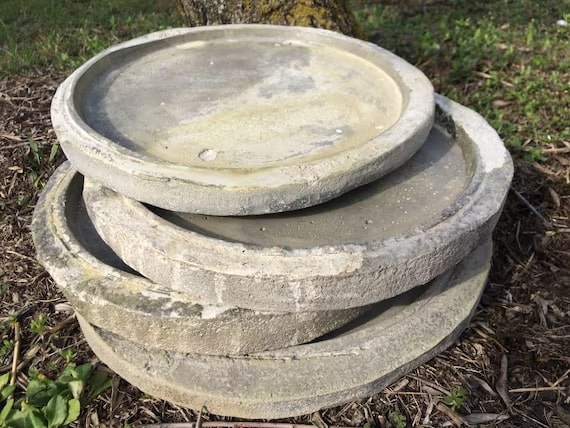
Prepare to get your hands dirty with everyone’s favorite construction material: cement! This versatile substance is not just for building foundations — it’s also a star player in the world of DIY plant saucers!
To do this, mix the powder with water until you achieve a thick, pourable consistency. Pour the cement into a mold of your desired saucer shape, making sure it’s large enough to accommodate your plants.
As the cement sets, it transforms into a sturdy base capable of supporting your green companions with ease. Once cured, your cement saucer exudes an industrial chic vibe, adding a touch of urban flair to your botanical sanctuary.
Pros
- Durable and long-lasting
- Provides excellent stability for heavy pots
Cons
- Requires careful handling and mixing
- Longer curing time and drying process
8. Terracotta Saucers
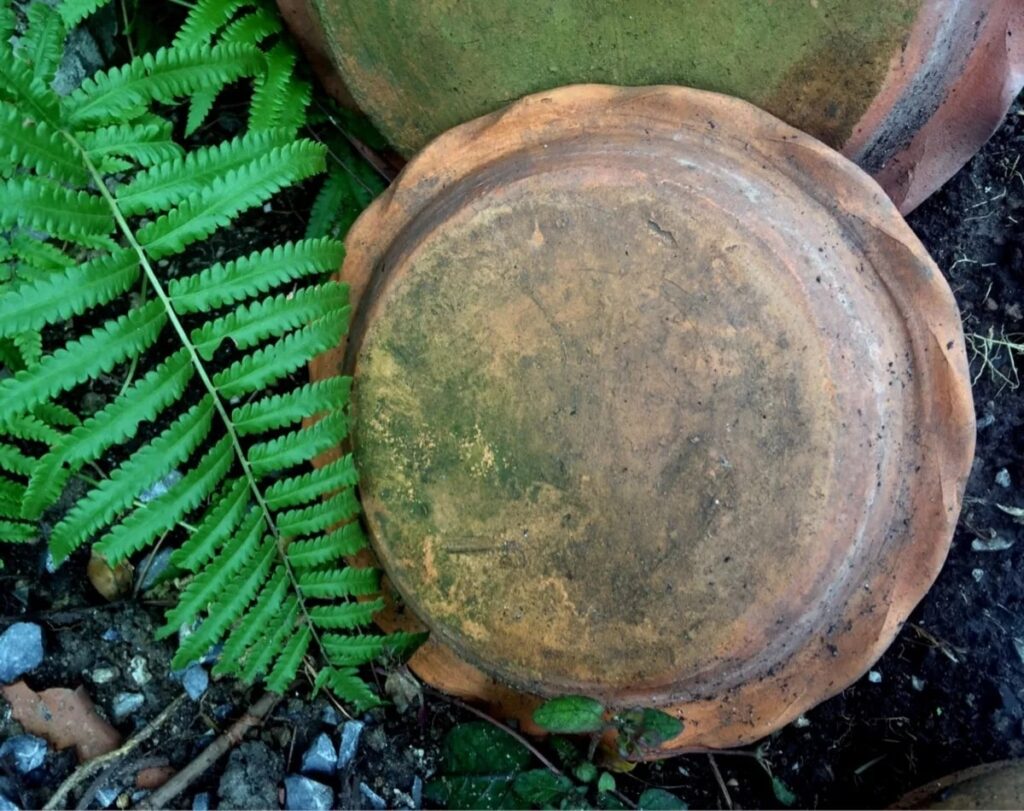
We just love the timeless charm of terracotta — the beloved material that has graced gardens for centuries! Its porous nature allows for excellent drainage, making it an ideal candidate for plant saucers.
You don’t have to buy brand-new ones. You can even score some for free from neighbors who hate the look of pots and saucers that don’t match!
Simply place your potted plants atop the terracotta saucer, allowing it to catch excess water and protect your surfaces!
Pros
- Provides natural drainage
- Timeless and traditional appearance
Cons
- Can be heavy and prone to breakage
- Limited customization options
9. Large Cans
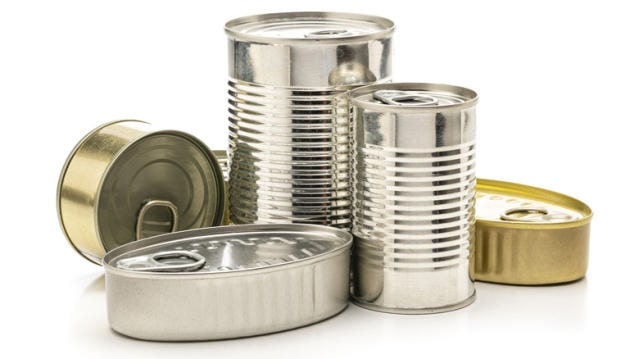
We’re going to give those oversized cans a new lease on life in the world of gardening. These sturdy metal containers are primed and ready to serve as drip pans for your plants.
We love using the big tuna cans for this. Let’s kick things off by thoroughly cleaning and removing any labels from the cans, making sure they’re free from any residual odors.
Place the cans beneath your potted plants to catch excess water. Just make sure there’s no stagnant water — you don’t want your plants to drown or your saucers to rust!
Pros
- Upcycles common household items
- Provides sturdy support for pots
Cons
- Limited size options
- May rust over time
10. Egg Cartons
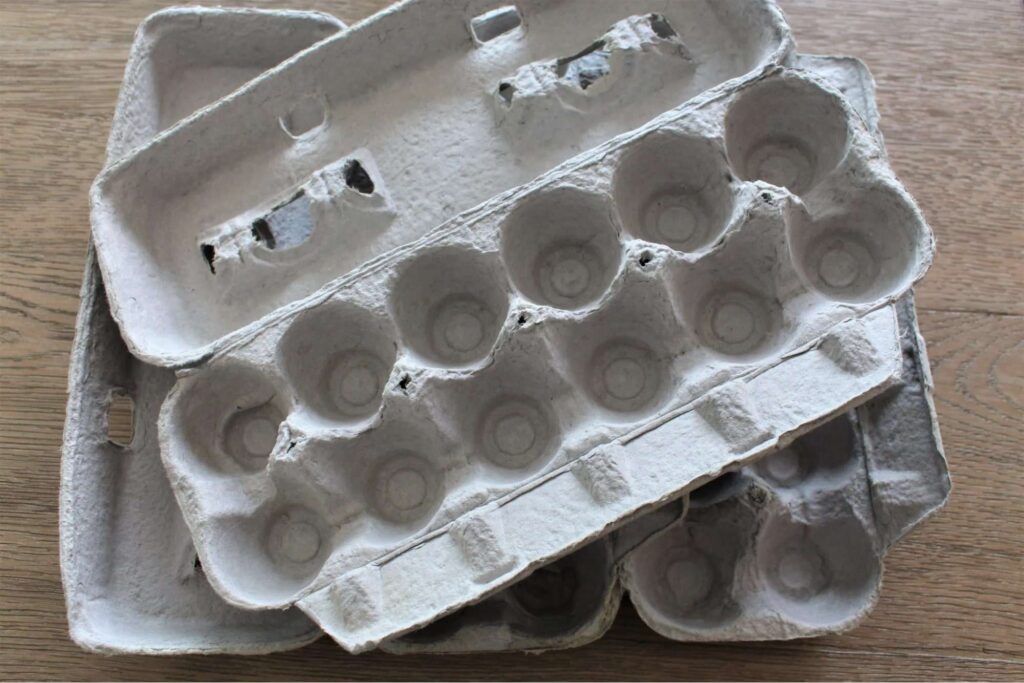
Humble egg cartons, once home to those delicate and delicious ovals, are primed for a second act as ingenious plant saucers. Just start by selecting a cardboard egg carton — preferably one with shallow compartments.
Then, cut apart the individual cups, creating small, biodegradable saucers perfect for seedlings or petite plants. Their absorbent nature makes them ideal for catching excess water while allowing air circulation to promote healthy root growth.
Plus, when the time comes, you can simply compost these eco-friendly saucers, completing the circle of sustainability!
Pros
- Biodegradable and eco-friendly
- Provides natural drainage for seedlings
Cons
- Limited durability
- May degrade over time with exposure to moisture
11. Cork Coasters
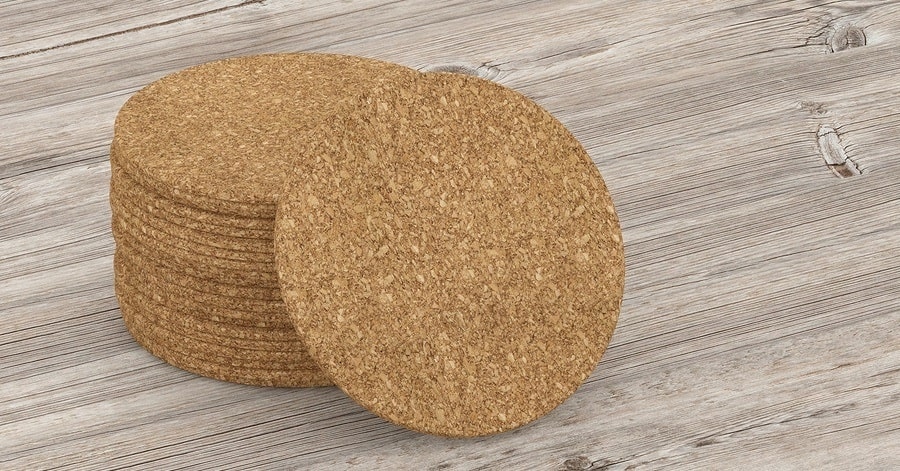
Let’s uncork a world of possibilities with those overlooked cork coasters! These unassuming circles of cork may have spent their days dutifully cradling your drinks, but it’s time for them to rise to a new challenge.
With a flick of your wrist and a wink of your eye, repurpose these coasters into sassy saucers for your leafy comrades! Just slide them right under your plants and it’s done!
Their absorbent nature and natural buoyancy make them the unsung heroes of the gardening world, perfect for catching excess water and sparing your surfaces from soggy fates.
Pros
- Absorbent and natural drainage properties
- Lightweight and easy to work with
Cons
- Limited weight-bearing capacity
- May deteriorate over time with prolonged exposure to moisture
12. Ceramic Bowls
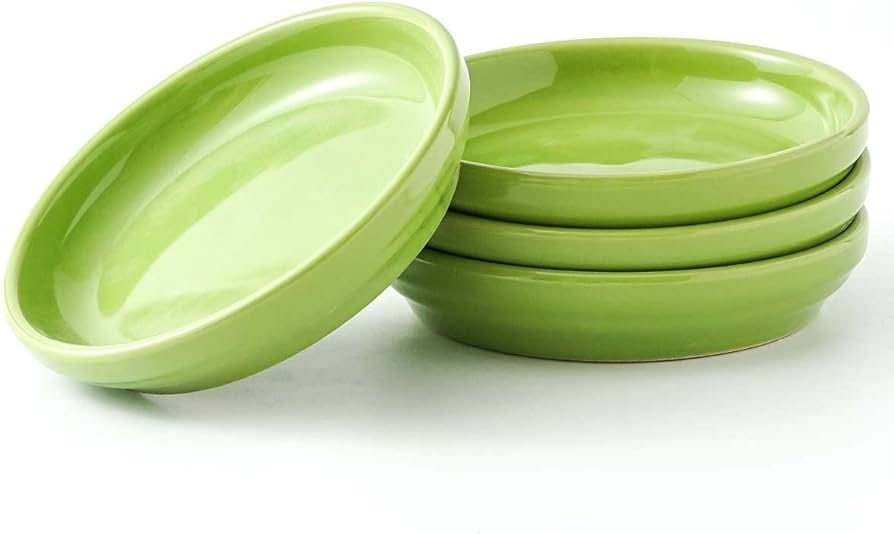
Got some unused ceramic bowls? These sturdy vessels, often overlooked in the hustle and bustle of meal prep, make perfect stylish and functional plant saucers.
Just go through your kitchen stash for the perfect bowl and look for one with good depth — and style (but of course)! Once you’ve found your ceramic champion, simply place it beneath your potted plant and allow it to catch any excess water.
Pros
- Durable and water-resistant
- Wide range of sizes, shapes, and designs available
Cons
- Heavy and require additional support
- Breakable if mishandled or dropped
Is it better to make a DIY plant saucer? What are the pros and cons?
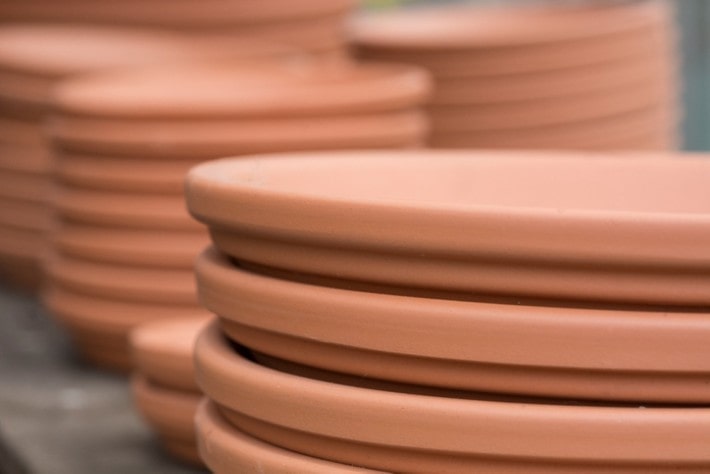
It’s better to make a DIY plant saucer as they offer cost savings compared to purchasing pre-made ones. They also allow for customization to fit specific plant pot sizes and styles.
However, they need more time and effort to create, and the quality might vary depending on individual crafting skills.
Pros of Making a DIY Plant Saucer
Customization
Customize size, shape, and design to match your plant’s vibe and your own flair. Say goodbye to boring saucers — DIY puts you in control.
Cost-Effectiveness
Get crafty with household finds or budget buys to save some green. It’s the perfect reason to ditch the pricey store-bought saucers!
Creative Freedom
Making your own saucer is like DIY therapy for your plants — plus, it gives your gardening game a serious upgrade!
Sustainability
Turning trash into treasure by DIY-ing saucers not only cuts down on waste but also gives a nod to Mother Earth.
Cons of Making a DIY Plant Saucer
Time-Consuming
DIY projects can take time and effort, especially if you’re a newbie or dealing with tricky materials.
Requires Skill
DIY can be a real headache for newbies. Some tricks need ninja-level skills or tools straight out of a sci-fi movie.
Durability Issues
DIY saucers might not outlast a commercial one, depending on how you put them together.
Potential Failures and Mistakes
Beware: DIY saucers might end up a hot mess, leaving you with disappointment or a redo.
Tips for Making Plant Saucers
1. Experiment with shapes.
Forget the boring saucers! Mix it up with funky shapes and designs to jazz up your plant game.
Who said plants can’t have style?
2. Weatherproof saucers.
Planning to use DIY saucers outdoors? Don’t let them become weather casualties!
Seal them up with outdoor-grade sealants or slap on some weather-resistant coatings to keep them safe from the elements.
3. Mix and match materials.
Mix it up for some seriously snazzy saucers! Try ceramic tiles with wood or metal with natural fibers for that industrial chic vibe. Get creative and watch those cups go from “meh” to “wow”!
4. Test the durability.
Before you crown your plants with those DIY saucers, give them a stress test. Make sure they can handle the weight of the pot and any water overflow without crumpling like a failed soufflé.
5. Consider the maintenance.
Pick materials for your DIY saucers that won’t make cleaning feel like a chore. Go for stuff that can handle a good scrub without falling apart — because who needs the extra hassle, right?


