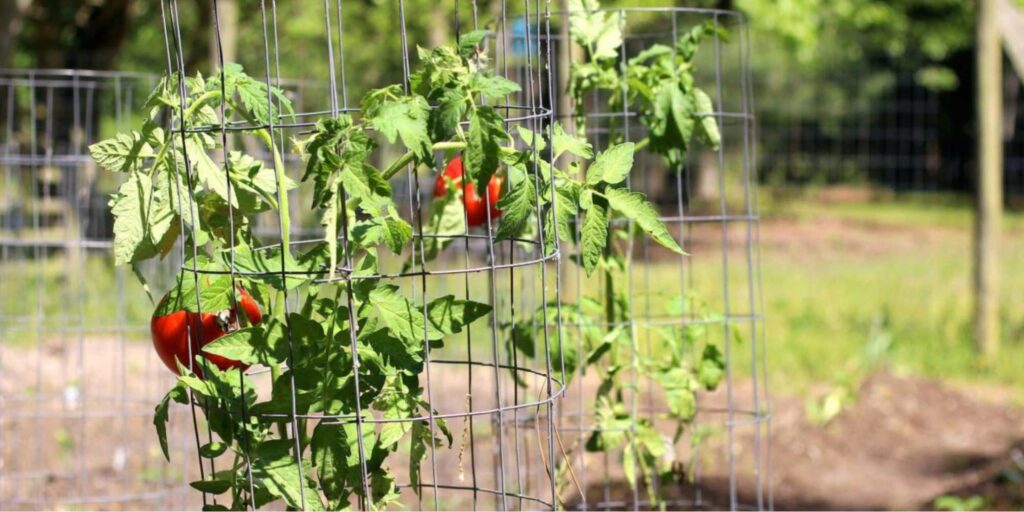

Seedlings turning yellow can be caused by improper watering and fertilizing, poor soil quality and pH levels, nutrient deficiency, diseases and pests, insufficient light, and transplant shock.
Before being able to pinpoint which of these is the exact cause, you’ll need a lot more information about each along with what to do.
Thankfully, we’re here to help! Read on as we delve into each cause and give you tricks on how to address each.
Reasons for Seedlings Turning Yellow
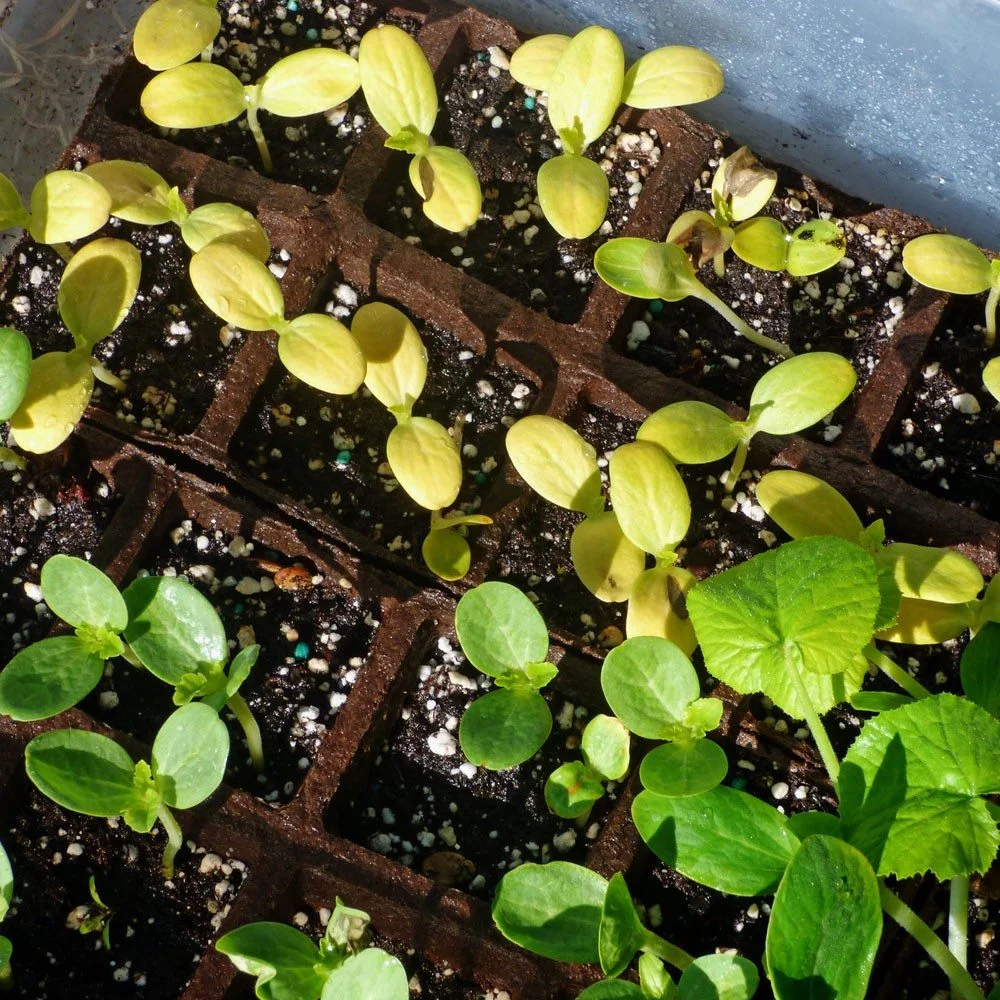
1. Cotyledons No Longer Needed
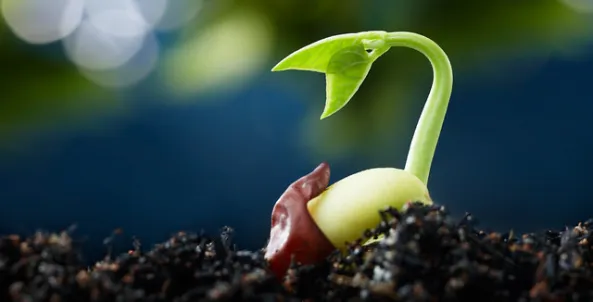
Cotyledons are what you call the first set of leaves that a seed develops after germination. As the first set of just leaves, cotyledons can only provide and store a limited quantity of these.
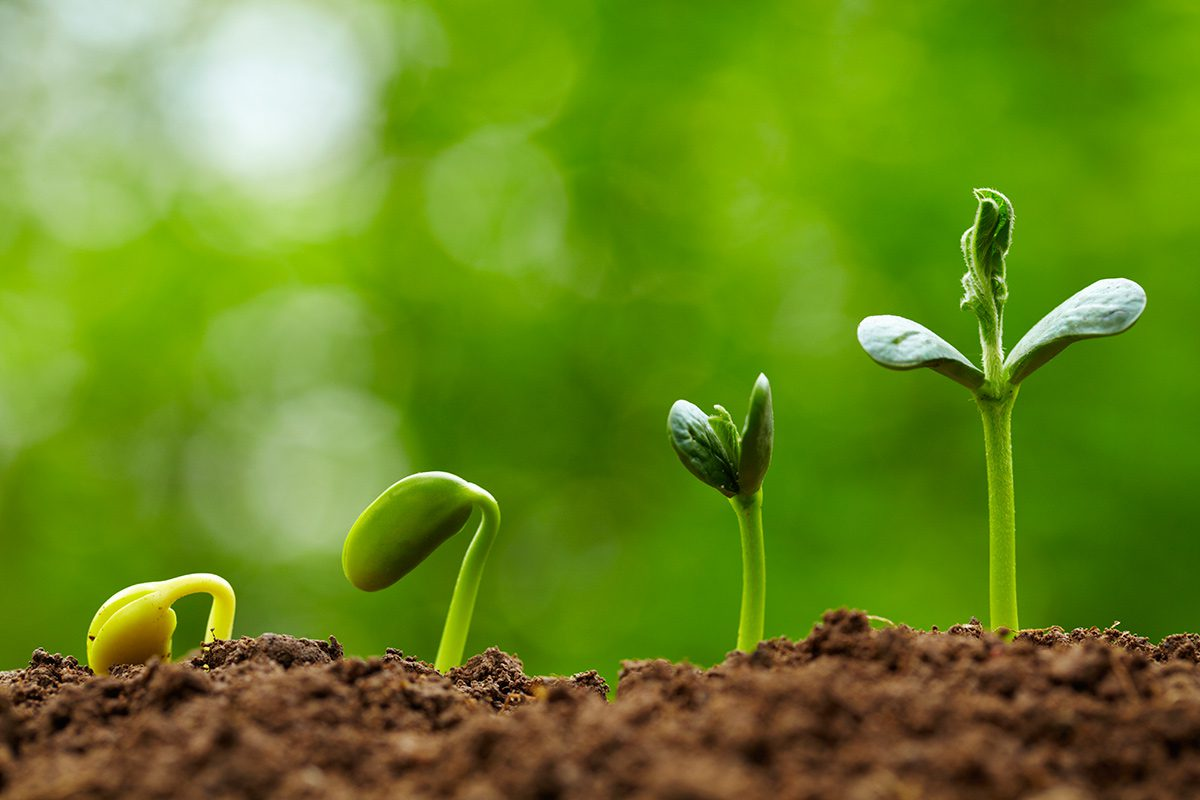
So by the time these are all used up, your seedling should have already started growing its true leaves, which are more reliable as they’re able to do more functions such as photosynthesis.
Having said that, it’s a normal process in a seedling’s life cycle for the cotyledons to turn yellow and die off when they’re no longer needed.
2. Too Much Light

The yellowing of your seedling’s leaves is an indicator that it’s experiencing stress or damage. This is usually referred to as sunburn or sunscald and is typically accompanied by wilting and curling.
Another explanation could be that the extreme temperature is causing the breakdown of chlorophyll, causing the plant to lose its green color.
How To Fix:
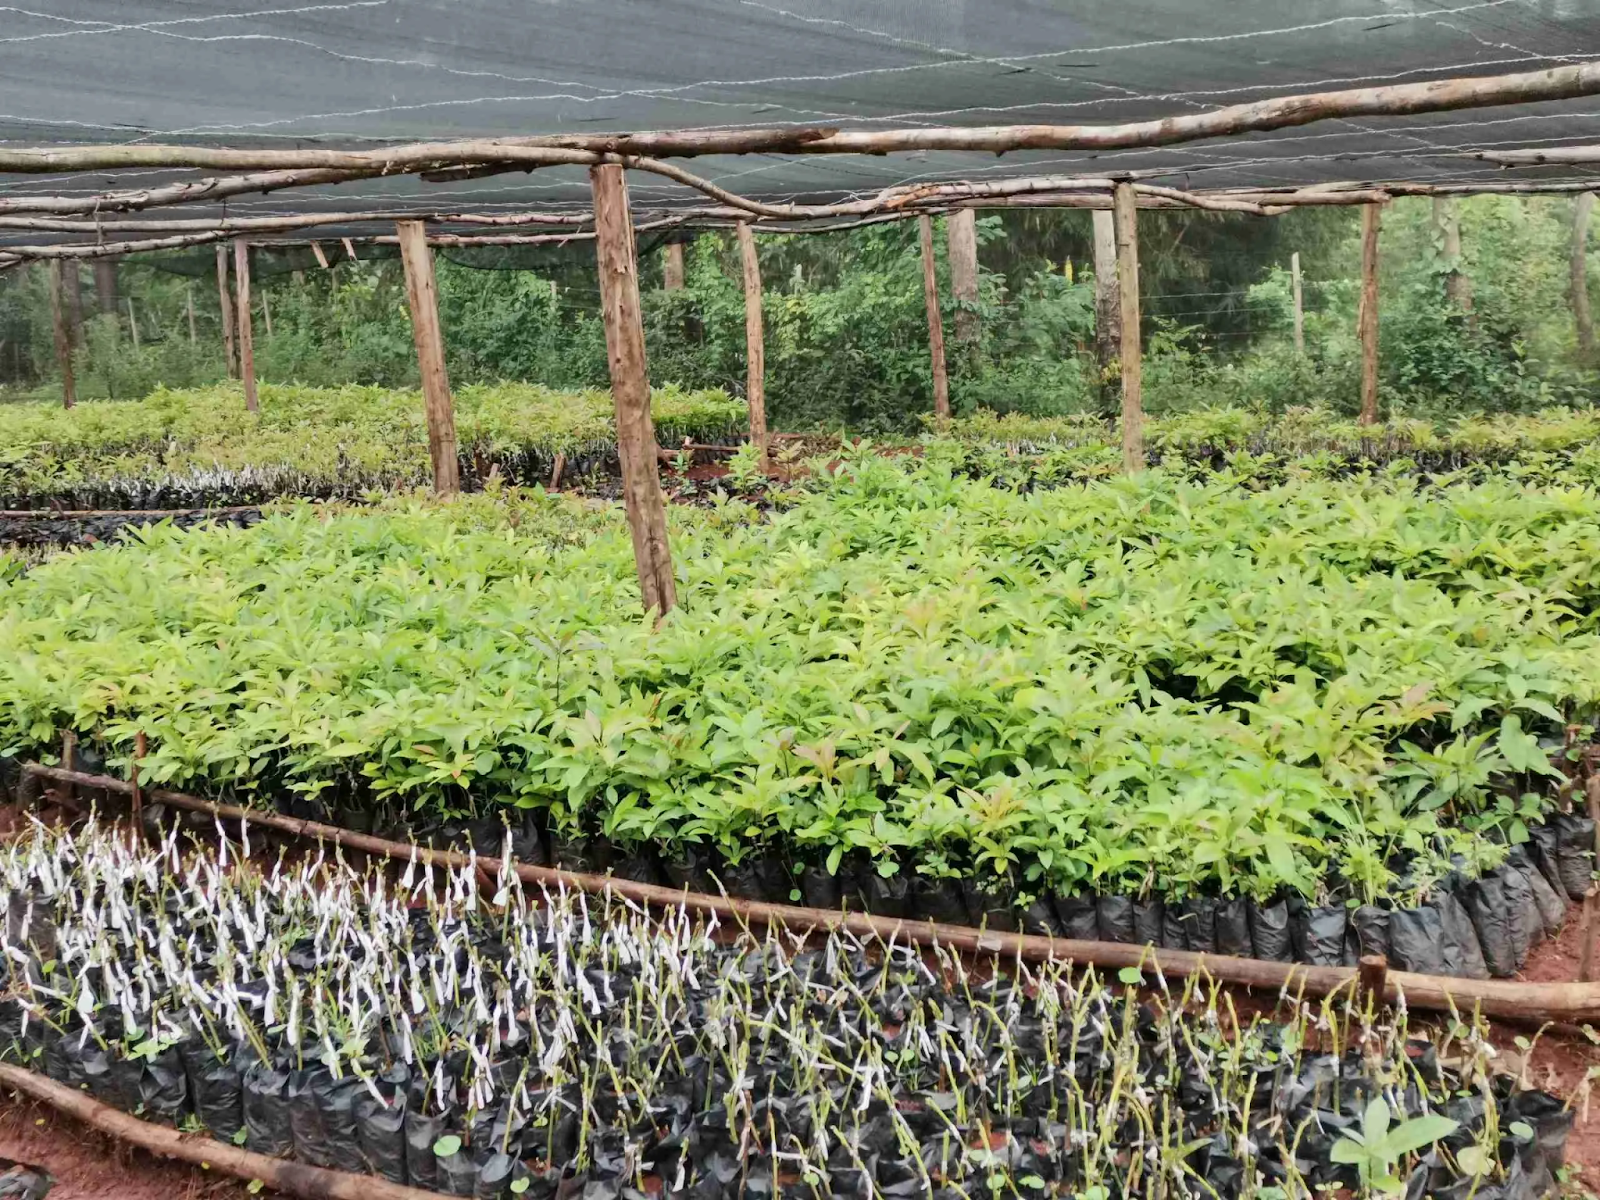
1. Provide ample shade.
2. Gradually expose your seedling to sunlight to avoid shock.
Provide ample shade.
| Difficulty | Easy ●●○○○ |
| Speed | Fast-acting |
| Things You Need | Shade cloths, row covers, or umbrellas Support structures such as PVC wipes, stakes, or wire hoops Fasteners like clips or garden staples Scissors or utility knife |
Providing ample shade gives your seedling enough protection from the harsh sunlight, reducing its stress and damage.
Luckily, there are several ways you can add shade to your plants. These include installing:
- Shade cloths
- Row covers
- Umbrellas
Planter’s Tip:
For better protection against the sun, using UV-resistant fabric and covers can shield your plant against harmful UV radiation.
What To Do
1. Plot out where you’ll be installing your support structures.
2. Position the supports along the sides of your bed.
3. Place your stakes or wire hoops between the two side supports.
4. Drape your row cover above the beams and support structures.
5. Secure the row cover with garden fasteners or clips.
6. Adjust and trim away any excess fabric.
7. Choose which side to open up to provide ventilation.
8. Monitor your row covers to ensure that they’re still fastened securely to the ground.
9. Regularly check in on your plants to see whether their environment is still conducive for growth.
10. Maintain your row covers by wiping it down every now and then, especially after it snows to avoid build up.
Gradually expose your seedling to sunlight to avoid shock.
| Difficulty | Easy ●●○○○ |
| Speed | Fast-acting |
| Things You Need | Shaded area that’s protected from strong winds Time and patience |
This is a relatively easy fix as all you need to do is increase direct sunlight exposure gradually, leaving your seedling out a few more hours each day until it’s ready to live outdoors permanently.
We’ll have to warn you, though, that this’ll take time and patience. Nevertheless, it’ll be all the more rewarding when you see your seedling thriving.
What To Do
1. Wait until your seedlings have developed their first set of true leaves.
2. Find a shaded area in your garden that isn’t too affected by harsh winds or sunlight.
3. Expose your seedling a few hours in the morning or late afternoon when the sun isn’t as harsh.
4. Gradually increase sunlight exposure over the course of a week.
5. Regularly water the soil, keeping it moist but not waterlogged.
6. Monitor your seedling’s behavior and appearance.
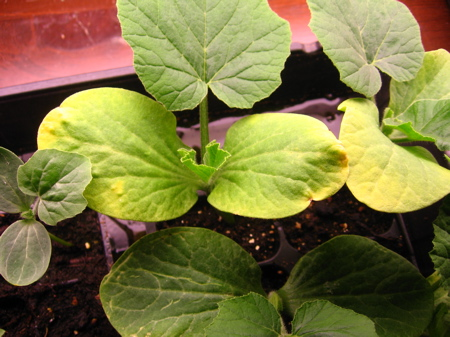
3. Not Enough Light
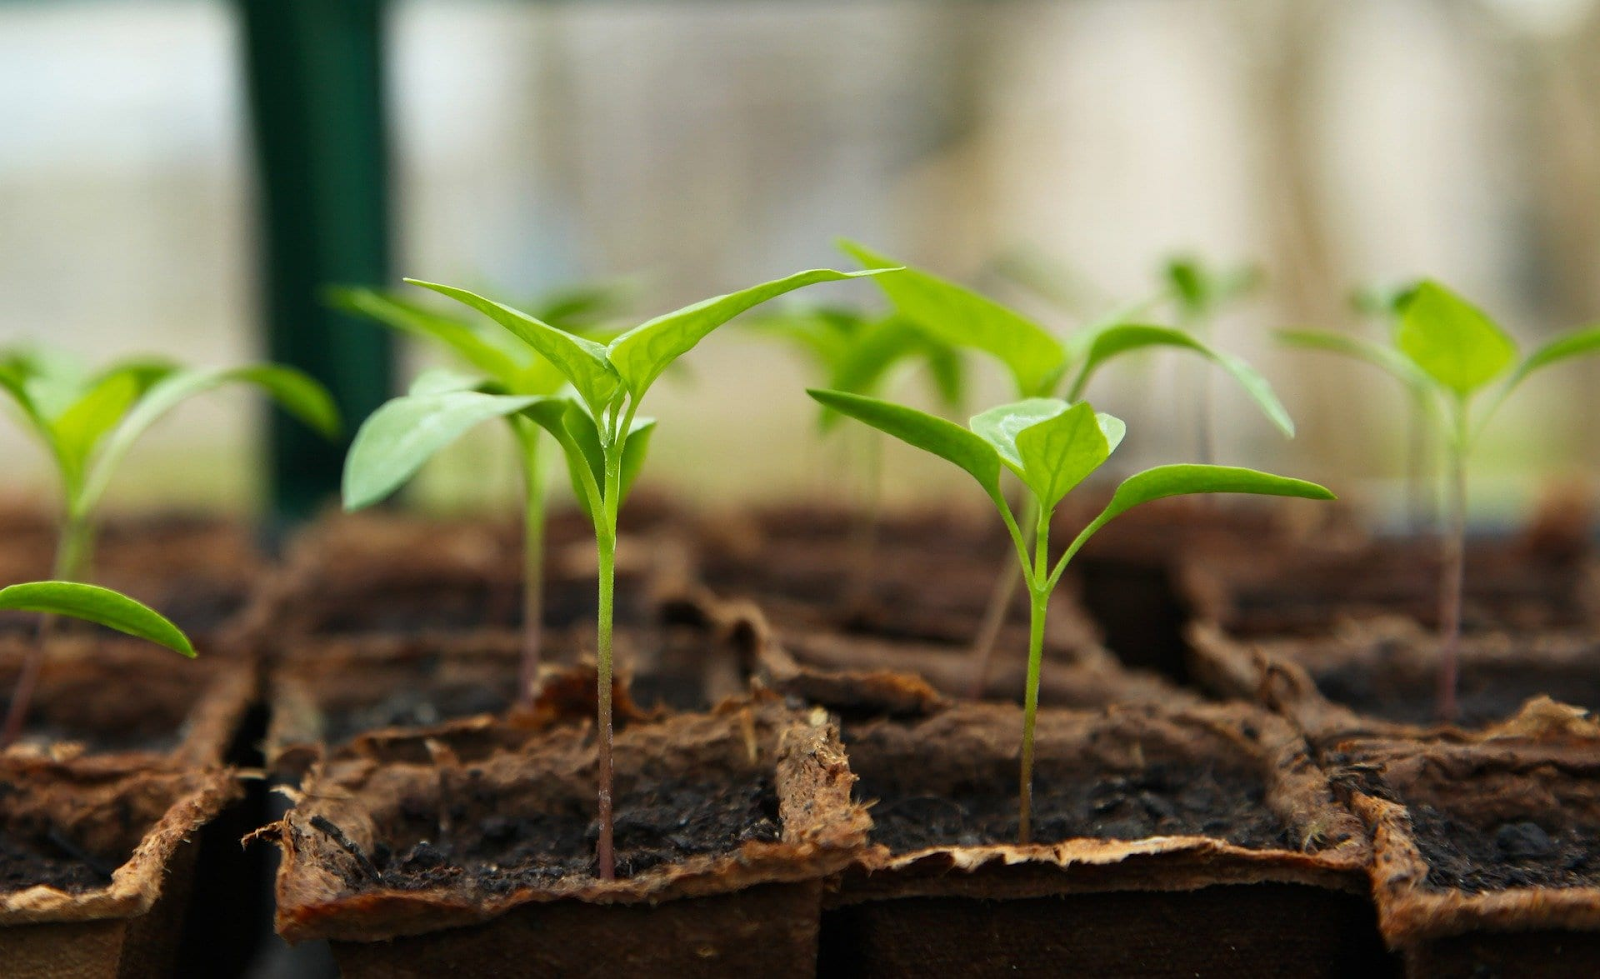
Chlorophyll is the green pigment in your plant’s foliage that helps in photosynthesis, which is what you call the process of turning light energy into chemical energy.
When seedlings don’t receive enough light, their chlorophyll production is limited and photosynthesis is reduced. Over time, this will cause stressed plant growth and nutrient deficiency, among other problems.
How To Fix:
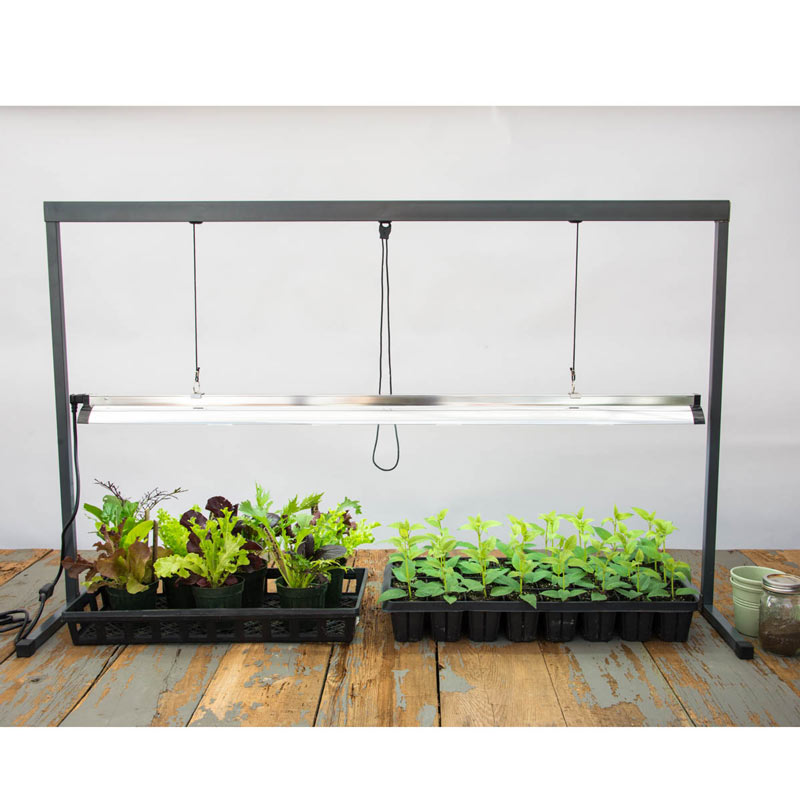
1. Use grow lights.
2. Use reflective surfaces for light to bounce onto your seedlings.
Use grow lights
| Difficulty | Easy ●●○○○ |
| Speed | Fast-acting |
| Things You Need | Grow lights (LED or fluorescent)Adjustable hangers or chains Hooks or mounting brackets Screwdriver and screws (if needed) Extension cord (if needed) Electrical outlet or batteries Timer |
In the absence of natural light, the next best thing that you can give your seedlings is grow lights.
While they aren’t the real thing, they still do a pretty good job nonetheless. Just remember that your grow lights need to be hung extremely close to your plant to work its magic.
What To Do
1. Select where you’ll be installing your grow lights.
2. Assemble the fixture.
3. Mount the light according to your preferred option.
4. Adjust the distance of your grow light from your plants.
5. Test your grow lights.
6. Set up a timer.
7. Monitor and adjust your grow light according to how your seedling is responding.
Use reflective surfaces for light to bounce onto your seedlings

| Difficulty | Very Easy ●○○○○ |
| Speed | Fast-acting |
| Things You Need | Reflective material like aluminum foil, mylar sheet, reflective grow film, or white-painted surfaces Clips Stands, posts, or sticks |
By installing a reflective material such as aluminum foil behind your seedlings that face a window sill, you’re boosting the light distribution to all angles of the plant.
As light bounces, it spreads and touches virtually all parts, ensuring proper growth and development.
What To Do
1. Choose the best type of reflective material based on your needs.
2. Choose a window in your house that gets the best morning or afternoon sun.
3. Fix the position of your seedlings, ensuring that they’re spaced apart evenly.
4. Lay your reflective material upright behind your plant.
5. Adjust the position of your reflective panel to ensure that light bounces off evenly towards your seedling.
6. Rotate your seedlings to ensure that all sides receive light.
7. Observe the moisture levels of your soil.
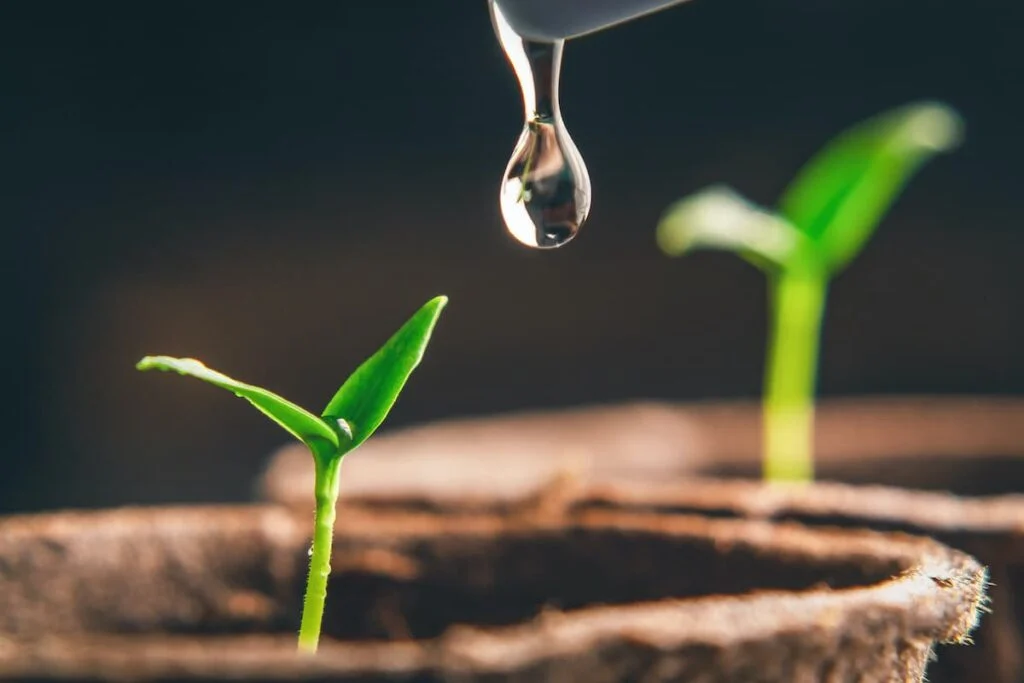
4. Lack of Water
| Difficulty | Very Easy ●○○○○ |
| Speed | Fast-acting |
| Things You Need | Toothpick or stick Water Tray |
Without enough water, you risk nutrient transportation disruption. Just as it sounds, it’s when your plant struggles with moving nutrients and other resources to its different parts.
Thus, watering from the bottom and establishing a watering routine are the keys to ensuring your plants receive the right amount of water.
What To Do
1. Understand what watering requirements your seedlings have.
2. Before watering, conduct a finger test throughout the day.
3. Water your seedlings from the bottom.
4. Repeat Steps #3 and #4 for a few days while monitoring how well your plant is responding.
5. Too Much Water
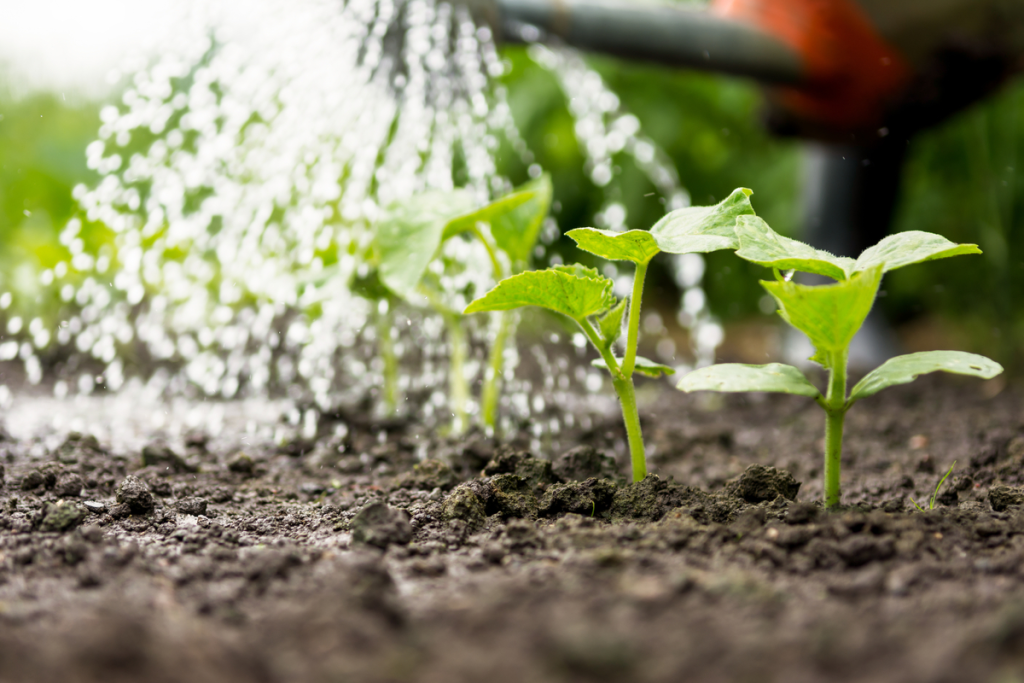
Overwatering is another big no-no because it can cause several problems that can affect your seedling. From yellowing leaves to suffocated roots, it’s only a matter of time before your seedling dies from the stress.
Thus, it’s important to set up a proper watering routine and practices to ensure that you don’t risk watering too frequently and your soil becoming waterlogged, among others.
How To Fix
1. Use well-draining potting mix along with soil amendments
2. Establish a balanced watering regimen
Use well-draining potting mix and containers

| Difficulty | Very Easy ●○○○○ |
| Speed | Fast-acting |
| Things You Need | Well-draining potting mix Soil amendments such as peat moss, vermiculite, and perlite |
Different types of soil have various water-holding capacities, so you’ll need to pick the type that best suits your environment. Say, higher water-holding capacities for seedlings located in hotter climates so that the soil stays moist for longer despite the dry weather.
Thus, it’s important to set your seedlings up for success by choosing a lightweight and high-nutrient soil type with just the right amount of soil amendments.
What To Do
1. Select a lightweight potting mix for your plant.
2. Choose the most appropriate kind of soil amendments for improved structure, aeration, and drainage.
3. Mix your soil and amendments well to make certain they’re well-incorporated.
Establish a balanced watering regimen

| Difficulty | Very Easy ●○○○○ |
| Speed | Fast-acting |
| Things You Need | Watering schedule Toothpick or stick Water Tray |
Establishing a watering regimen for your seedling shouldn’t be as strict as it sounds. We don’t mean only watering your seedling a specific amount at a specified time.
Instead, we mean giving your plant the necessary amount of water when it needs it. This prevents your plant from becoming stressed when it’s suddenly deeply watered.
What To Do
1. Understand what watering requirements your seedlings have.
2. Assess what your environment’s like this time of the year.
3. Before watering, conduct a finger test throughout the day.
4. Water your seedlings from the bottom.
5. Repeat Steps #3 and #4 for a few days while monitoring how well your plant is responding.
6. Improper Fertilizer Application

| Difficulty | Very Easy ●○○○○ |
| Speed | Slow-acting |
| Things You Need | Slow-release fertilizer Soil pH test kit |
Over- and under-fertilizing can cause several issues with how your seedling absorbs water, nutrients, and other resources in the soil. Apart from that, it can also cause pH imbalances in the soil that can stress out and negatively affect your seedling’s growth.
Hence, you need to find the right fertilizer mix and application technique to avoid causing more harm than good.
What To Do
1. Select the right kind of slow-release fertilizer for your seedling.
2. Read and follow the application instructions.
3. Water your soil regularly.
4. Monitor your seedling’s behavior and the soil’s pH and nutrient levels.
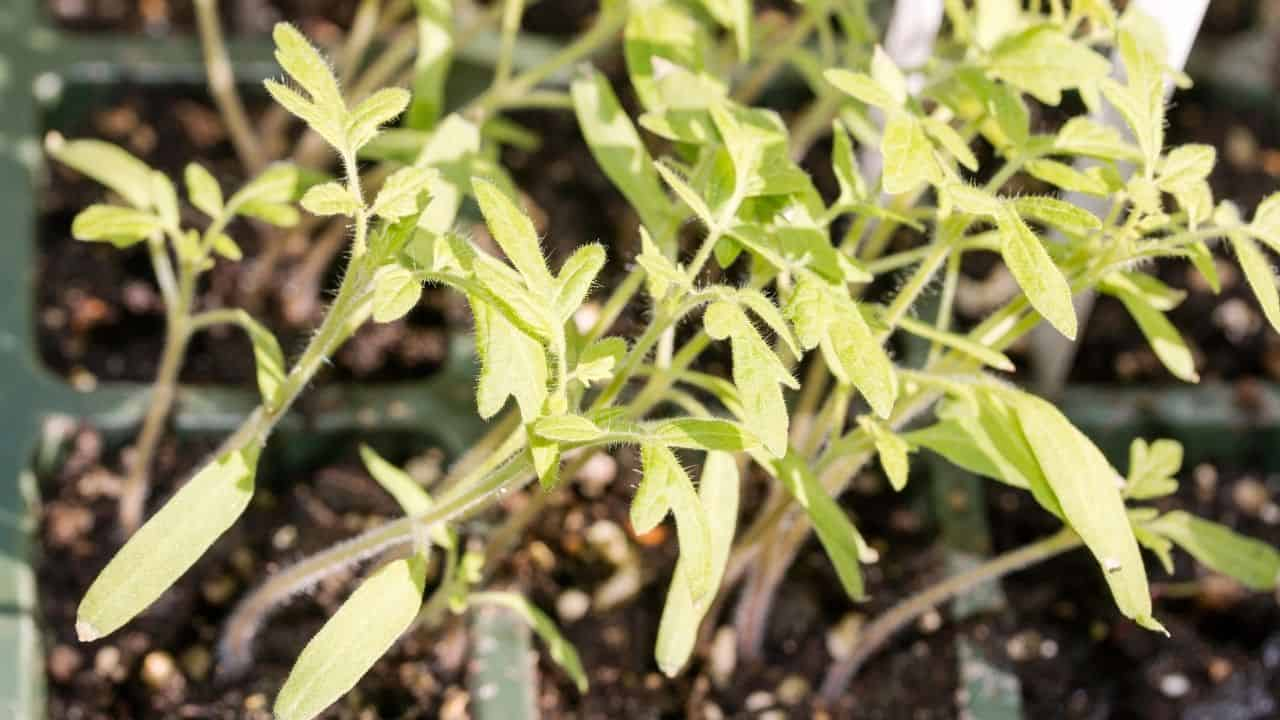
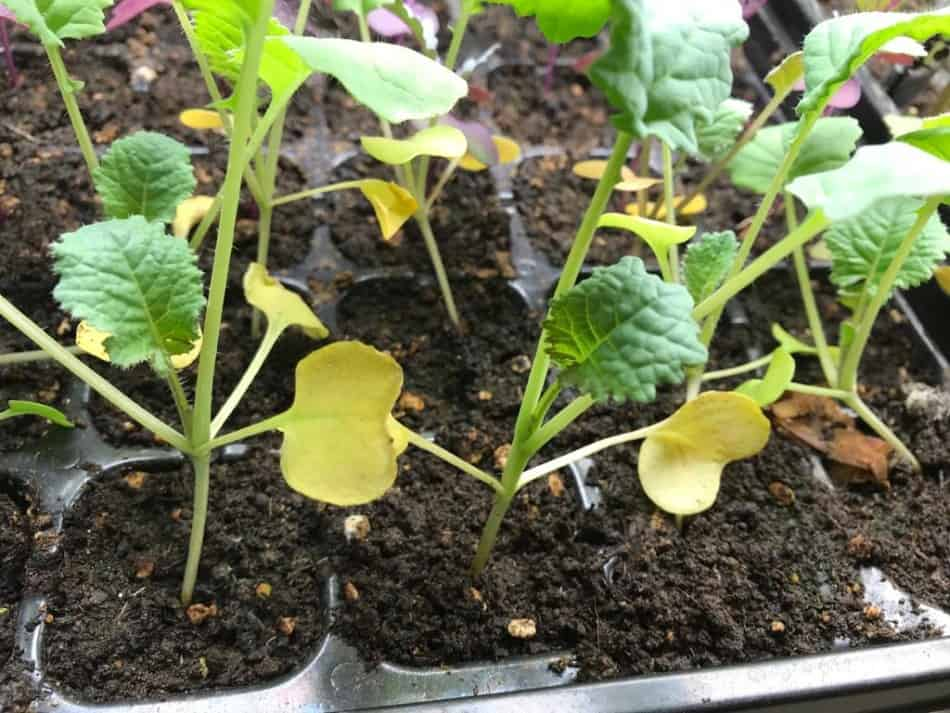
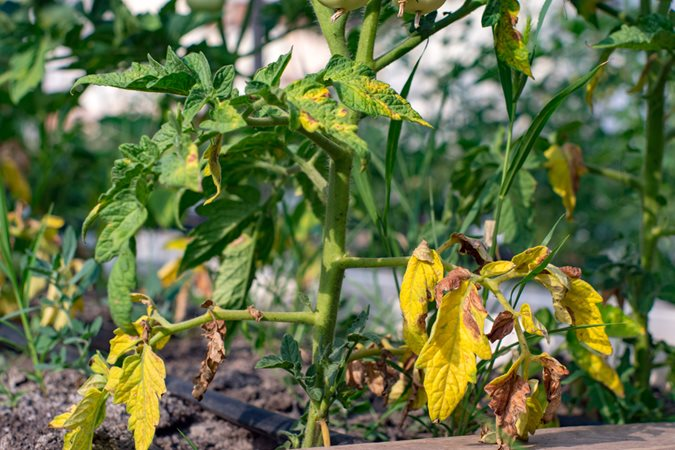
7. Nutrient Deficiency
| Difficulty | Easy ●●○○○ |
| Speed | Fast- to slow-acting |
| Things You Need | Slow-release fertilizer Soil pH test kit Water-soluble fertilizer, slow-release fertilizer, or micronutrient supplements |
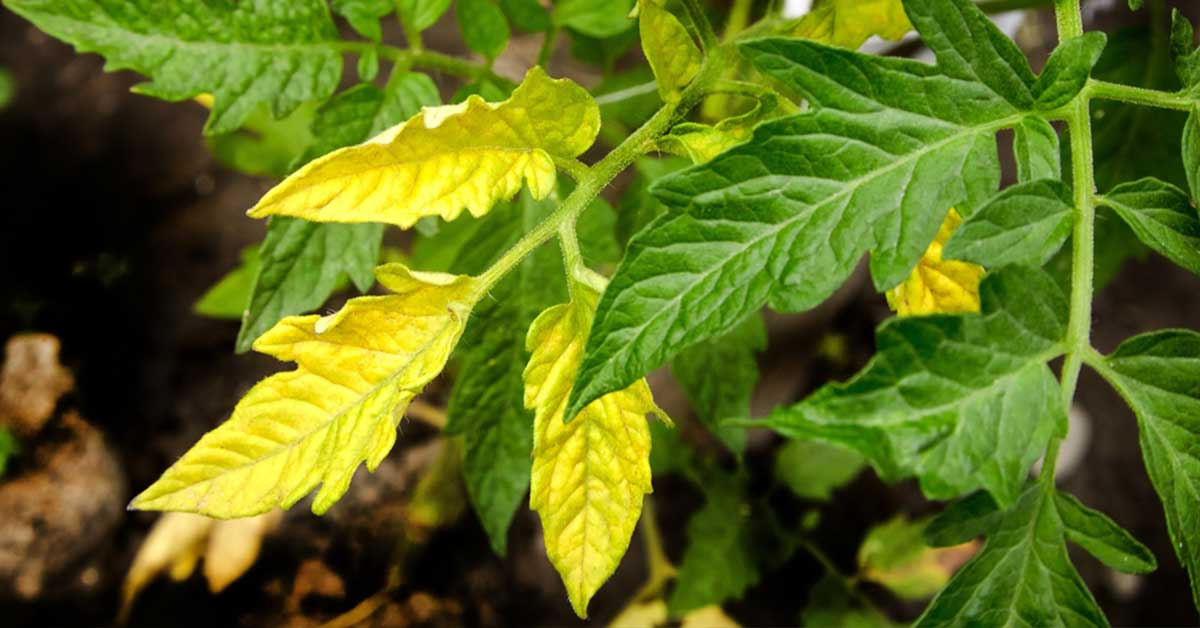
When your plant doesn’t get enough nutrients, it develops a condition called chlorosis which you’ll notice through its yellowing leaves.
This happens when your plant doesn’t have one or more nutrients in order to develop properly and perform its daily tasks. One of which is to produce chlorophyll which is responsible for the leaves’ green pigment.
The most common mistake when treating nutrient deficiency is believing in a one-fits-all solution because there are a ton of different nutrients and wrong judgment could cloud the diagnosis.
What To Do
1. Identify the nutrient deficiency that your plant is dealing with.
2. Choose the best kind of nutrient amendments for the deficiency.
3. Apply your fertilizer or supplement as instructed by the guidelines.
4. Check on your soil’s pH level again.
5. Adjust your soil pH and nutrient content based on your soil tests.
6. Monitor progress and signs of improvement.
8. Diseases and Pests
| Difficulty | Easy ●●○○○ |
| Speed | Fast- to slow-acting |
| Things You Need | Treatment for pest/disease Quarantine area |
A gardener’s worst nightmare come true would be to have seedlings infested with pests and infected with diseases as both can cause various physiological harm, especially for such a young plant with a slim chance of survival.
What To Do
1. Isolate infected seedlings in a quarantine area.
2. Identify what pest or disease has taken over your plant.
3. Remove all infected plant material and dispose properly.
4. Apply the correct treatment.
5. Observe your seedling’s behavior.
9. Transplant Shock
| Difficulty | Easy ●●○○○ |
| Speed | Fast- to slow-acting |
| Things You Need | New container Potting mix Chopsticks, stick, rake, or fork Water |
Transplant shock is an unsuspecting cause of yellowing leaves because signs don’t appear right away. Nevertheless, disrupting your plants roots can cause stress because of the physiological changes your seedling is experiencing.
While this is completely normal as your seedling is still adapting to its new environment, prolonged stress can cause irreparable damage to your seedling’s growth and development.
What To Do
1. Examine your plant for a well-developed root system and a set of true leaves.
2. Begin the hardening off process by acclimating your seedling to the outdoors gradually over the next few weeks.
3. Prepare the seedling’s new container with high-quality potting mix and well-rotted compost.
4. Carefully transfer the seedling from the old pot.
5. Deeply water your seedling to encourage growth and nutrient absorption.
6. Relocate your seedling to a spot that receives the prescribed amount of daily sunlight that it needs.
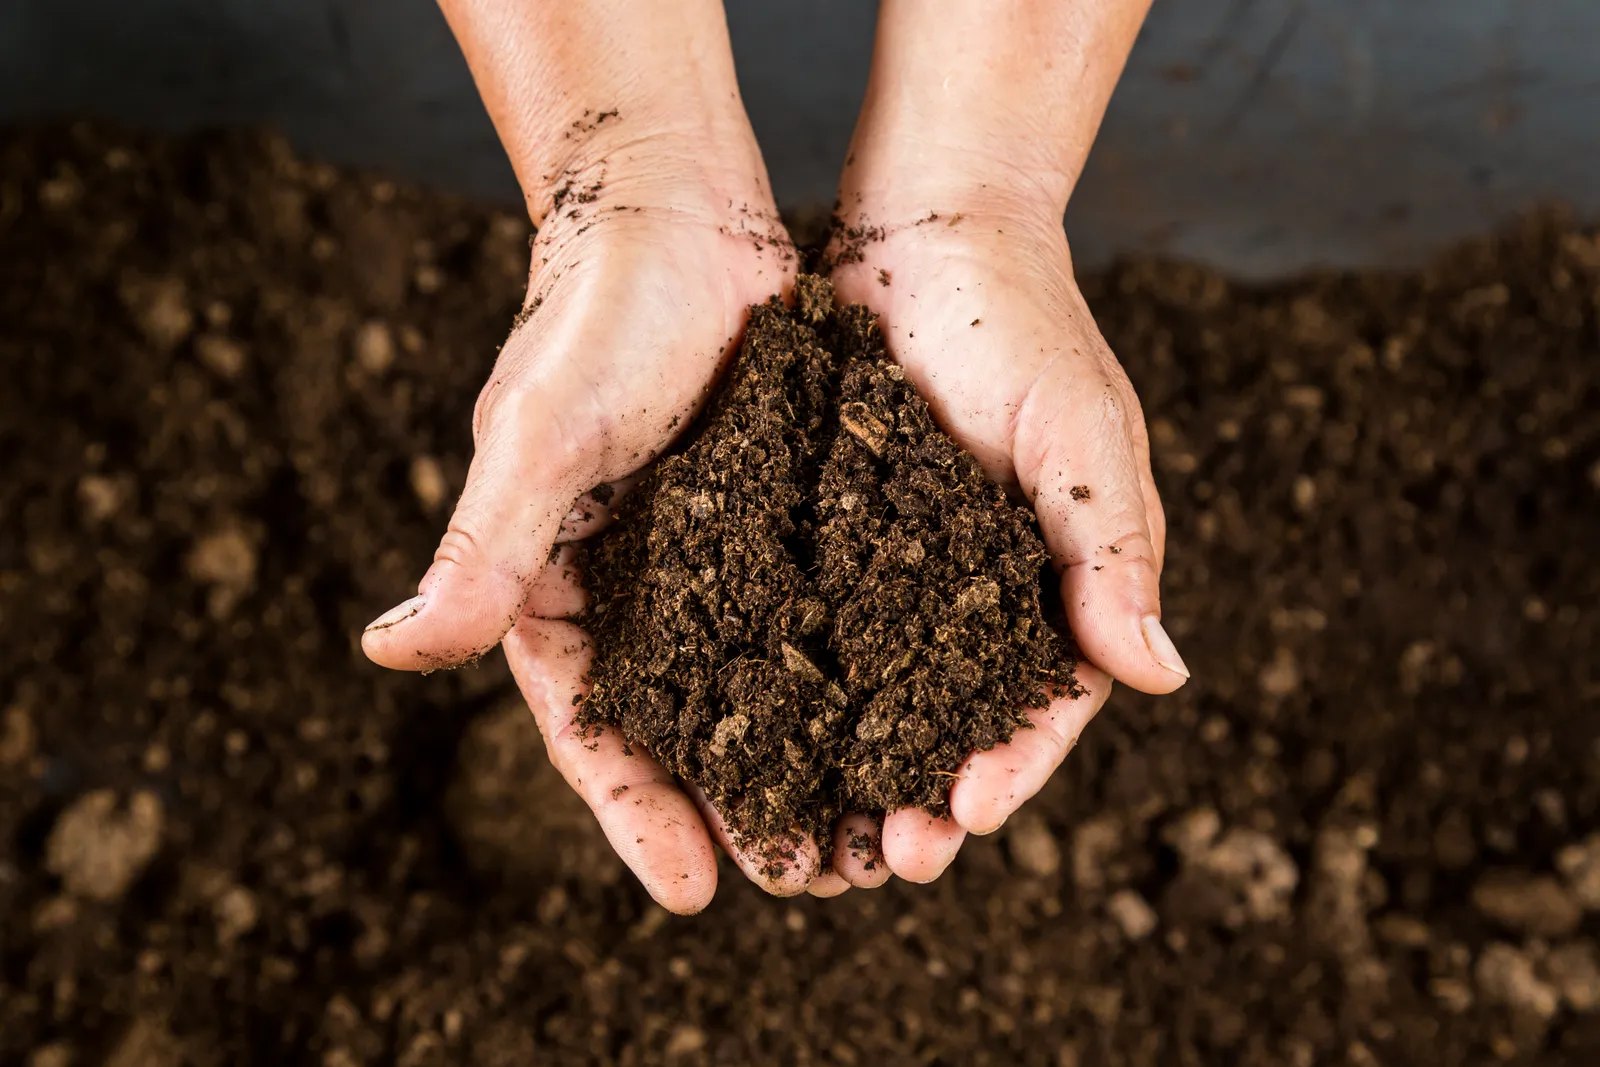
10. Poor Soil Quality
| Difficulty | Easy ●●○○○ |
| Speed | Fast- to slow-acting |
| Things You Need | High-quality potting mix Nutrient-rich fertilizer or supplements Container with adequate drainage Chopsticks or stick |
Poor soil quality is the result of several factors which include insufficient nutrients, inadequate drainage, and compaction, to name a few.
Hence, setting up your seedling for success starts with the soil that it grows in. Thankfully, there are easy ways that you can prepare the best soil to jump start its development.
What To Do
1. Perform a soil test to determine whether there are pH and nutrient imbalances that need to be addressed.
2. Check how well your water is draining.
3. Monitor and adjust your soil management practices to keep it healthy and clean.
11. pH Imbalance
How To Fix:
1. Lower Soil pH
2. Add compost
3. Introduce peat moss
4. Increase Soil pH Add compost
5. Mix limestone
It’s worth noting that different plants have specified pH level preferences as some prefer more alkaline or acidic soil. Thus, it’s vital that your pH level is tailored to these requirements to ensure maximum nutrient intake.
Otherwise, you’ll begin to notice signs that your seedling’s health is deteriorating such as yellowing leaves, drooping, and curling foliage.
Lower Soil pH
Add compost
| Difficulty | Easy ●●○○○ |
| Speed | Slow |
| Things You Need | Compost |
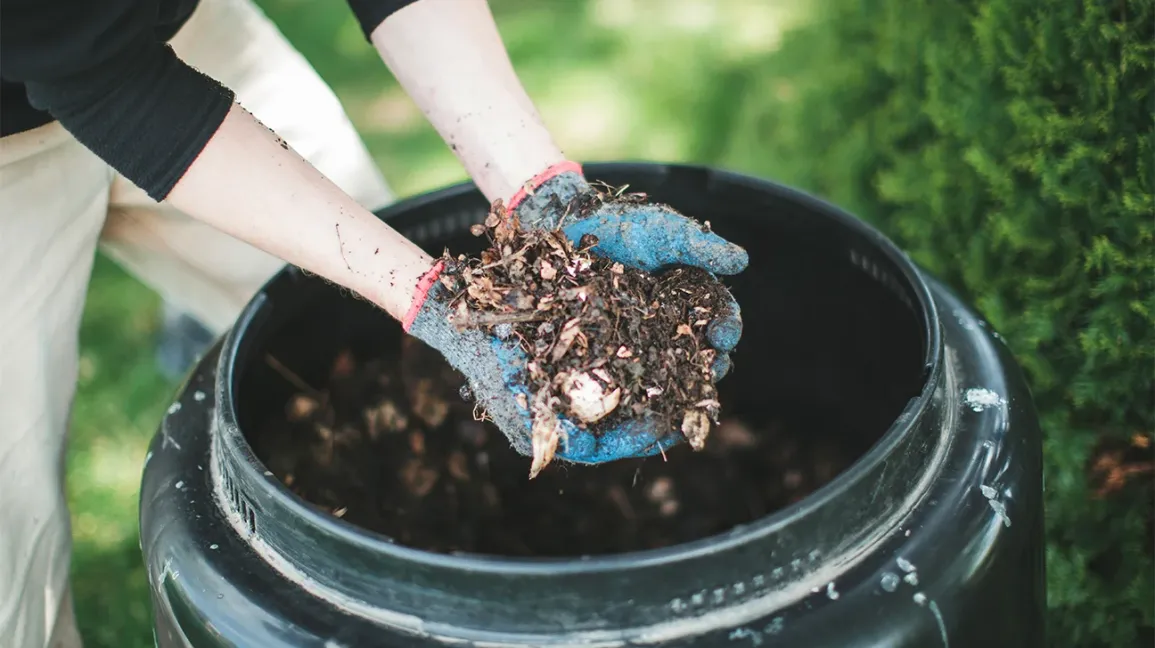
When it comes to balancing out the soil pH level, the decomposing compost increases microbial activity which can also neutralize the soil’s pH. Though because it’ll take a while to break down, this is a slow-acting solution.
What To Do
1. Prepare your compost.
2. Identify the ideal time to incorporate your compost into the soil.
3. Add your compost into the planting hole before adding in your seedling.
4. Water your soil generously to aid in releasing nutrients and getting your plant settled in.
5. Throughout the growing season, add more compost as necessary.
Introduce peat moss
| Difficulty | Easy ●●○○○ |
| Speed | Slow |
| Things You Need | Peat moss Rake |
Peat moss is another great way to lower your soil’s pH level because it’s naturally acidic. Because of its chemical composition, it’s a natural soil amendment that gradually neutralizes your soil.
However, it’s a slow-acting solution because it takes a while to break down. Nevertheless, this ensures that your seedling isn’t overwhelmed by the immediate change in pH levels.
What To Do
1. Choose the best type of peat moss readily available to you.
2. Till your soil.
3. Calculate how much peat moss you need for your growing area.
4. Dampen your peat moss with water before mixing it into your soil.
5. Evenly distribute the peat moss onto the soil.
6. Water the soil again to help the soil and peat moss better integrate with one another.
7. Throughout the growing season, add more peat moss as necessary.
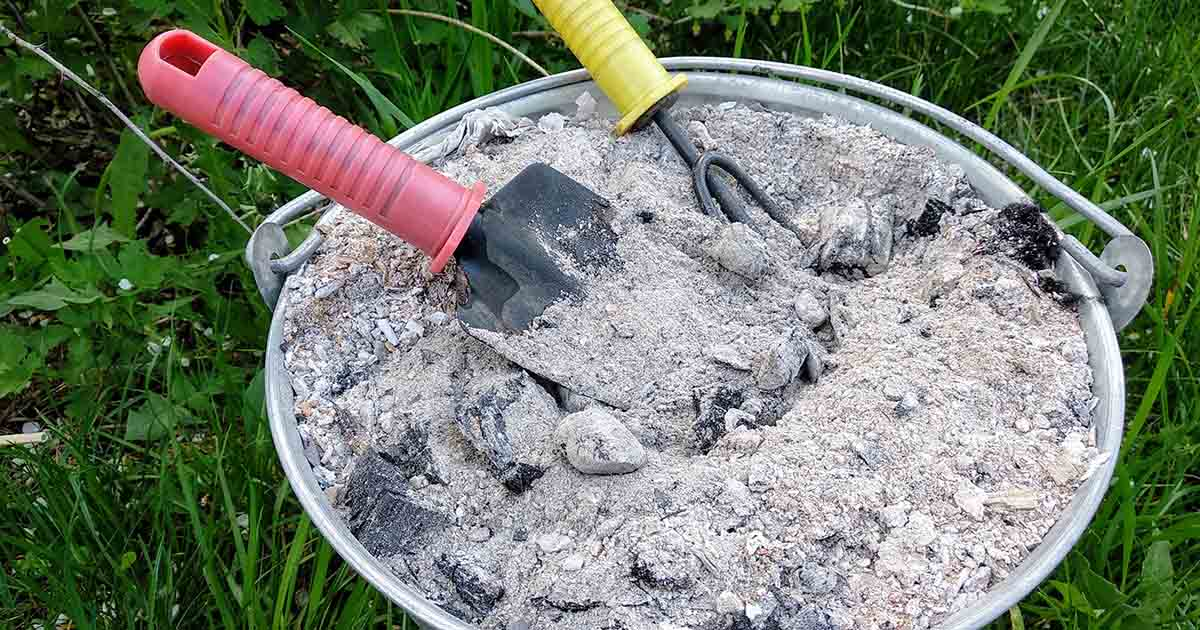
Increase Soil pH
Incorporate wood ashes
| Difficulty | Easy ●●○○○ |
| Speed | Slow |
| Things You Need | Wood ash Rake Shovel |
Because wood ashes contain calcium carbonate, it helps neutralize the soil’s pH level over time when combined with the hydrogen ions present in the soil.
However, it’ll take some time to fully take effect. Nevertheless, this is a cheap DIY solution that’s known to provide good results.
What To Do
1. Gather wood ash to cover the entire surface of the acidic soil.
2. Evenly distribute the wood ash on top of the soil.
3. Using a rake or a shovel, gently mix in the wood ash into the first few inches of the soil.
4. Water your soil deeply to promote absorption and ensure that the wood ash becomes well incorporated.
5. Add more wood ash throughout the growing season as it decomposes.
Mix limestone
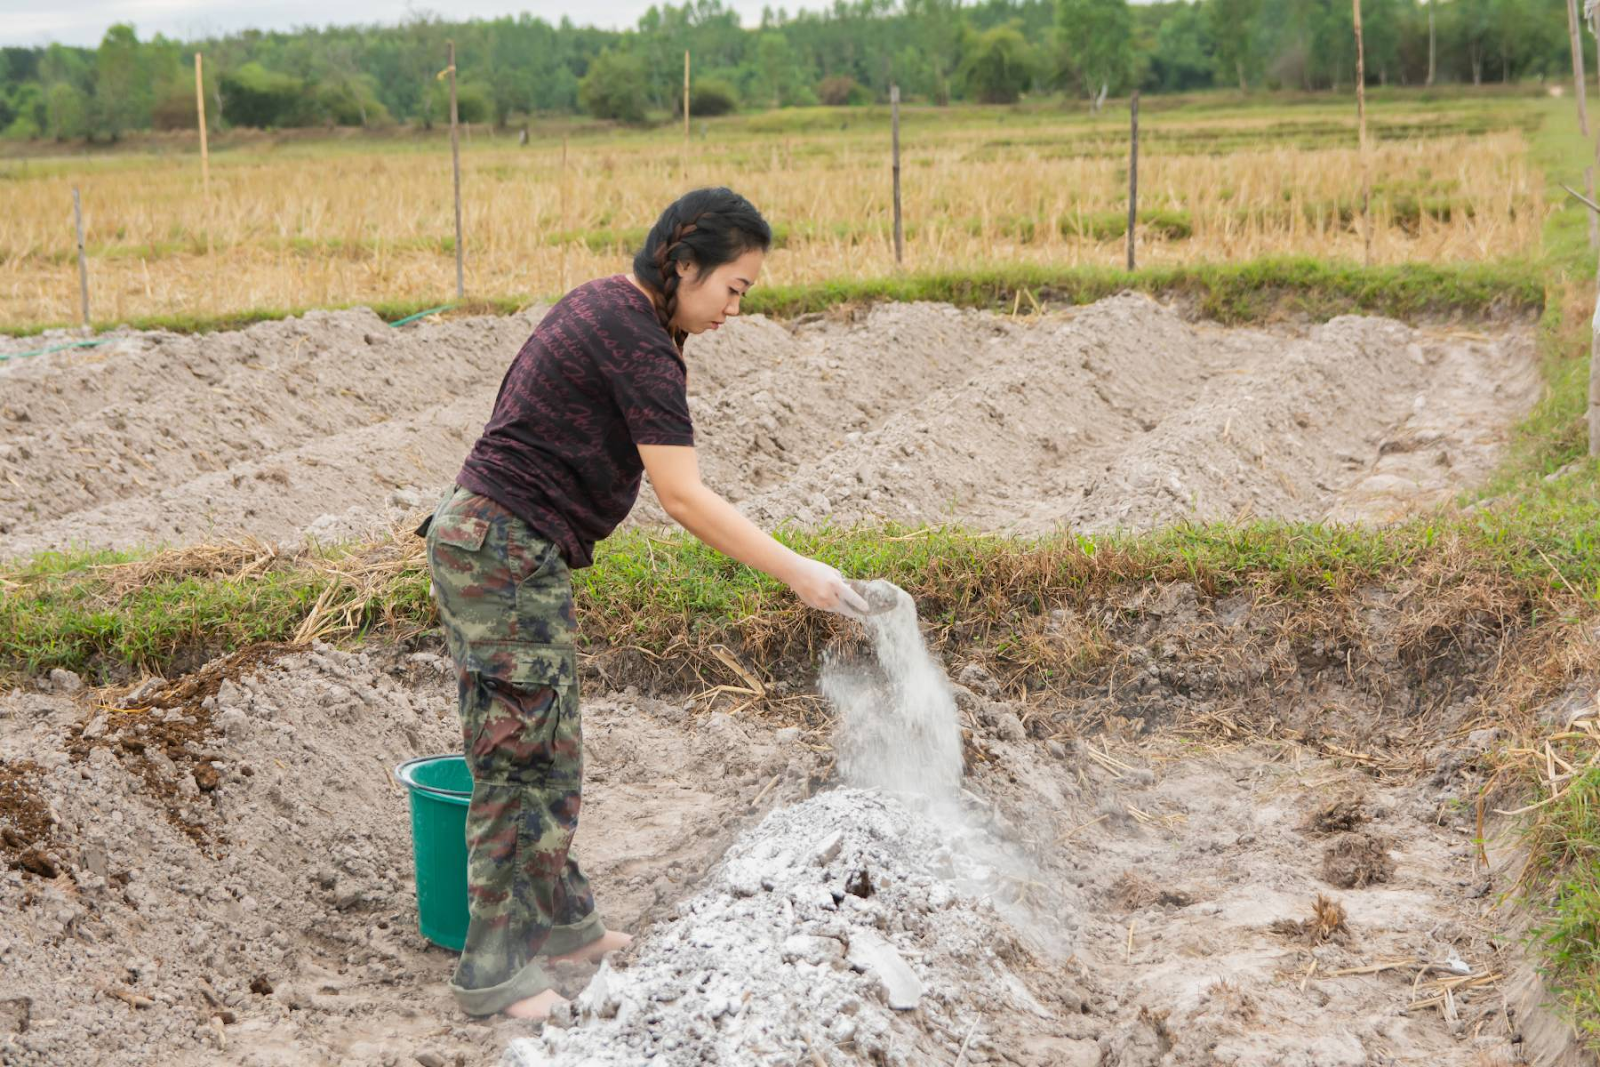
| Difficulty | Easy ●●○○○ |
| Speed | Slow |
| Things You Need | Limestone Personal protective equipment Rake or shovel Soil test kit |
Limestone works well because it’s water-soluble, making it easy for your soil to soak up.
However, this is another slow-acting method. Thus, patience will be needed before you’re able to see the complete effect on your seedling.
What To Do
1. Compute how much limestone you will need based on the results of your soil test and the total area you’ll be working on.
2. Equally spread out your limestone onto the soil.
3. Use a rake to gently mix in the limestone about 6 to 8 inches deep into the soil.
4. Give your soil a good watering to help the limestone settle better and to boost absorption.
5. Gradually add more limestone throughout the growing season as needed. Because limestone gets absorbed over time, you’ll need to replenish it every now and then until your soil has reached the desired pH level.
FAQs
You should remove yellowing leaves, especially when they’re caused by nutrient deficiencies, pests, and diseases.
Seedlings with yellowing leaves can recover as long as the problem has been diagnosed accurately and swift action is taken immediately to ensure a speedy recovery.
If the yellow leaves are caused by pests and diseases, then they could potentially spread to other nearby plants in your garden.
Seedlings with yellowing leaves can recover without any intervention on their own. However, it’s recommended to address these immediately to promote healthy development.