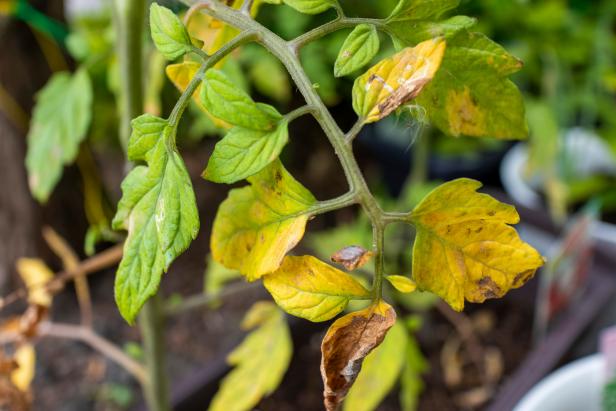
Yellow tomato leaves can be a worrying sight, especially if the plant has been thriving for quite some time. This can lead to us wondering if we did anything wrong.
Fear not, because yellowing tomato leaves can be easily fixed as long as you know how. Our article explores all the possible reasons for your tomato leaves turning yellow.
What causes yellow tomato leaves?
There are 10 possible reasons for tomato leaves turning yellow. These are:
| Causes | What You Can Do |
| Incorrect watering | Practice correct and balanced watering. |
| Waterlogged soil | Ensure good drainage for pots and soils. |
| Root rot | While difficult to revive, you can uproot your tomato and replant after removing decayed parts. |
| Seed leaves | Allow the yellow seed leaves to fall off naturally. |
| Transplant shock | Allow your tomato plant to adjust and harden off. |
| Compact soil | Loosen up the soil and incorporate soil amendments. |
| Pests and diseases | Determine the types of pests and diseases and treat accordingly. |
| Nutrient deficiency | Provide the correct and balanced plant nutrients. |
| End of tomato season | Trim and prune dead plant parts. |
| Soil pH level | Ensure correct soil pH level by balancing acidity and alkalinity. |
Most of the time, the solution to fixing yellowing tomato leaves is easy and quite simple. In order to understand what’s causing your tomato plant to display yellow leaves, let’s have a closer look at each of these reasons.
1. Incorrect Watering
One common reason for yellow tomato leaves is incorrect way of watering. This can mean two things: you’re either giving your plant too much or too little water.
When you pour in too much water, the leaves of your tomato plant will turn yellow and soft. Additionally, constantly-wet soil from overwatering can cause the roots of your tomato plant to develop root rot.
On the other hand, with too little water, your tomato plant will have dry yellow leaves. This will also dry up its root system, causing the entire plant to become limp, dry, and wilted.
The important thing is to give them the right amount of water. Here’s how you fix this condition.
What You Can Do: Balanced Watering
Resolve Overwatering
You will know if your soil is overwatered when the topmost layer is constantly wet. This is an indication that the soil is waterlogged from too much watering.
Here’s how you can fix this:
- Allow the topmost soil of your tomato plant to dry out a bit.
- Check by inserting a finger into the soil.
- If the soil is about an inch dry, then it means it’s an ideal time to water the plant.
Fix Underwatering
Extremely dry soil is one characteristic of unbalanced watering.
Here’s you can fix this:
- Water your tomato plant more often to determine the right watering schedule.
- Check the soil for dryness or moisture frequently.
- Water your tomato plant only when the topmost inch is completely dry.
Practice Proper Watering
Water your plants correctly by remembering the following:
- Water the soil and not the leaves of the plant to avoid sun burns.
- Be mindful that excess water on parts of your plant will encourage fungal growth.
- Water your plants early in the morning or early evening, as these are the most ideal times to do so.
2. Waterlogged Soil
When the soil is constantly holding too much water, the root system of your tomato plants can drown. This results in wilted and yellow tomato leaves.
What to Do: Check Soil Drainage
There are two reasons why your soil can become waterlogged. One is improper drainage while the second one is due to too much clay content in your soil.
Here’s how you can fix waterlogged soil caused by improper drainage:
- Check your pots to see if the drainage holes are adequately clear.
- If your drainage holes are blocked, remove the blockage right away.
- Repot your tomato plant with the right type of soil.
Here’s how you can fix waterlogged soil caused by too much clay content:
- Check your soil if it is too densely packed since it is an indication of high clay content.
- Amend your soil by adding more compost and gardening sand to make it loose, crumbly, and well-draining.
- Repot your plant in the newly-amended soil and water as usual.
3. Root Rot
Root rot is often caused by overwatering. This happens because the root system is suffocated by too much water and, as a result, it starts to deteriorate and decompose.
What to Do: Check if Recovery is Possible
Typically, it is quite difficult to save tomato plants with extensive root rot.
In case you suspect root rot, here’s how you can still try to save your plant:
- Uproot your tomato plant.
- Check the root system for signs of soft, mushy, and rotting roots.
- Remove the decayed parts and replant your tomato in new soil appropriate to its needs.
- Water your plant as usual.
4. Seed Leaves
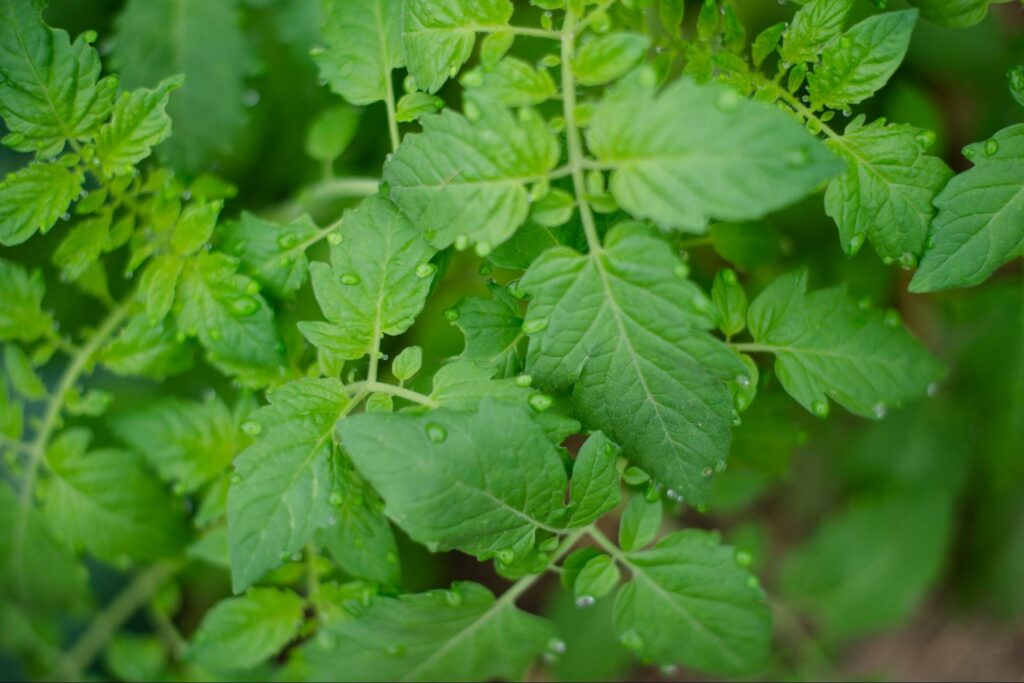
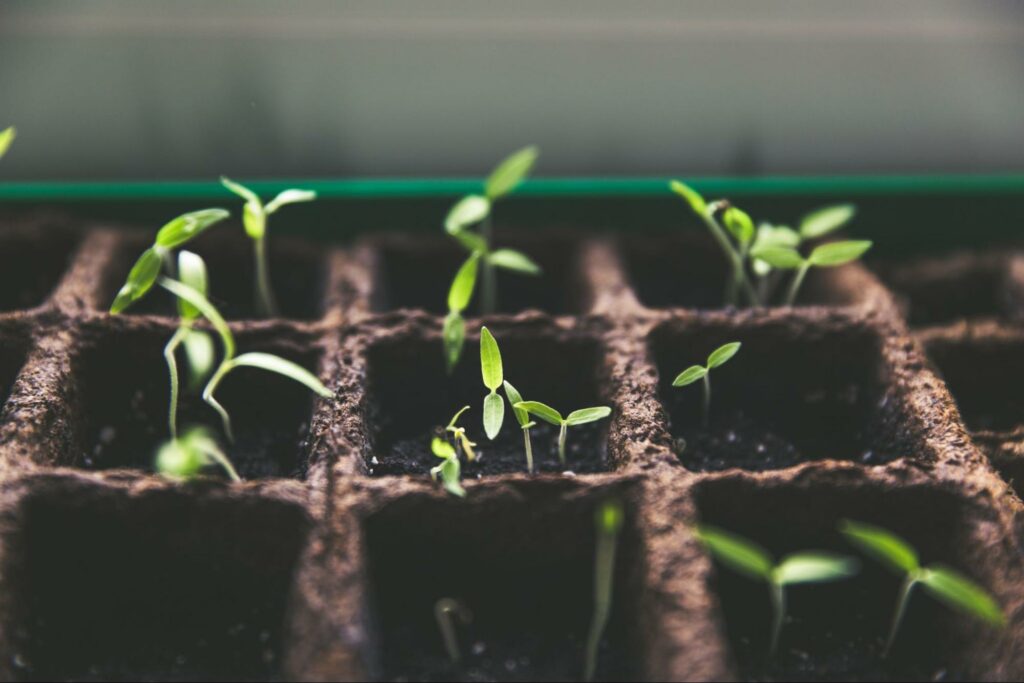
Seed leaves are known as cotyledons, which are the first leaves formed after germination. They eventually turn yellow and fall off once the plant’s true leaves start to emerge.
What to Do: Let Nature Do Its Thing
You can relax if the seed leaves are turning yellow because it is part of the natural growing stage of your plant. You might be tempted to pluck them off, but the best thing to do is to leave them alone until they fall off by themselves.
If this is your case, then learn to leave your seedling alone. This is part of its natural growth process and your seedlings will develop true leaves later on.
5. Transplant Shock
Sometimes, yellow tomato leaves occur around a week or two after you transplant your seedlings. When this is the case, you can be sure that the reason is transplant shock.
This is your plant’s way of adjusting to its new environment. Instead of focusing on producing more leaves, transplanted tomatoes will focus their energy on establishing healthy root systems in their new soil.
Fortunately, this is a natural reaction and is not a cause for worry since it is temporary. Once your tomato plant adjusts to its new environment, new growths will be healthy and green.
What to Do: Let Your Plant Adjust
Transplant shock is usually caused by new environmental factors such as sunlight and temperature. When your plant has gotten used to partial sunlight, it will react with shock once you relocate it to an area with more sunlight exposure.
The same goes for temperature. This is why experienced gardeners acclimatize their tomato plants by slowly moving them into their new environments instead of instantly placing them in their new locations.
Hardening Off
To acclimatize your plants, allow them to slowly receive higher levels of sunlight and temperature by incrementally moving them towards their new locations every two weeks.
This process is called hardening off. Hardening off will help them get used to their new surroundings.
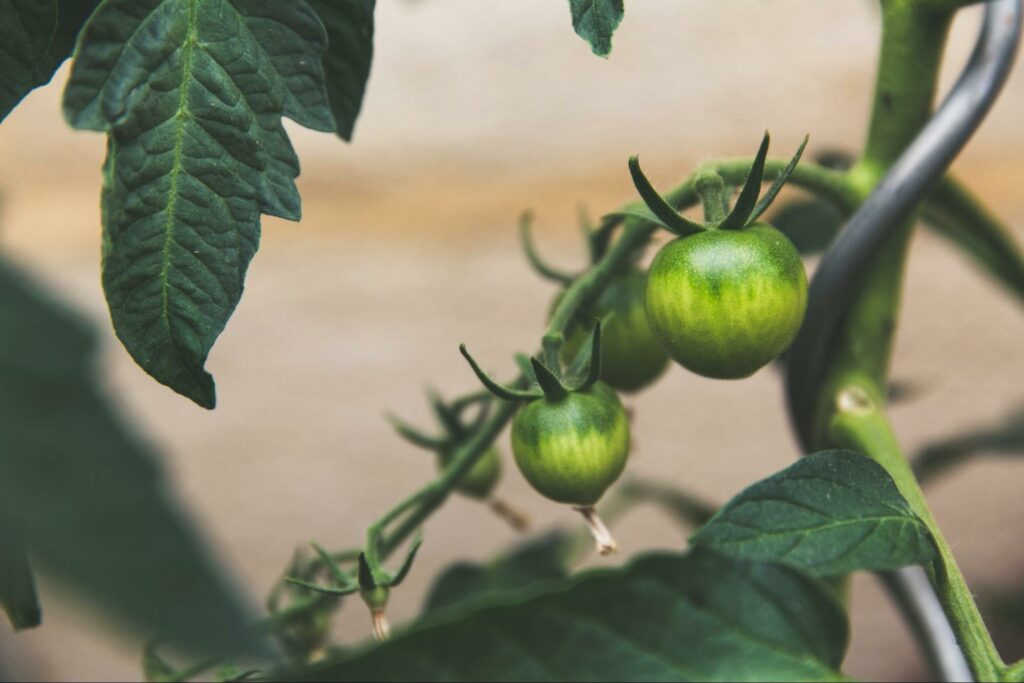
6. Compact Soil
Yellow tomato leaves are also a sign of soil compaction. This means that the soil does not allow water to pass through freely due to inadequate aeration.
When this happens, the roots start to suffocate. Access to water, oxygen, and nutrients becomes blocked. Consequently, the tomato plant suffers and its leaves begin to yellow.
What to Do: Loosen Up the Soil
You can aerate the soil by grabbing a trowel to loosen it up. However, you need to be careful since this can damage the root system.
Soil Amending
The best way to improve the soil is to add soil amendments. These can be in the form of compost, gardening sand, or even pebbles.
Compact soil is often the result of too much clay in the soil composition. Adding coarser materials will help the soil become more permeable and allow the roots to grow in a healthy manner.
Compost is a great solution since it is organic matter that will improve the soil texture and quality as it decomposes. To avoid compacting your soil any further, grow your tomato plants on raised beds to keep from walking on the soil around them.
Here’s how you can amend your soil:
- Take out your compacted soil and break it apart in a flat pan or bucket.
- Slowly add in your preferred soil amendment.
- Mix everything together well until the mixture is loose and crumbly.
- Place your soil in the pot and plant as usual.
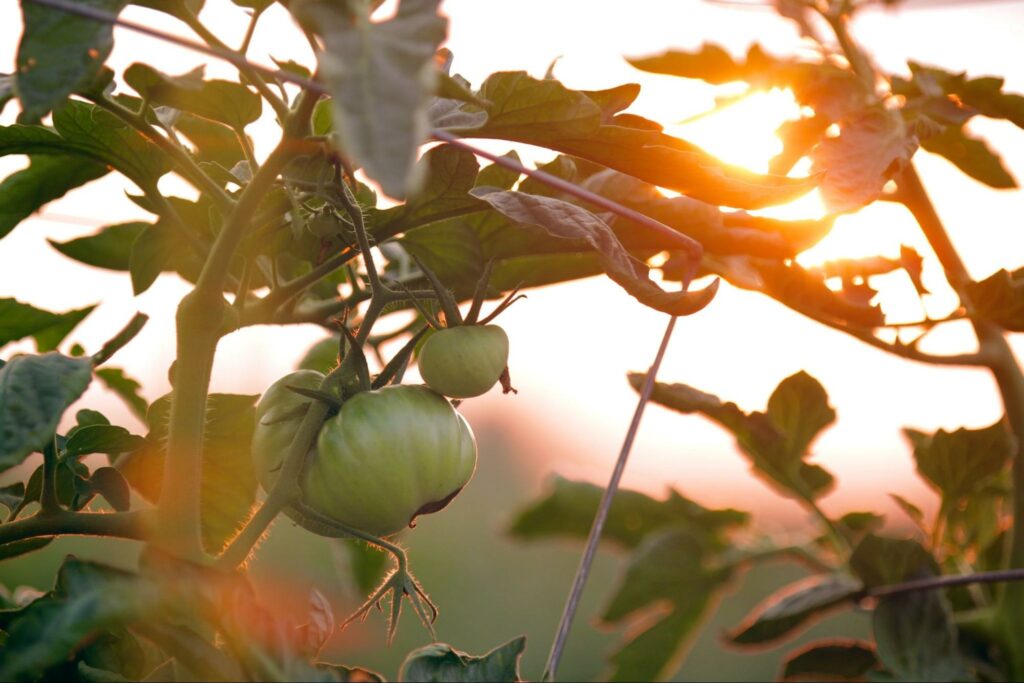
7. Pests and Diseases
If your tomato plants have been healthy so far from receiving correct care, then the yellow tomato leaves might be caused by pests or diseases. Most pests (row 5 – tomato pests) can be easily treated, while there are certain diseases that are harder to resolve.
Here are some common pests and diseases to watch out for:
Early Blight
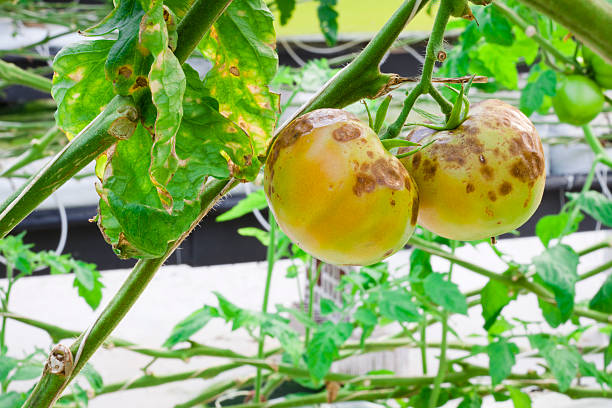
For instance, early blight causes tomato leaves to form a pale yellow spot which eventually turns dark brown with yellow edges. Early blight is caused by two fungal pathogens, Alternaria tomatophila and Alternaria solani.
Fungal Diseases
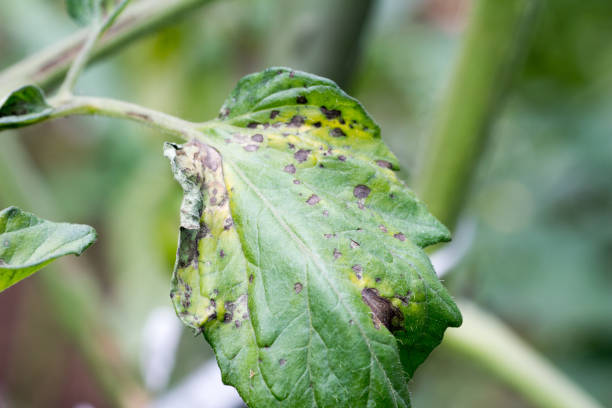
Other fungal diseases, such as the Septoria leaf spot, cause leaves to turn yellow similar to early blight. When left untreated, fungal diseases can easily spread to other plants.
Wilt
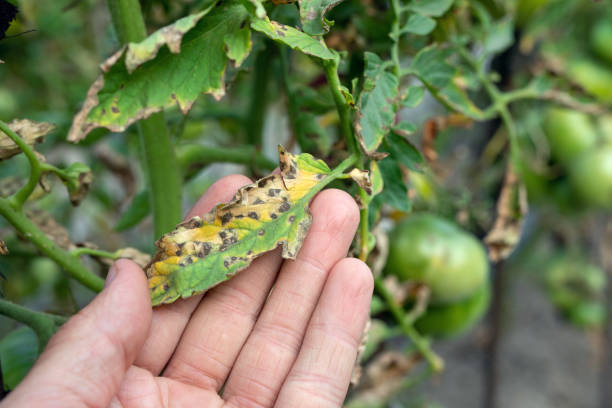
Another cause of yellow leaves is wilt, which includes Fusarium wilt, Verticillium wilt, and Bacterial wilt. These are also caused by fungal infections.
What to Do: Treatments
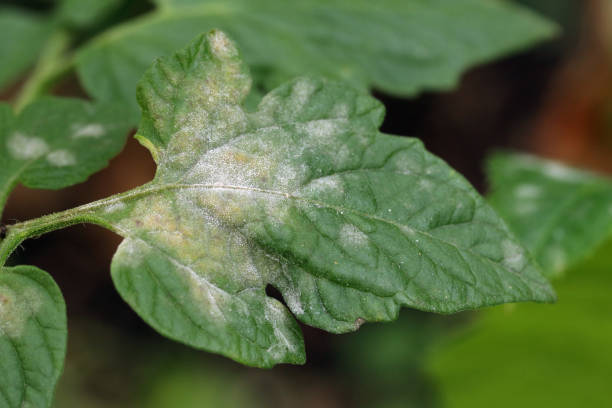
If discovered early, Septoria leaf spot and early blight can be treated by removing the affected leaves and safely discarding them from other plants to avoid contamination.
Here’s a summary of what you can do for fungal diseases and wilts:
| For Fungal Diseases | Fungicide can be applied to treat diseased plants. Just make sure to follow the instructions on the label. |
| For Wilts | Wilt has no cure and will quickly spread through any form of contact. Therefore, plant removal is the only option. When removing diseased plants, make sure that your clothing and tools are sterilized completely when you go back to check on your plants. |
Prevention is key in growing tomatoes. Select disease-resistant varieties, clean your tools, and allow your plants enough space for airflow and ventilation.
8. Nutrient Deficiency
Typically, yellow leaves in healthy tomato plants can be traced to nitrogen deficiency. Nitrogen is essential to plants in order to produce healthy green leaves.
When a plant lacks nitrogen, then older leaves will begin to yellow without wilting. Micronutrients also play a part in keeping the leaves of your tomato plants green.
Zinc, sulfur, iron, and magnesium all play a part in helping plants process photosynthesis.
What To Do: Fertilize Your Tomato Plant
Once you have determined that your plants need more nutrients, apply a balanced all-purpose fertilizer. Commercial fertilizers work quickly to add nutrients to the soil.
You can also have your soil tested to check and see what nutrients are lacking. Some local county offices do this test for free or for a small fee.
You can also purchase commercial soil test kits, although they are not as complete or as accurate.
Here’s how you can fertilize your tomato plant:
- Select the appropriate fertilizer for your needs.
- Read the instructions on the package and follow accordingly.
- When in doubt, keep your concentration lower than suggested to avoid chemical burn.
- Apply your fertilizer as directed.
Organic Fertilization
For a long-term organic solution, apply compost. It’s incredibly balanced, brimming with nutrients that are released slowly over a long period of time.
Here’s how you can apply compost to your soil:
- Apply your compost directly on the soil as a mulching material from one to four inches thick.
- You can also choose to work the compost into the soil by turning both materials over, but keep away from any roots.
- Water the soil as usual.
9. End of Season
You might have been having so much fun growing tomato plants that you forgot it’s the end of the season. Check your tomato’s growing season if it’s early, mid, or late.
This way, you’ll get an idea if the timeframe fits their end-of-season harvest and life cycle. If this is the case, then you don’t need to worry.
What To Do: Trim and Prune
Yellow end-of-season tomato leaves will drop off to signal the final harvest. Once this happens, you can trim off any dead parts and new growths to help the plants focus on their fruits.
Here’s how you can trim and prune your tomato plant:
- Identify the dead and diseased parts, trim them off, and dispose of them safely.
- Snip off the suckers that grow in between stems and leave the bigger stems alone.
- Don’t prune off excessively to avoid shocking your tomato plant.
10. Soil pH Level
While tomato plants can be grown in neutral soil, they are best planted in slightly acidic soils ranging from 6.2 to 6.8 pH levels.
What to Do: Check Your Soil’s pH Level
You can determine your soil’s pH level by getting a test kit at gardening centers. Simply follow the instructions on the kit and learn if your soil is too alkaline or overly acidic.
Then, you can make the necessary adjustments:
| To increase alkalinity | Add agricultural limestone |
| To increase acidity | Add more compost |
As long as you don’t panic, you (and your tomato plant) will be fine.
You can tick off these possible causes until you arrive at the correct one. We’re sure that you’re going to be on your way to becoming an expert tomato gardener and plant doctor after reading this!
Do you have other tips and tricks about treating or preventing yellow tomato leaves? Let us know by leaving us a message here.


