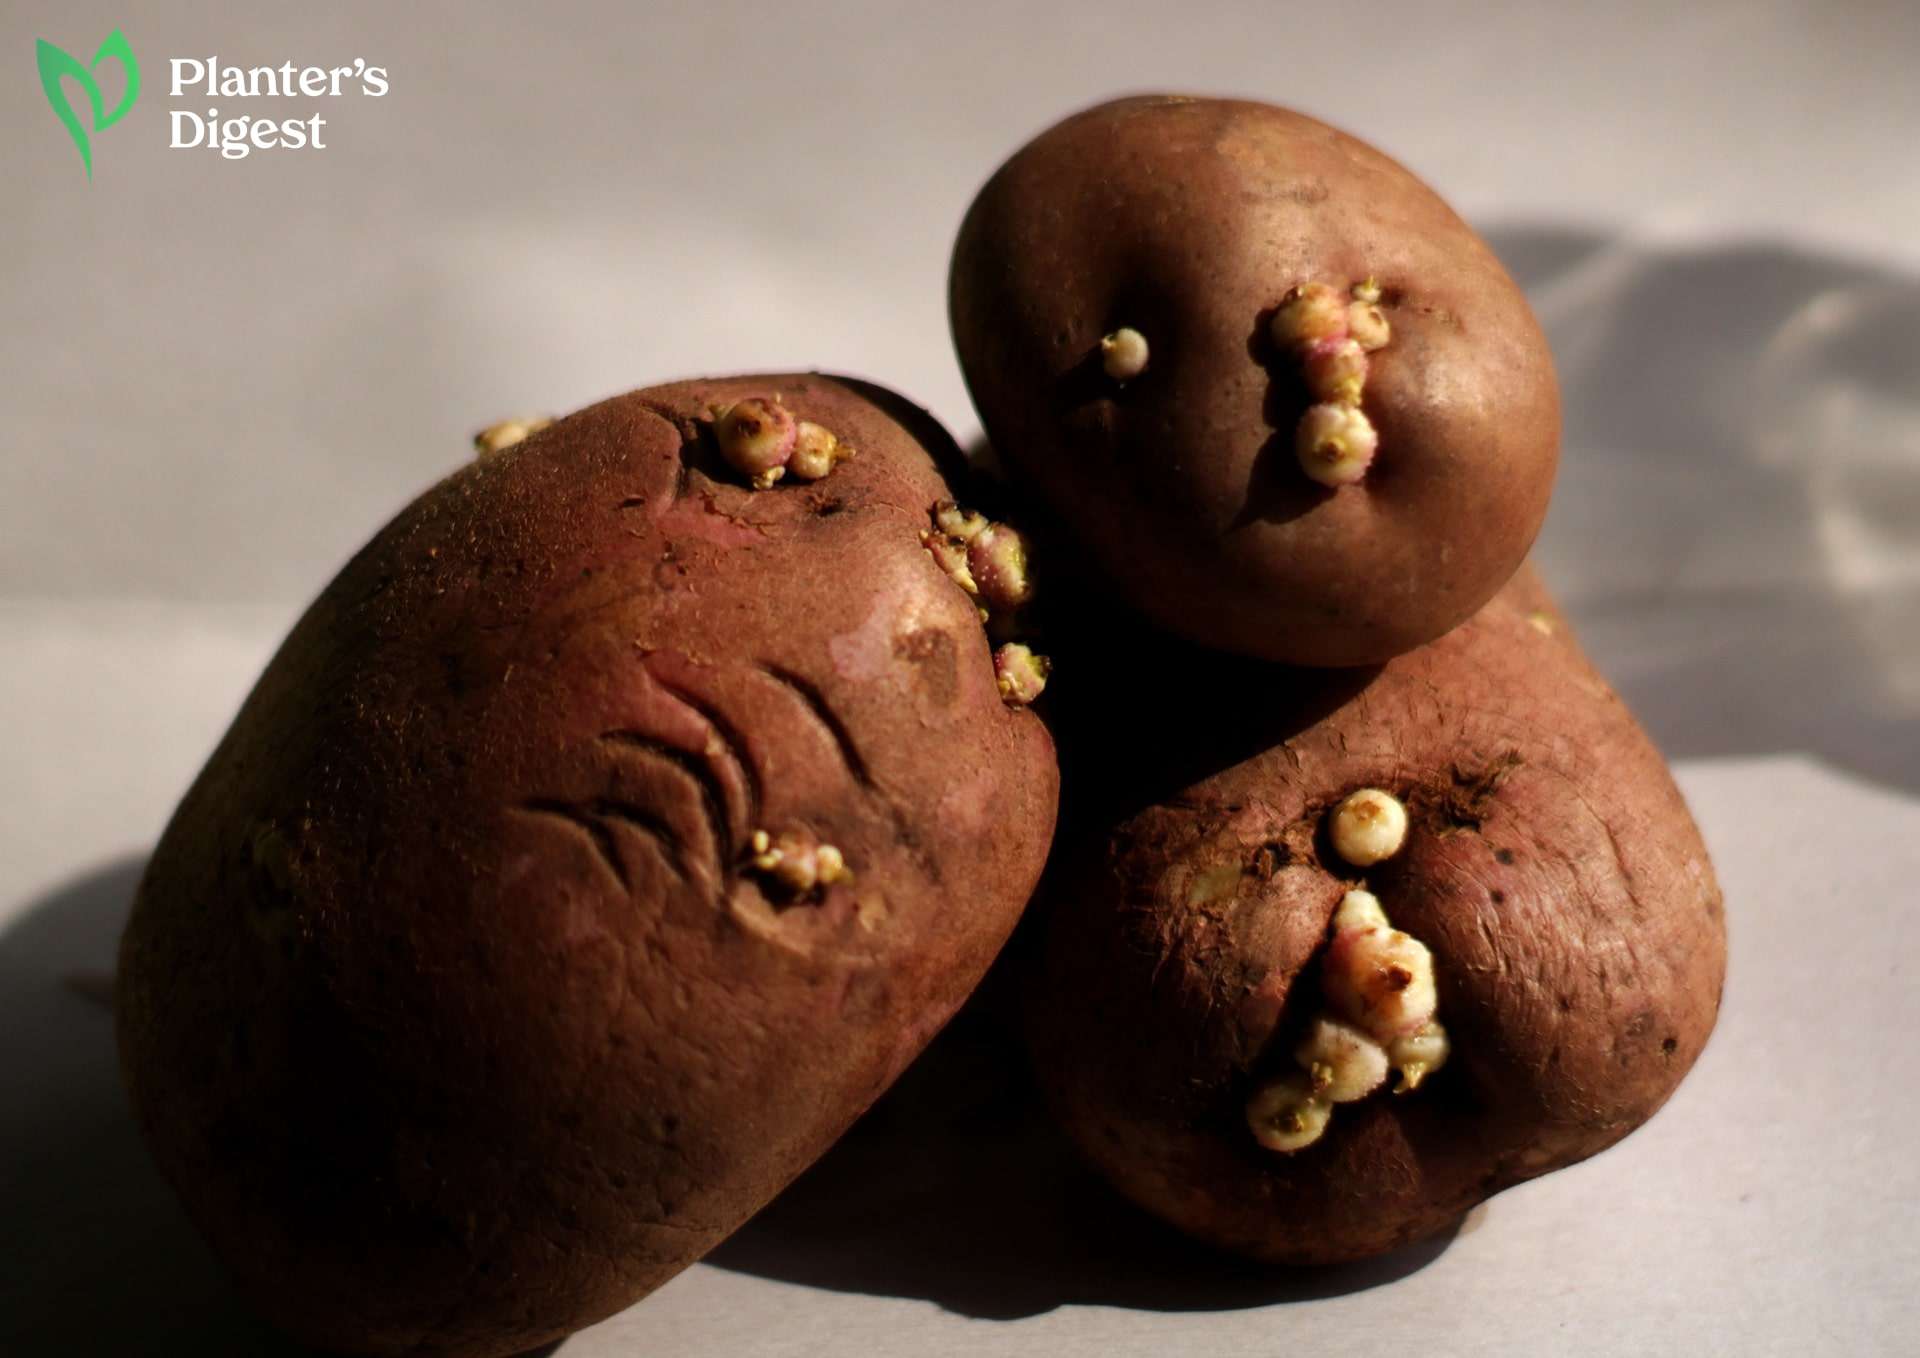
Did you know that you don’t need seeds to plant potatoes? In fact, you use the actual potato itself to grow a new potato plant!
All you need to do is to sprout the potato and plant them. Read on as we guide you on how to plant and take care of these seed potatoes!
Can you plant sprouted potatoes?
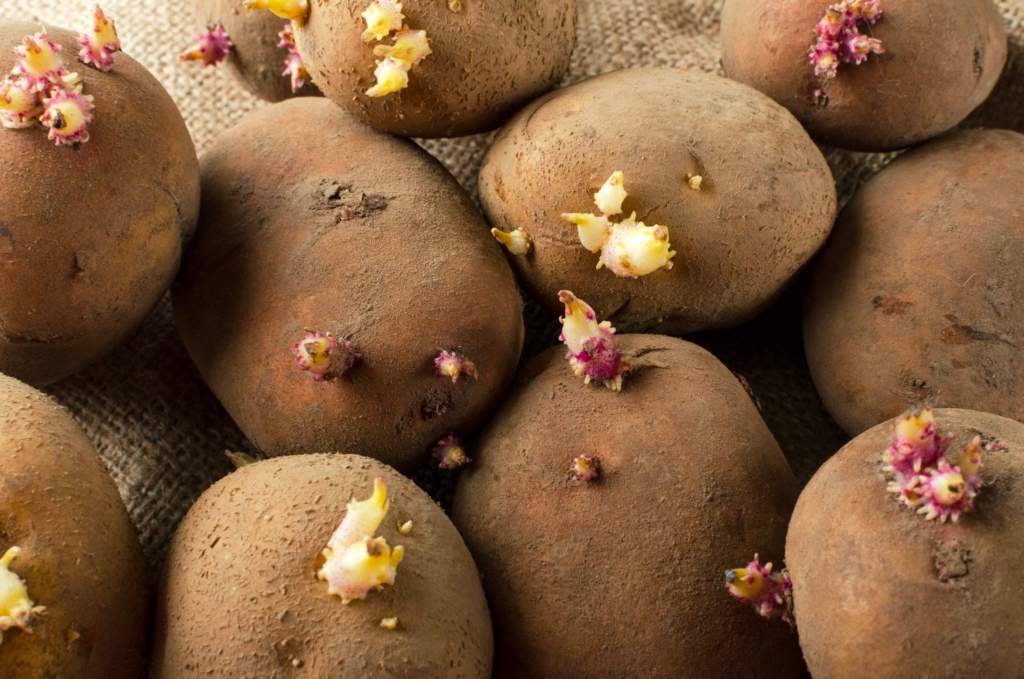
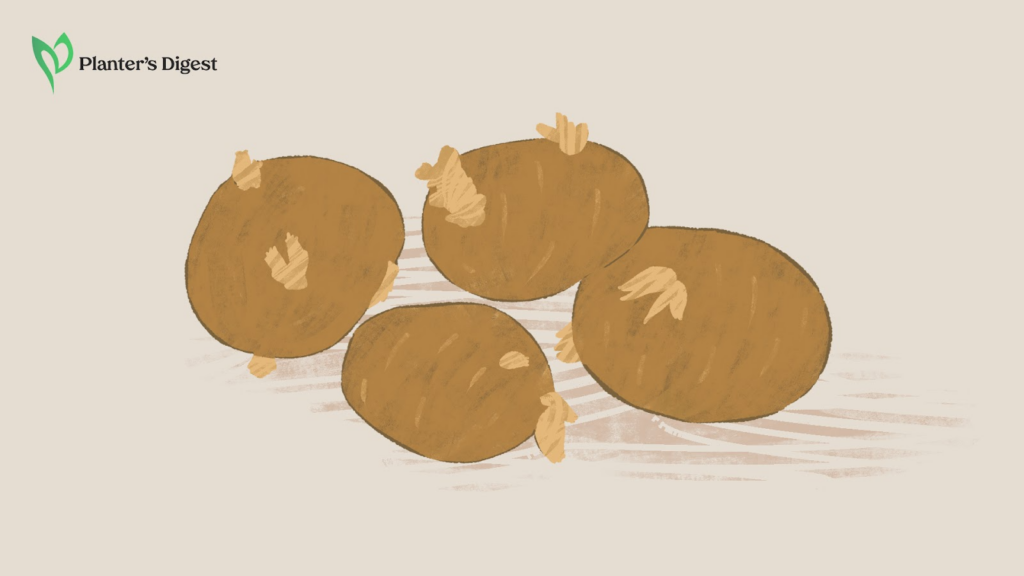
You can plant sprouted potatoes. These sprouts grow like small white roots out of the “eyes” of the potato; and, when planted, will grow into a new potato plant.
Each potato has “eyes” or buds. When sprouts emerge from these eyes, the sprouted potato or seed potato is now ready for planting.
Potatoes have specific cells in their buds, which turn into their stems and roots. These potatoes absorb as many nutrients and starches as possible to help them grow into new plants.
With the proper planting conditions, you’ll soon be able to harvest those starchy tubers underground.
Store-bought vs. Seed Potatoes

Whether store-bought or seed potatoes, both can grow new potato plants.
However, most store-bought potatoes are meant to be eaten, so they contain sprout inhibitors. These inhibitors improve their shelf life but make it more challenging to sprout buds and grow new potatoes.
On the other hand, seed potatoes are more natural because they can quickly sprout those eyes and buds and be planted into a new potato plant. They are also often treated to be more resistant to plant diseases.
Planting Conditions for Sprouted Potatoes
Sprouted potatoes grow best when planted in a sunny area, well-drained, acidic, cold soil, and during the spring season.
Let’s know how we can cultivate these conditions for sprouted potato plants.
1. Sunny Area

Potatoes are sun-loving plants that need 6 to 8 hours of direct sunlight daily. So, don’t place potato plants in shaded areas because this will give you smaller potatoes to harvest in the future.
2. Well-Drained Soil

Well-drained soil is a must for potato plants.
A remedy that you could try if your soil is poorly drained is to add compost or manure. This will supplement the humus and improve the drainage system of the soil.
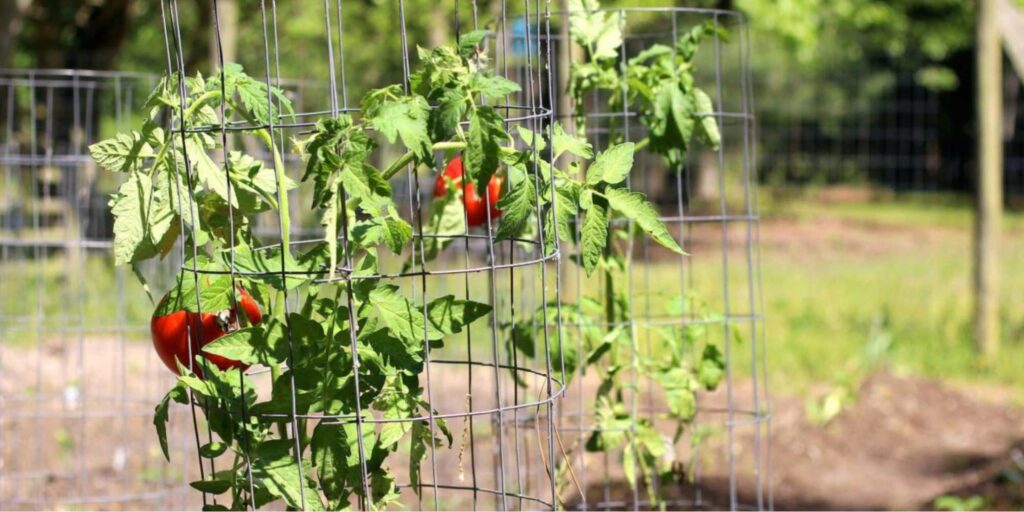
Make sure also to use different soil for potatoes and tomatoes. As members of the Nightshade family, these two crops share some plant diseases like early blight, and you wouldn’t want to risk your potato plant or any plant from contracting them.
3. Acidic Soil

According to Cornell University research, potato plants prefer acidic soil with pH levels between 4.8 to 5.5.
If the soil gets a higher pH level, you can try lowering it by adding elemental sulfur. On the other hand, if you want to increase the pH level, you can add peat moss to acidify the soil for the potato plant.
4. Spring Planting

Potatoes are grown best in spring, giving you just enough time to harvest them in the fall. During this season, potatoes will have at least eight weeks to grow and establish their roots before the hard winter frosts come.
5. Cold Soil Temperature

Potatoes love the cold weather, precisely a soil temperature of 60 to 68˚F (15 to 20˚C). Make sure to plant potatoes before the frost arrives because it would kill the plant before it develops the coveted starchy tubers underground.
How to Plant Sprouted Potatoes

| Planting Requirements | |
| Light | 6 to 8 hours of full sun |
| Soil | Well-drained soil |
| Soil pH | 5.5 to 7 |
| Soil Temperature | 60-68˚F (15-20˚C) |
| Mound Height | 8 to 12 inches |
| Planting depth | 2 to 3 feet |
| Container capacity | 10 to 15 gallons |
| Water Needs | 1 to 2 inches per week |
Let’s start with preparing the planting site for sprouted potatoes.
Choose an area where the potato plant will get 6 to 8 hours of full sun every day. This will make sure the formation of large potatoes come harvest time.
You should also use well-drained soil to prevent waterlogging and rotting. Just make sure that the soil pH level is maintained between 5.5 to 7.
Compost or manure can also be added to the soil before planting to provide the necessary nutrients to the potato plant.
We also want to prevent the tubers from getting exposed to sunlight and producing the toxic substance solanine, so keep the mound heights on the potato plant between 8 to 12 inches tall.
Mounding and hilling will also give the plant more space to spread underground and produce more potatoes.
Should you choose to plant them in a pot or container, make sure it can handle 10 to 15 gallons of soil, with enough room to plant the seed potatoes 2 to 3 feet deep.
Now that the basics are covered. Let’s start planting sprouted potatoes!
1. Sprout the potatoes.
| Difficulty | Easy ●○○○○ |
| Duration | 30 minutes to 1 hour |
| Things You Need | • Potato • Knife |
We call the process of encouraging seed potatoes to sprout “chitting.” Once the potato sprouts, it’s the ultimate sign that it’s ready for planting.
Each potato sprout can be cut and grown into a new plant. So you can cut each sprout into as many potato plants as you’ll want to grow.

Make sure to leave one eye per piece of seed potato. This gives enough space for the plant to grow and prevents competition among plants for water and nutrients in the soil.
| How To Do 1. Slice the potato into small pieces. Leave one sprouted “eye” on each slice. 2. Wait for sprouts to emerge on each eye. 3. Leave the potato pieces out for a few days to dry out and seal out any plant disease. |
2. Prepare the planting area.
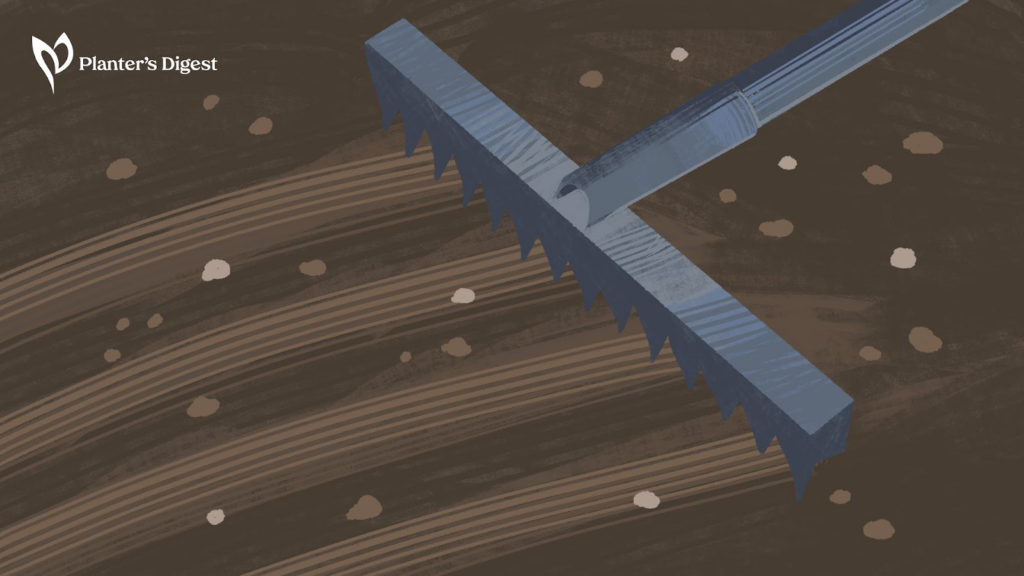
The two most common places to plant potatoes are in trenches or containers.
Trenches are more advisable for long-sprouting potatoes because this gives them a lot of space for planting and growing for those tubers underground.
Gardeners would also have fewer problems with their sprouts bending or breaking off with 8 to 12 inches tall mounds to support them.
On the other hand, containers are also a good option for potato plants. They are more compact, and you can more easily control their environment.
Whichever way, you should give the potato plants enough space for hilling, weeding, and watering throughout the growing season. It would also prevent the plants from competing with one another from the nutrients of the soil.
At a glance, here is the spacing needed when planting potatoes.
| Space | Spacing Requirements |
| Trenches | • Holes – 4 inches deep and 12 inches apart • Trench – 4 inches deep for the entire row • Row – 1 foot apart; 10 feet wide for 10 potato plants • Height – 8 to 12 inches tall |
| Container | • Height – 2 to 3 feet tall • Capacity – 10 to 15 gallons |
3. Plant the sprouted potatoes.
| Difficulty | Easy ●○○○○ |
| Duration | 30 minutes to 1 hour |
| Things You Need | • Sprouted potatoes • Soil • Rake • Water |
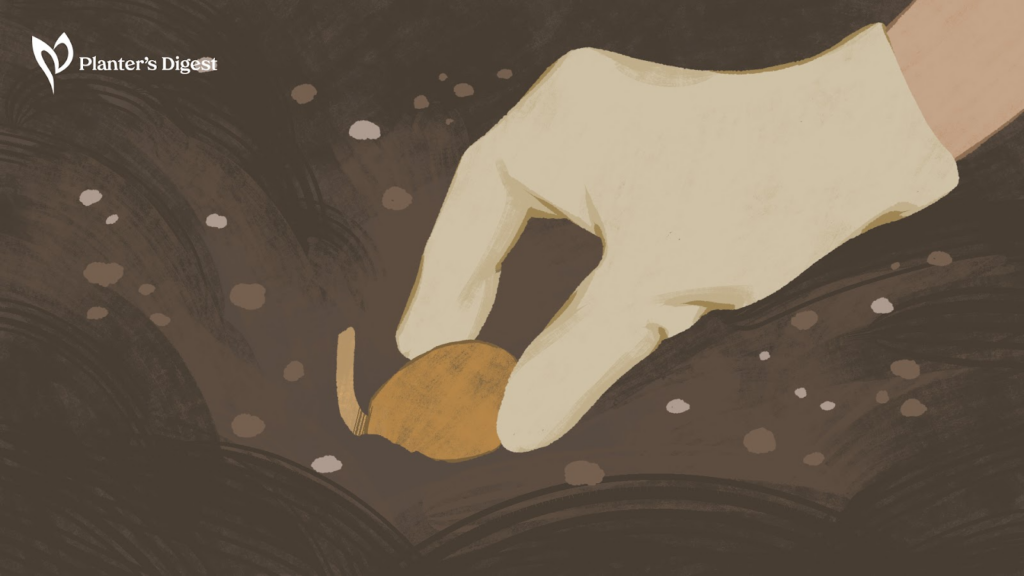
Dry and scabbed seed potatoes signal that these pieces are ready for planting. These seed potatoes should be planted with the sprout facing up and the cut side downwards.
| How To Do 1. Place the seed potato in the 4-inch deep hole in your trench or container. Make sure that the eyes of the seed potato are facing upward. 2. Space out each plant at least 12 inches apart to give the plant enough room to grow. 3. Cover the sprouted potatoes with 4 inches of soil or until the hole is covered up to the soil’s surface. 4. Regularly water the potato sprouts and give them access to direct sunlight. |
4. Harvesting
| Difficulty | Easy ●○○○○ |
| Duration | 30 minutes to 1 hour |
| Things You Need | • Potato • Garden gloves • Garden fork • Vegetable brush |
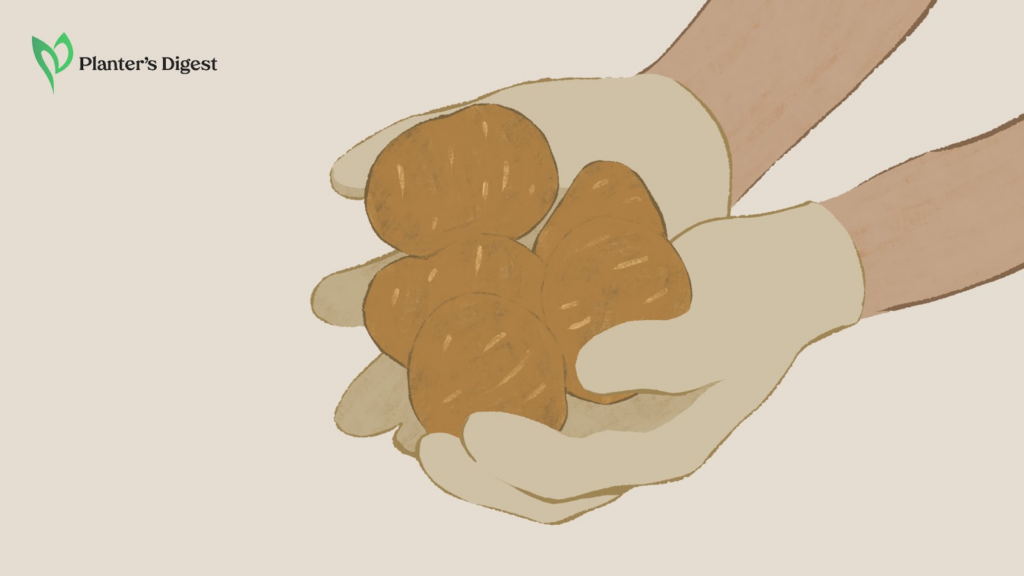
Potatoes are generally ready for harvest within 90 to 120 days (13 to 17 weeks) after planting.
As a sign of the upcoming harvest season, the potato plant leaves turn yellow and wilt away, and the plant will die back.
But don’t be scared because this is actually a good sign! It means the potato harvest season is near.
You read that right. 2 to 3 weeks after the potato plant dies, the potatoes underground become ready to harvest!
| How To Do 1. Using garden gloves or a garden fork, sift through the mounded soil until you find the potato tubers. 2. Use a soft vegetable brush to clean off the dirt on the harvested potatoes. 3. Leave them out to dry so that their skins will get thicker and extend their storage period. |
How to Care for Potato Plants
The whole planting journey does not end with putting the sprouted potatoes on the ground. These potato plants still need proper watering, hilling, harvesting, and storing.
Read on to learn how you can take care of your potato plants.
1. Watering

Make it a habit to regularly check the moisture of the soil. If the top inch or soil surface feels dry to the touch, you should water your potato plant immediately.
Watering potato plants is best done during midday to give the plant’s leaves sufficient time to dry off before the sun goes down.
This is because moist or wet leaves become a breeding ground for bacteria or fungi that cause plant diseases.
Newly planted sprouted potatoes should receive less watering during their early days to prevent them from rotting. It’s best to water them once the plant actually emerges from the soil.
Later in the growing season, be mindful of the time when the potato vines die because this is the sign of lessening watering over the potato plant to prevent the tubers from rotting before you can harvest them.
2. Hilling

Hilling is a common gardening practice where potato shoots are constantly covered by mounds of soil. This proven and tested method helps the plant grow stronger, produce larger potatoes and prevent sun damage.
When the tubers begin to rise above the soil and become exposed to sunlight, they turn green. And although green is the color of nature, don’t be fooled because this is a sign that the tuber now contains the toxic chemical solanine.
These tubers are covered in soil and not exposed to sunlight through hilling. In practice, simply cover two-thirds of the plant with soil whenever it grows 6 inches above the ground.
3. Storing

Once the potatoes are cured, you can store them in a cool, dark, dry place. This will prevent them from sprouting and make them ready for you to eat anytime.
A rule of thumb in storing potatoes is to gently brush off the dirt but never wash the potatoes. Otherwise, they will begin rotting.
You can now store these potatoes to eat them or sprout new ones to repeat the cycle all over again.
Common Potato Plant Problems
There are still other problems that can come in the way of potato plants. The most common potato plant problems come in the form of the Colorado potato beetle and potato blight disease.
1. Colorado Potato Beetles
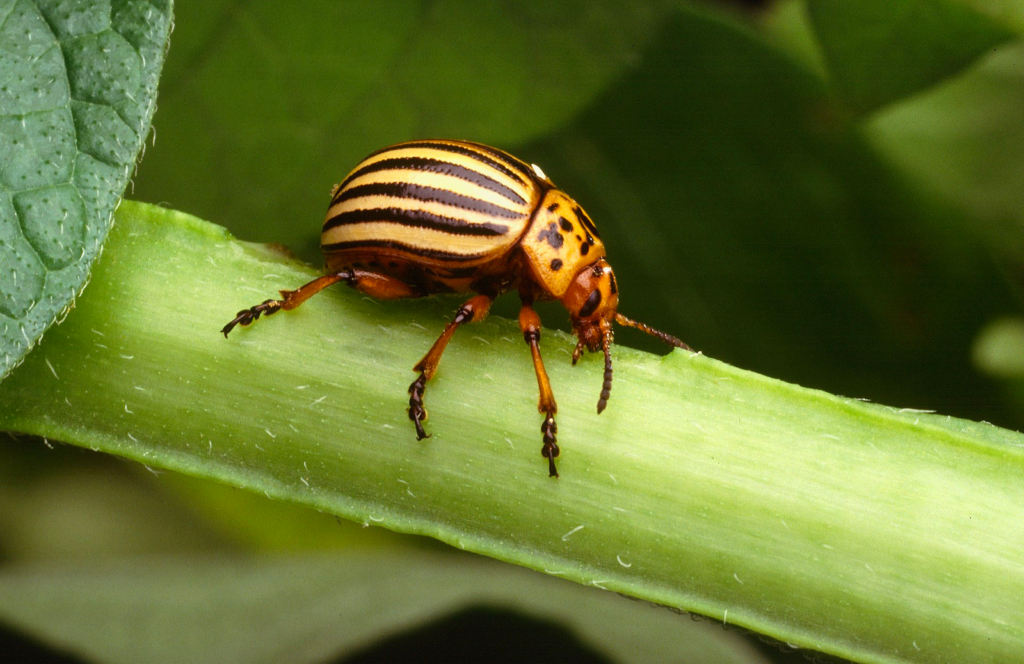
The Colorado potato beetle is one of the most potato-loving garden pests. They have black and yellow stripes along their back and are usually half an inch in size.
This beetle can lay as many as 500 eggs in a span of 5 weeks, and you can find all these under the potato leaves.
This is largely why potato beetles are the common culprit of the defoliation of potato plants.
| How To Fix 1. Practice crop rotation . Crops should not be planted in the same place every 3 to 4 years to prevent the spread of pests and diseases in the garden. 2. Spray hydrogen peroxide or a dish soap and water solution. Chemical or homemade pesticides will help keep the potato beetles away from the potato plant’s leaves. |
2. Potato Blight

Potato blight or late blight is a fungal disease caused by the fungi Phytophthora infestans. It is the main culprit for the Irish potato famine in the 1800s.
This plant disease first shows as small brown circles on the underside of the leaves. These brown lesions will slowly spread throughout the plant until it rots completely.
The fungi thrive in warm, humid weather. It can destroy a whole row of potatoes as fast as 10 days.
| How To Fix 1. Remove the infected plant. There is no cure once the plant is infected with potato blight. The best thing is to cut off all the growth and burn all the plant debris so that the diseases will not spread to neighboring plants. 2. Use blight-resistant potato varieties. One of the surest ways to prevent potato blight is by choosing blight-resistant potatoes such as Hungarian Sarpo, Sarpo Mira, Cara, and Valor potatoes. 3. Practice crop rotation. Don’t plant Nightshade crops, such as potatoes, tomatoes, peppers, or eggplants, in the same place every year. This will prevent the build-up of the fungi spores and spread them to the new crops planted. |
FAQs on Planting Sprouted Potatoes
Potatoes can be prevented from sprouting when you cure them or leave them out to dry. Once these potatoes are cured, place them in a cool, dark, and dry place to slow down sprouting.
A University of Maine study even suggests that keeping potatoes at 38F (3C) will prevent them from sprouting.
Potatoes can be harvested after 2 to 3 weeks after the leaves have wilted and the plant has died back. Similarly, potatoes are ready for harvest within 90 to 120 days from planting.
No minimum or maximum measurement is needed before potato sprouts can be planted. As long as sprouts emerge from the eyes, the seed potatoes are ready for planting.
Sprouted potatoes should be planted between 2 to 3 inches deep in the soil.
Sprouted potatoes are planted 12 inches apart from one another to give the plant ample space to grow above and below the ground.
Potatoes take 60 to 100 days to grow, depending on the variety. Early season varieties are ready for harvest in 60 to 80 days, while Mid season varieties mature in 80 to 100 days.


