You don’t have to wait for Halloween to see pumpkins in the garden or in the kitchen. Today, we’ll be exploring the easiest ways to grow pumpkins in containers, with extra tips and techniques to make the most out of it.
Can you grow pumpkins in containers?
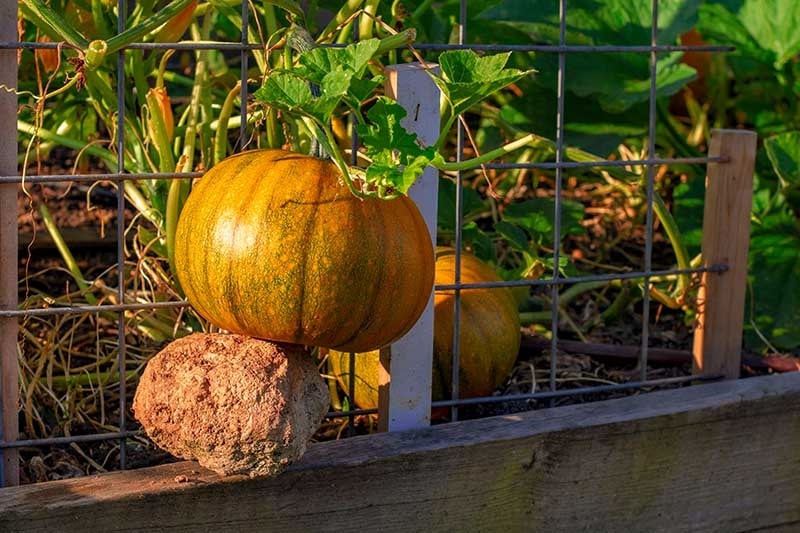
You can grow pumpkins in containers. Generally, you’ll need to pick a large container with good drainage almost full of quality potting mix.
To provide good care for the pumpkin plant, provide it with the right amount of sunlight, watering, and vine support.
Best Pumpkin Varieties for Container Gardening
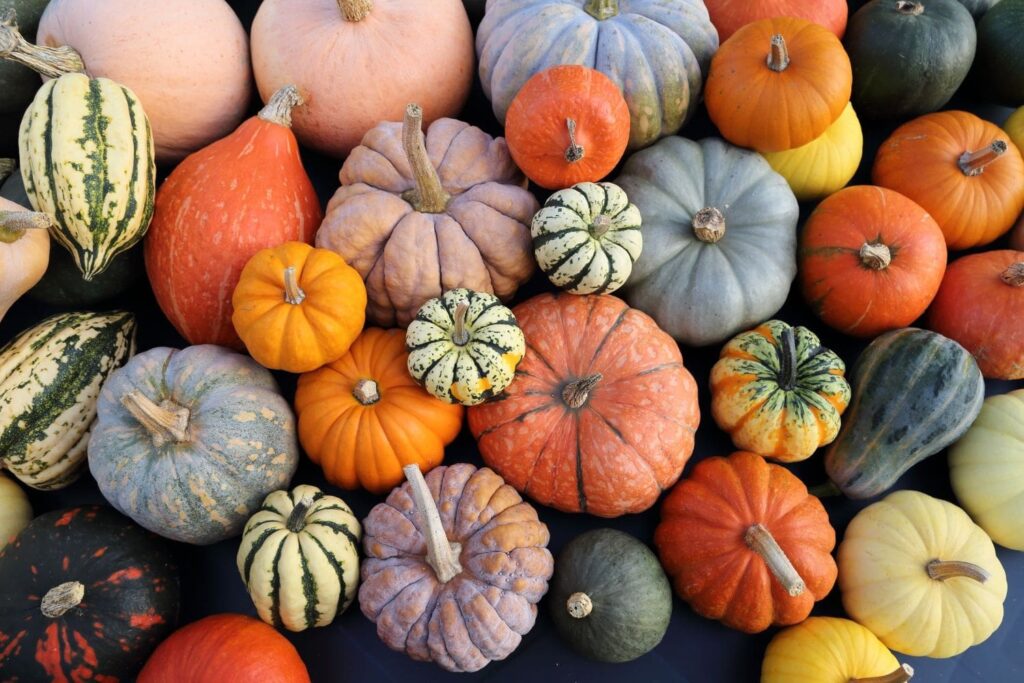
Container gardening, especially for pumpkins, requires some considerations before starting. One of them is picking the right kind of varieties suitable for the purpose, so let’s check out 5 of our favorites.
Jack Be Little
| Factor | Information |
| Ease of Growing | Easy ●○○○○ |
| USDA Zone | 3 to 9 |
| Mature Plant Size | Compact, 6 to 8 inches |
| Light | Full sun |
| Soil | Well-draining, loamy |
| Hardiness | Frost-sensitive |
| Watering | Regular |
| Growth Rate | Moderate |
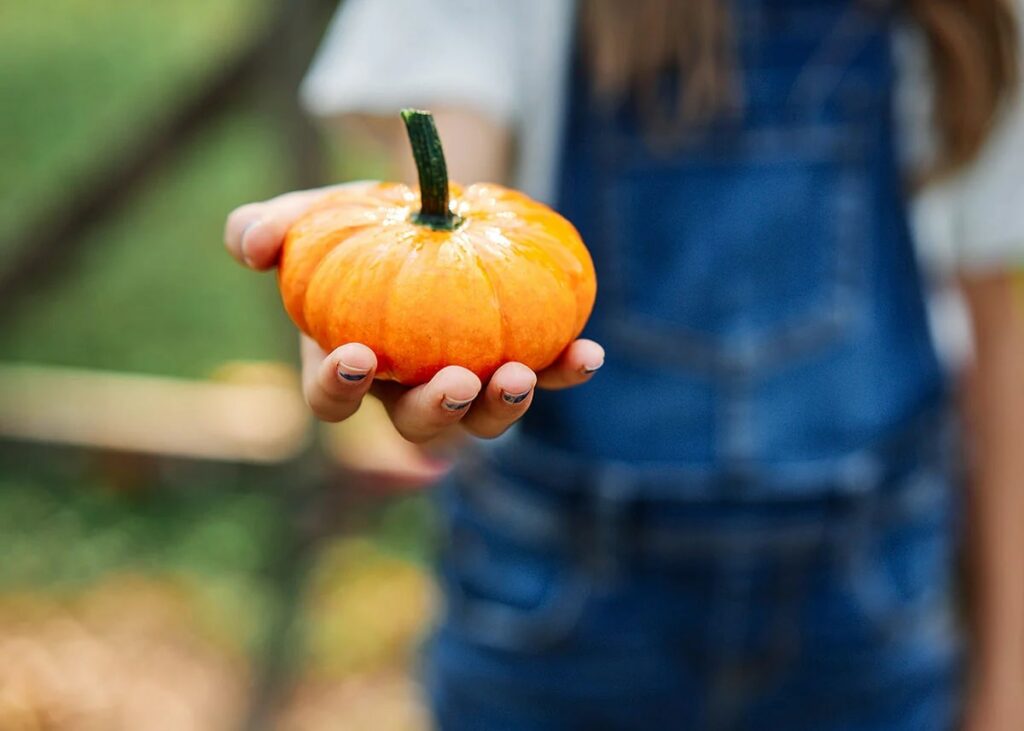
Jack Be Little pumpkins are small, flavorful, and perfect for decorative purposes. These tiny, bright orange orbs are commonly used for decorations or individual servings because of their small size and flavorful taste.
Baby Boo
| Factor | Information |
| Ease of Growing | Easy ●○○○○ |
| USDA Zone | 3 to 9 |
| Mature Plant Size | Compact, 3 to 4 inches |
| Light | Full sun |
| Soil | Well-draining, fertile |
| Hardiness | Frost sensitive |
| Watering | Regular, moderate |
| Growth Rate | Moderate |
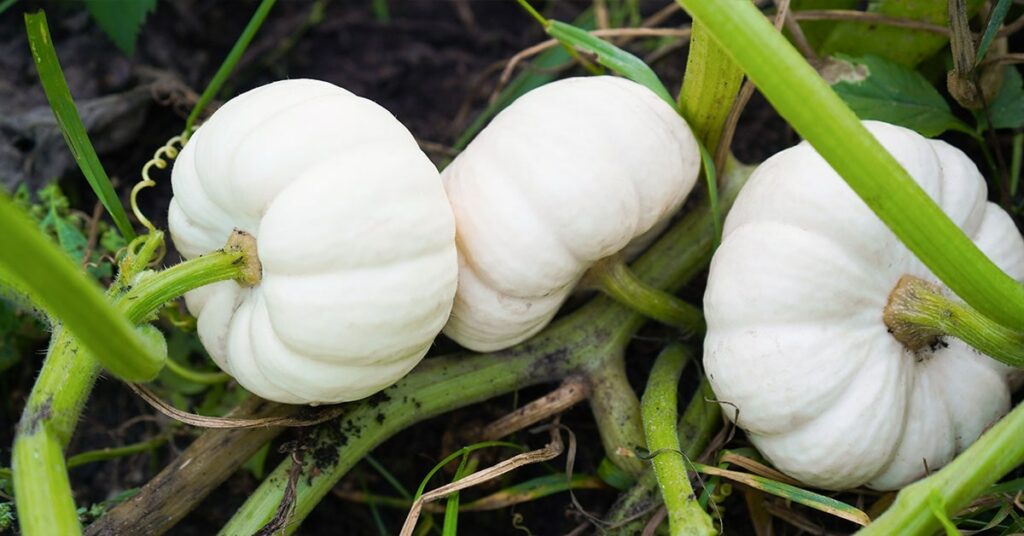
A miniature plant, Baby Boo is well-suited for container gardening. Baby Boo pumpkins are small and white, a perfect addition to charming gardens and other home displays.
Small Sugar
| Factor | Information |
| Ease of Growing | Moderate ●●○○○ |
| USDA Zone | 3 to 9 |
| Mature Plant Size | Compact, 6 to 8 inches |
| Light | Full sun |
| Soil | Well-draining, fertile |
| Hardiness | Frost sensitive |
| Watering | Regular, moderate |
| Growth Rate | Moderate to fast |
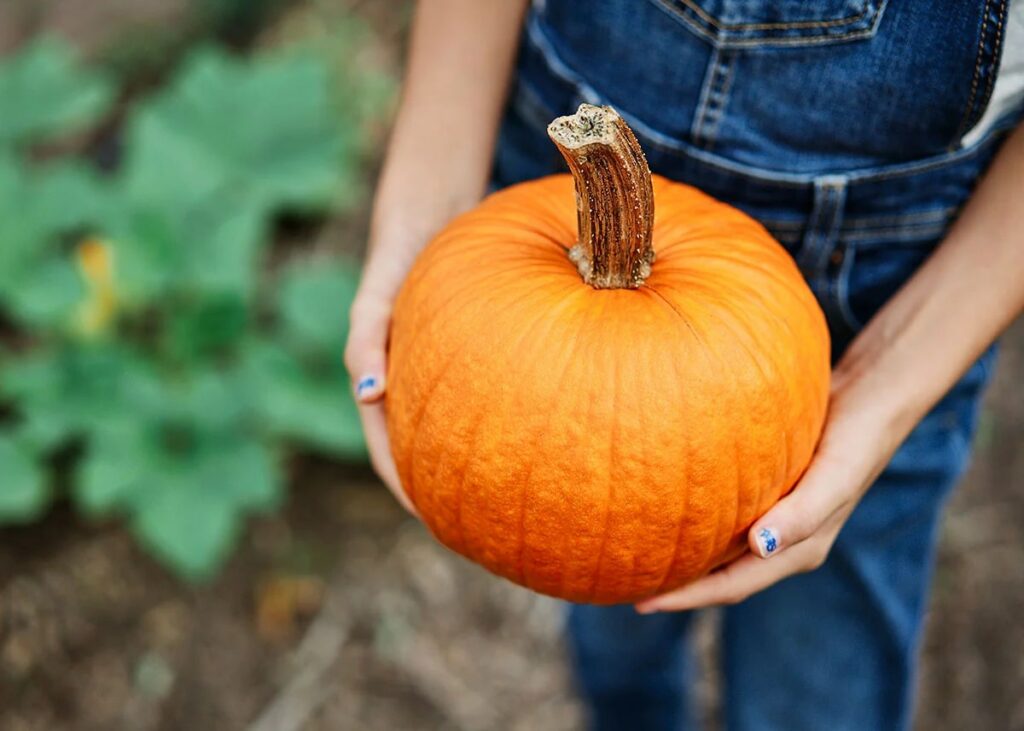
Small Sugar pumpkins are loved not just for their great baking capabilities but also for being small and having that classic pumpkin look. People like using them for cooking and decorating because of their size and appearance.
Bushkin
| Factor | Information |
| Ease of Growing | Easy ●○○○○ |
| USDA Zone | 3 to 9 |
| Mature Plant Size | Compact, bush like, 6 to 8 inches |
| Light | Full sun |
| Soil | Well-draining, fertile |
| Hardiness | Frost sensitive |
| Watering | Regular, moderate |
| Growth Rate | Moderate |
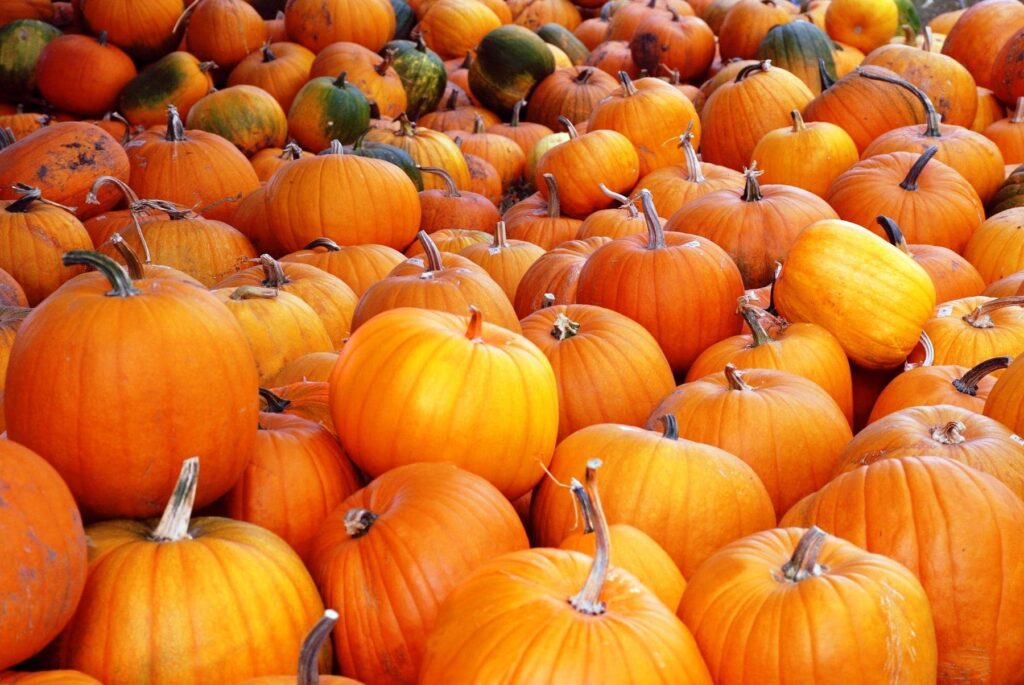
Bushkin pumpkins are great for easy gardening as they’re compact and fit well in containers, thriving with full sun and good soil drainage. With their unique bush-like shape, these pumpkins add visual appeal, especially in smaller gardens or containers.
Hooligan
| Factor | Information |
| Ease of Growing | Easy ●○○○○ |
| USDA Zone | 3 to 9 |
| Mature Plant Size | Compact, 3 to 4 inches |
| Light | Full sun |
| Soil | Well-draining, fertile |
| Hardiness | Frost sensitive |
| Watering | Regular, moderate |
| Growth Rate | Moderate |
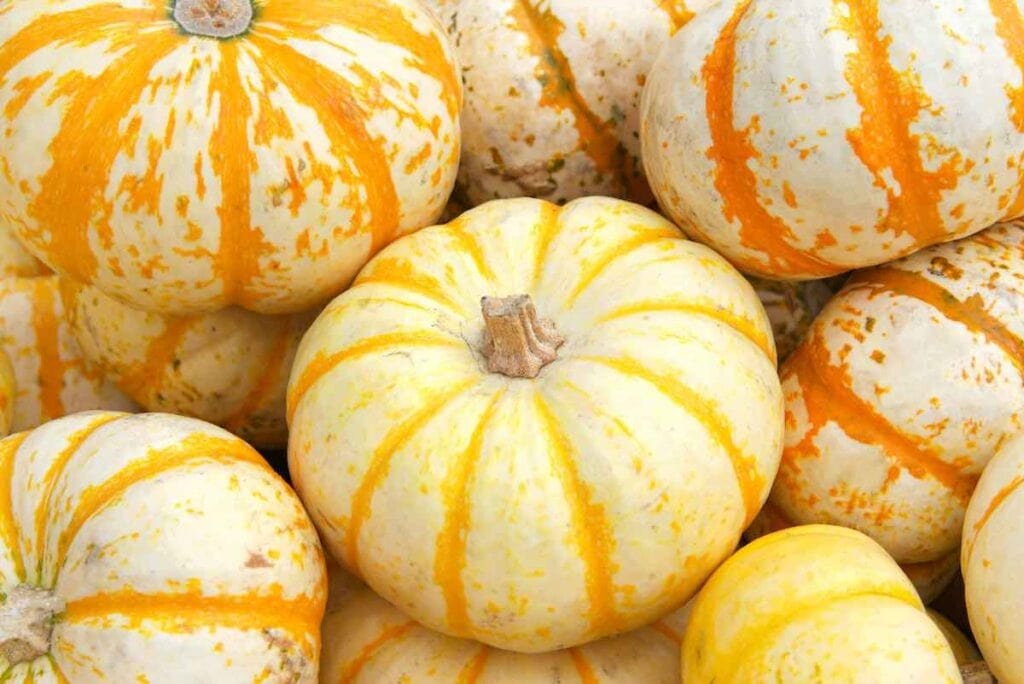
Growing Hooligan pumpkins is easy, especially in containers, thanks to their compact size of about 3 to 4 inches. These pumpkins, with their delightful orange and green markings, add a playful and decorative touch to gardens.
How to Grow Pumpkins in Containers
| Factor | Information |
| Level of Expertise | Beginner to Intermediate ●●○○○ |
| Tools or Materials Needed | Large container, potting mix, seeds or seedlings, water, sunlight |
| Estimated Costs | Moderate |
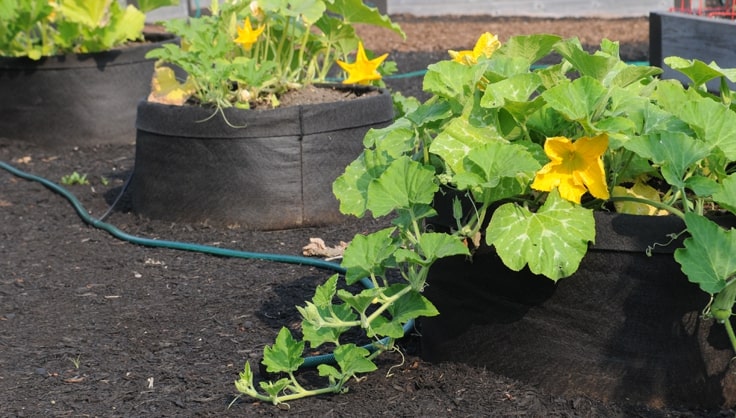
Growing smaller pumpkin plants works incredibly well for homeowners with limited space as well as for those who love to cultivate new varieties. Here’s our quick and easy guide to growing container pumpkins.
How to Grow Pumpkin Plants in Containers
1. Select a large container with drainage holes.
Make sure the container is at least 5 gallons in size. This allows enough space for the pumpkin’s roots.
2. Fill with high-quality potting mix.
Double-check that it’s well-draining to avoid root rot. Fill the container, leaving about 2 inches from the top.
3. Plant the pumpkins in the potting mix.
Plant pumpkin seeds about 1 inch deep in the center of the container if you’re growing them from seed. If you start them indoors, transplant the seedlings.
4. Place the container in a location that receives full sunlight.
Make sure that the pumpkin gets at least 6 to 8 hours of full sun a day.
Planter’s Tips
- Sow pumpkin seeds in spring after the last frost, when the soil hits 65°F.
- Use seeds or seedlings in biodegradable pots to minimize transplant shock.
- Use a large container, at least 20 to 25 gallons, for growing pumpkins in pots.
- Provide a support system for the vines to aid their growth.
- Boost soil with compost before planting and fertilize regularly due to pumpkins being heavy feeders.
- Depending on the pumpkin variety, they may take 90 to 120 frost-free days to fully mature.
How to Care for Pumpkins Growing in Pots
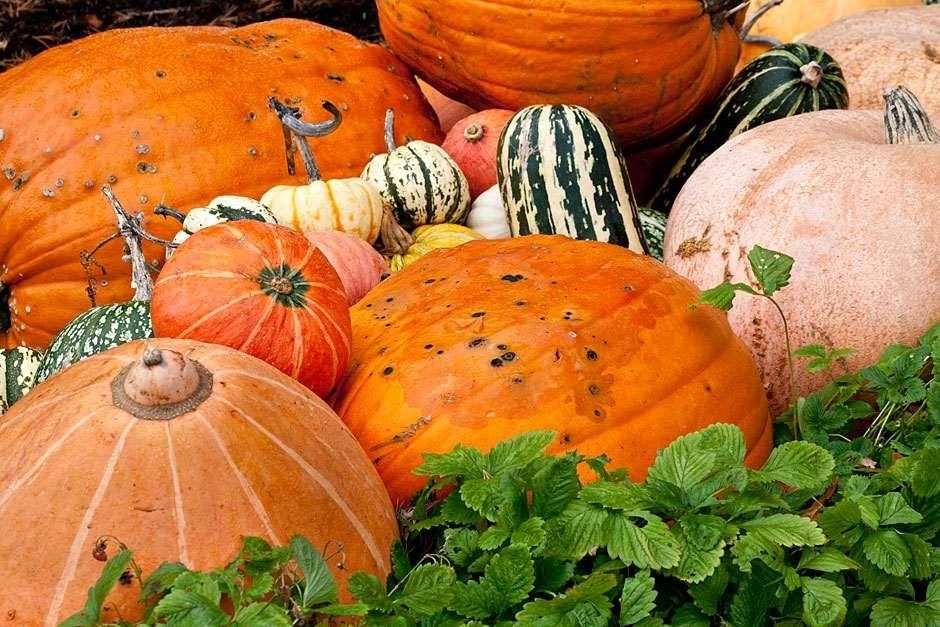
Now that we know how to plant our pumpkins in the container, let’s discuss how to care for them properly. Here are some quick pumpkin care techniques.
Provide enough water
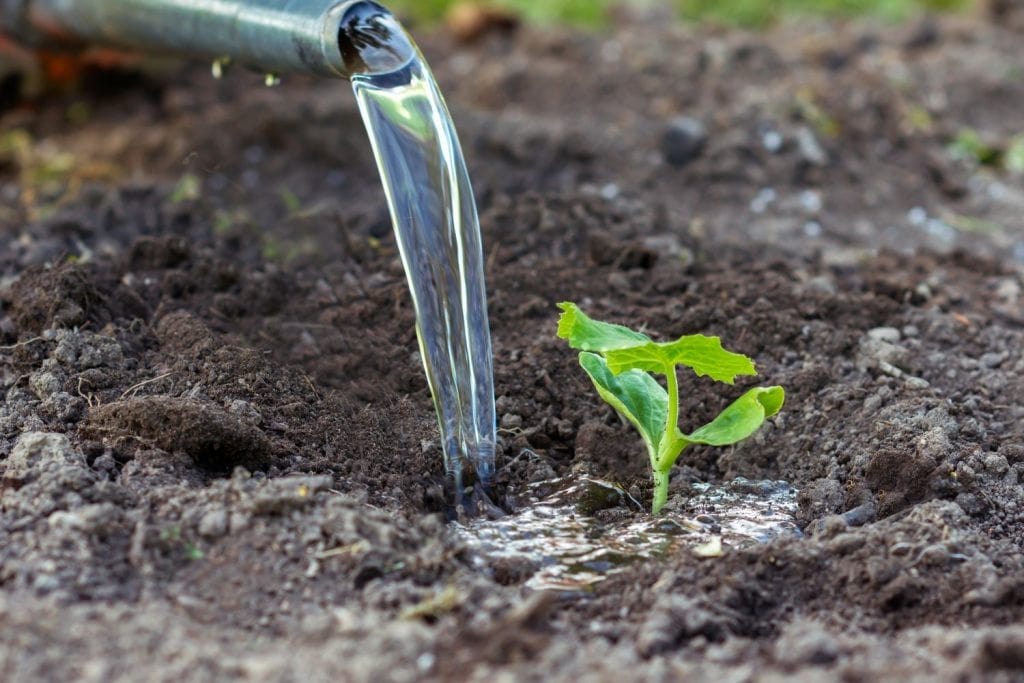
Keep the soil consistently moist but not waterlogged. And remember to only water when the topmost inch of the potting mix is dry.
Provide vining support
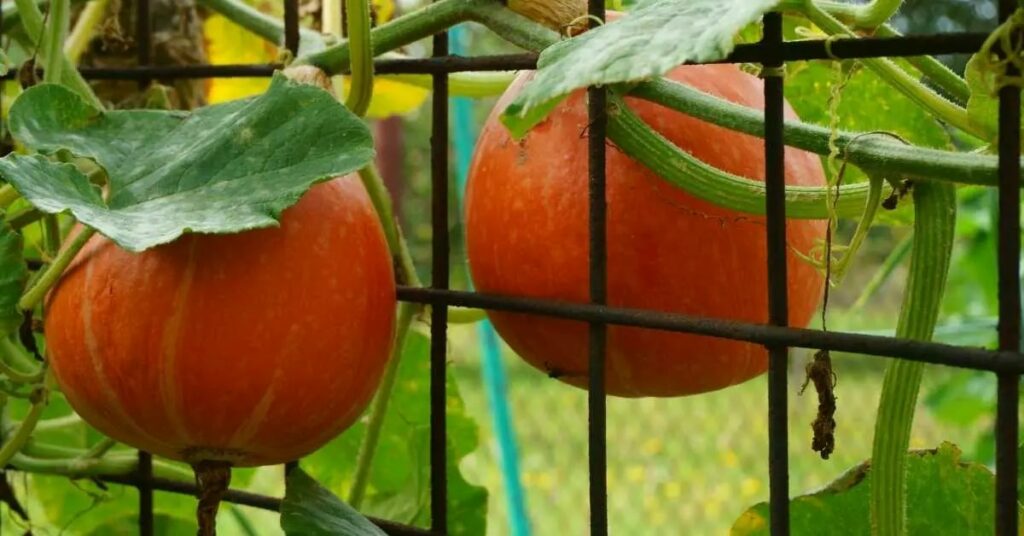
Image by Backyard Eden
As the pumpkin vines grow, provide support with stakes or trellises to prevent them from sprawling. These can be bought in garden centers, but you can always make your own.
Feed the pumpkin plants properly
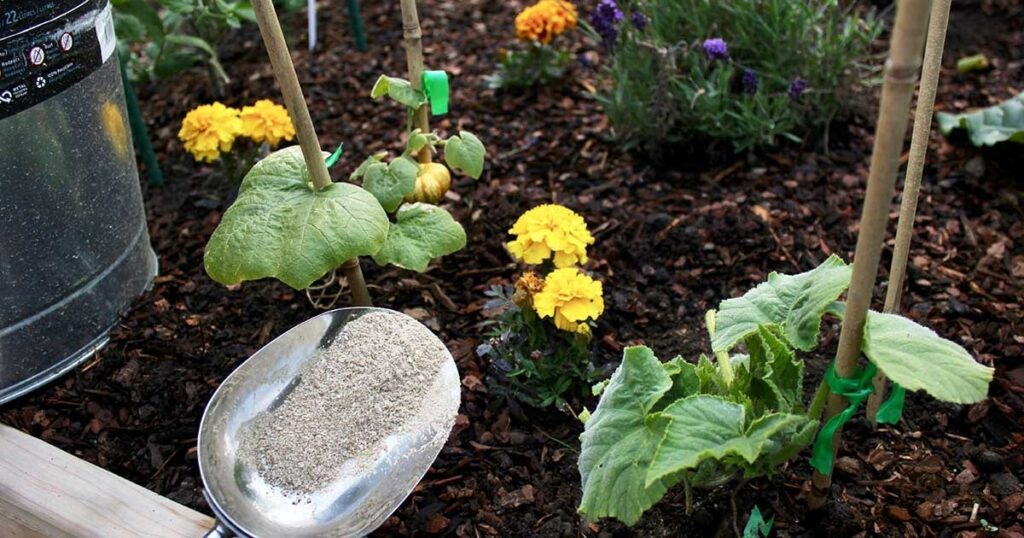
Give them a balanced fertilizer every 2 to 3 weeks to support healthy growth. Compost and other organic materials deliver nutrients over time while inorganic fertilizers provide quicker nutrition to your plants.
Watch out for issues
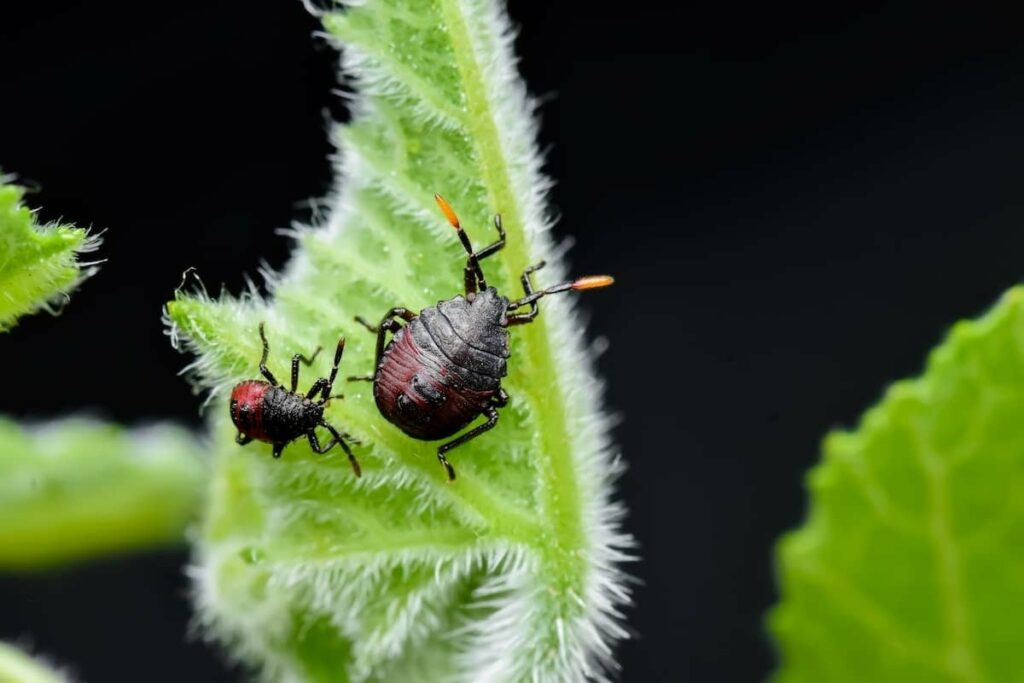
Keep an eye out for pests such as aphids or diseases such as powdery mildew. Treat them with natural remedies or insecticidal soap as needed.
How to Handle Pests and Diseases
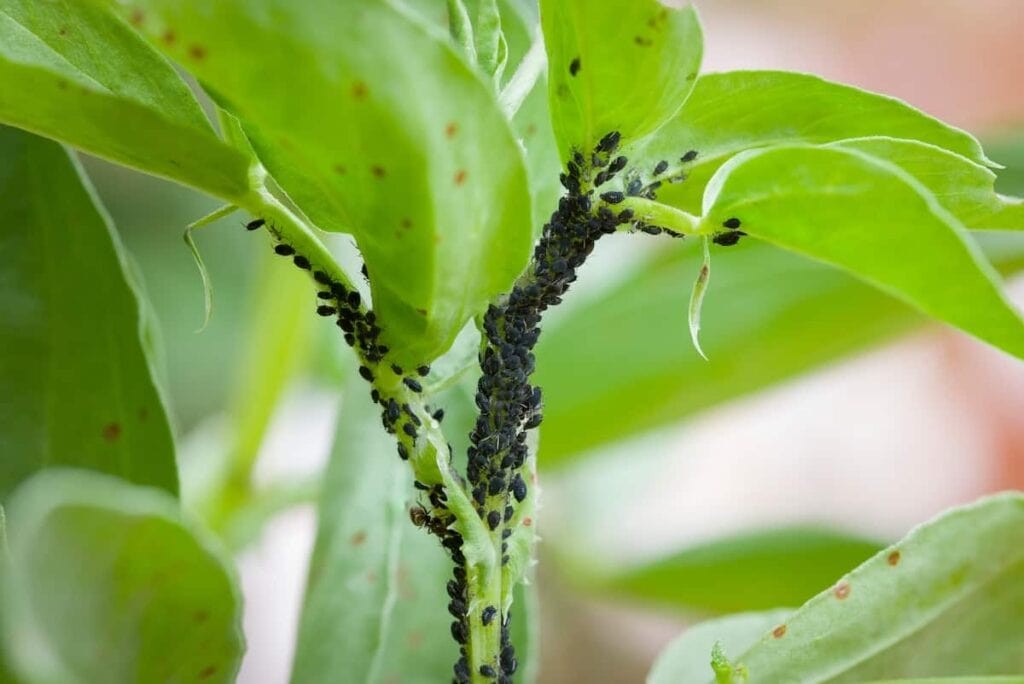
We’ve mentioned watching out for pests and diseases, so let’s go more in-depth this time. Here’s our guideline to help you manage these pumpkin issues.
Conduct Regular Inspections
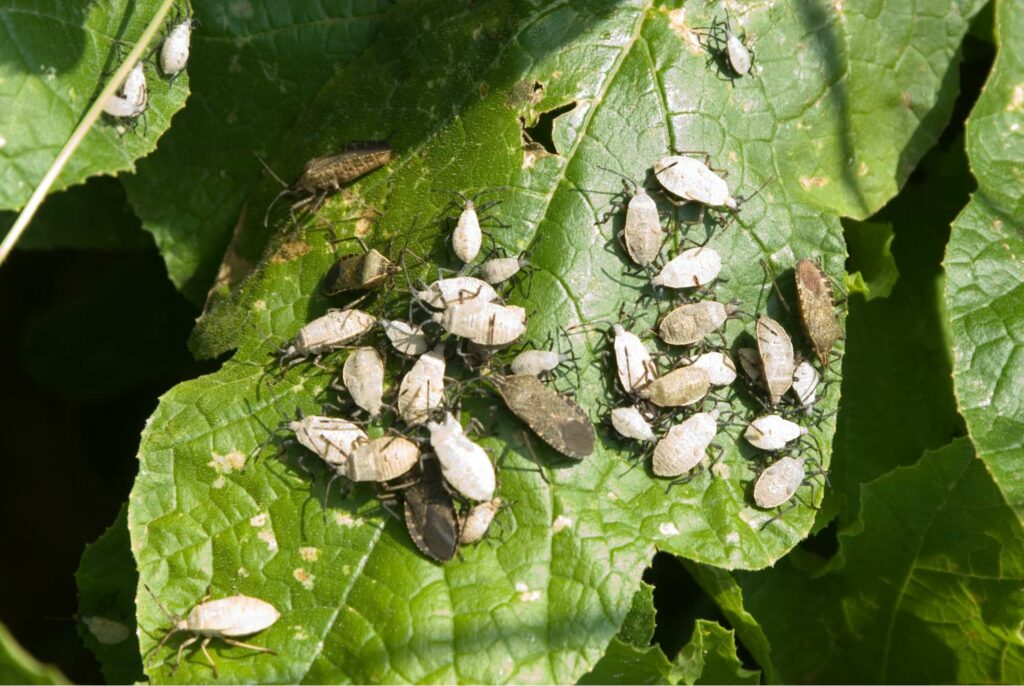
Check your plants regularly for any signs of pests or diseases. Look for spots on leaves, unusual discoloration, or the presence of insects.
If you spot any leaves showing signs of disease, remove them right away. Doing this prevents the spread of the problem to other parts of the plant.
Use Natural Solutions
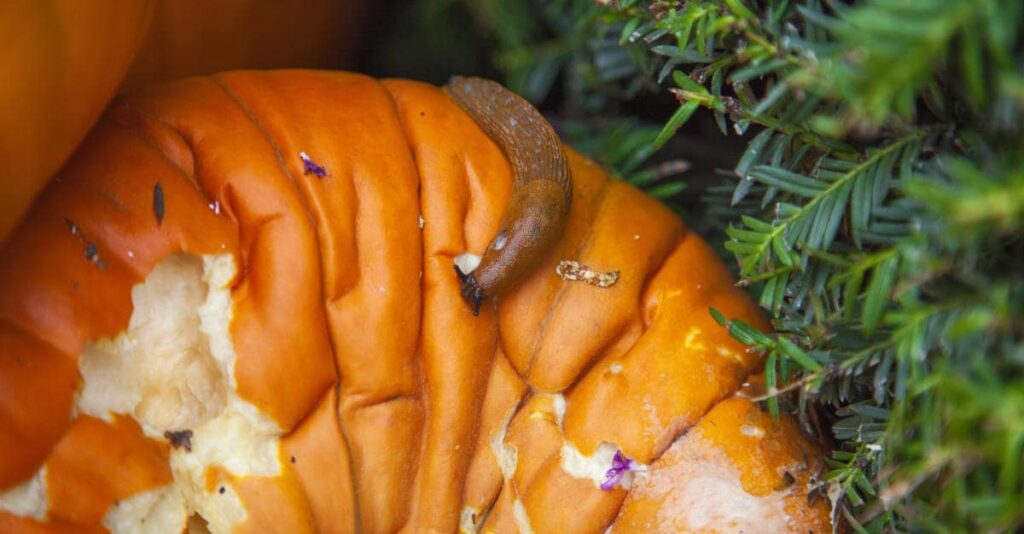
For small pest problems, consider natural remedies like neem oil or insecticidal soap. Apply according to the product instructions.
Maintain Good Airflow
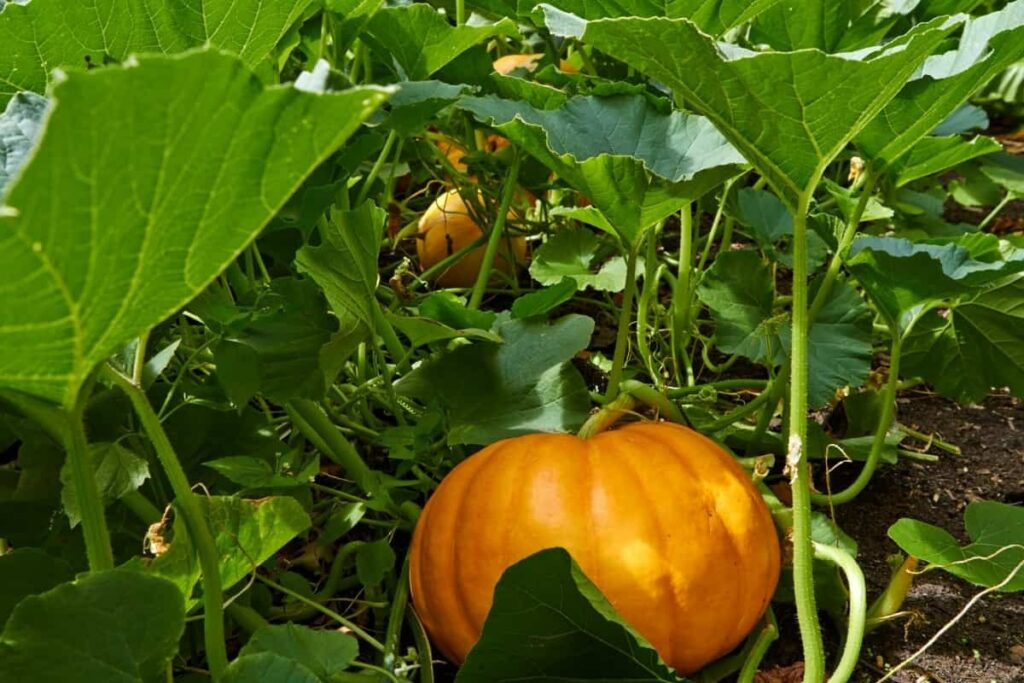
Make sure there’s good airflow around your plants so avoid overcrowding them by pruning and spacing them. This helps prevent conditions favorable for fungal diseases like powdery mildew.
Water at the Plant Base
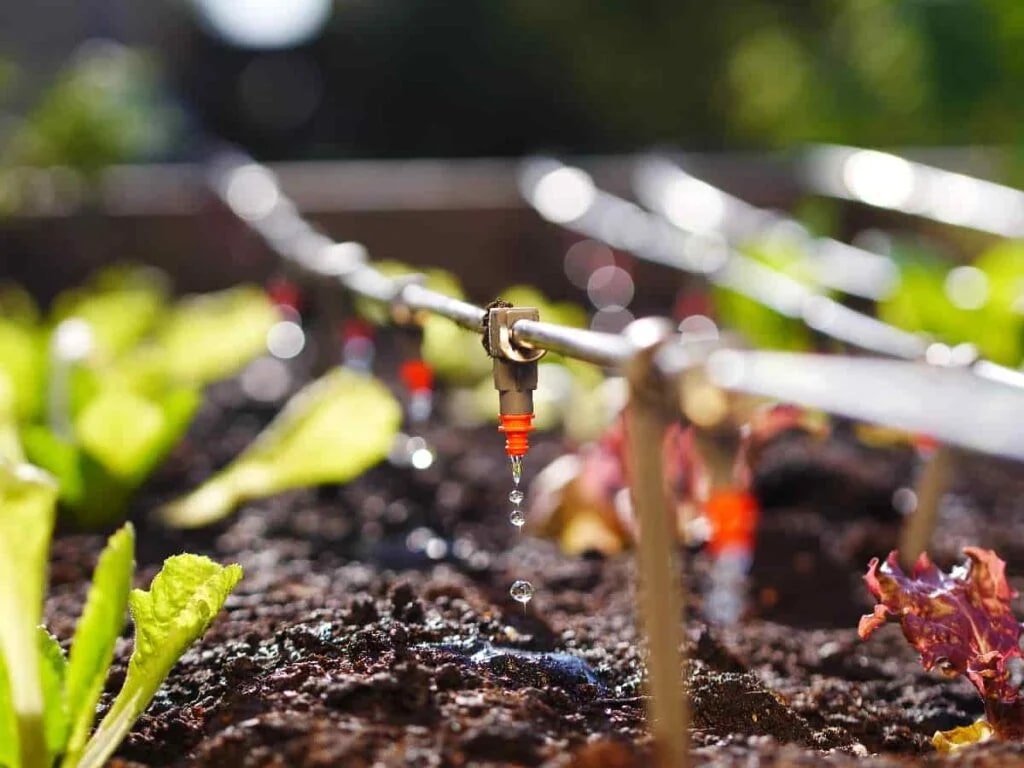
When you water your plant at the base, you avoid wetting the leaves. Keeping the leaves dry lessens the risks of fungal issues – and drip irrigation is a good way to water the soil without wetting the leaves.
Mulch Regularly
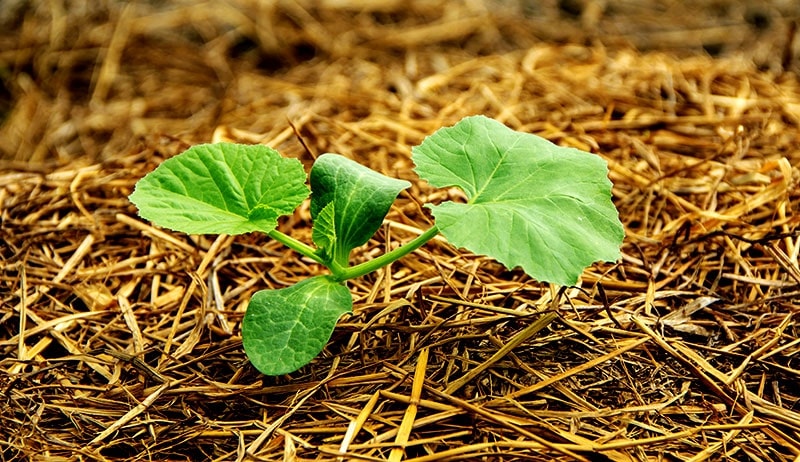
Apply a layer of organic mulch around the base of the plants. Mulch prevents weeds and maintains soil moisture, which lowers the presence of certain diseases.
Rotate Crops
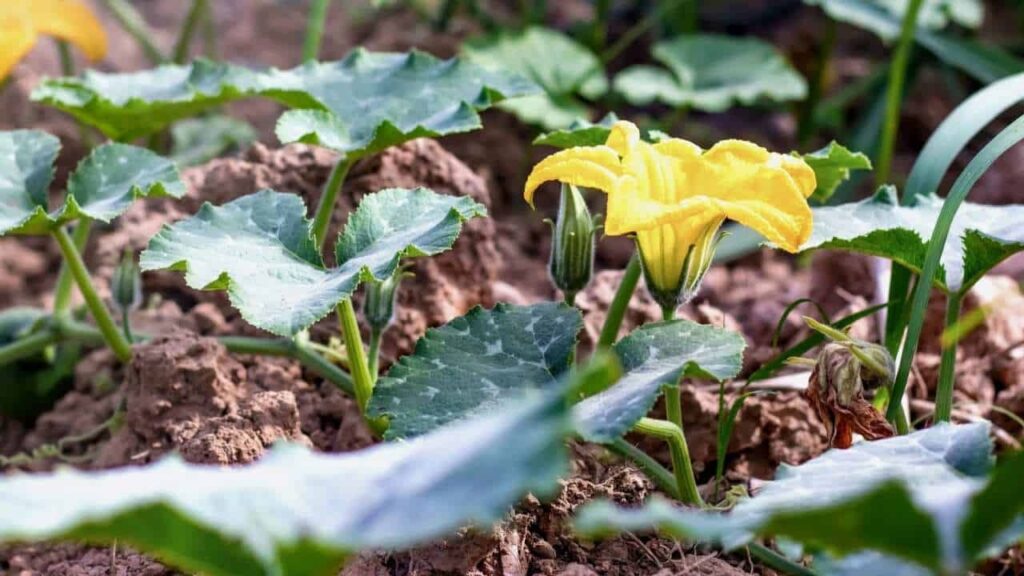
If possible, rotate the location of your pumpkin plants each year. Crop rotation prevents the buildup of soil-borne diseases in the same spot.
Introduce Beneficial Insects
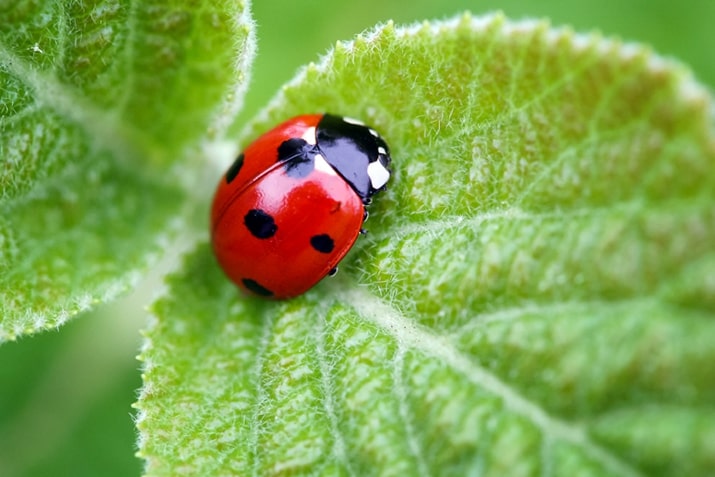
Encourage beneficial insects like ladybugs and predatory beetles, which help control common pests.
Chemical Treatments
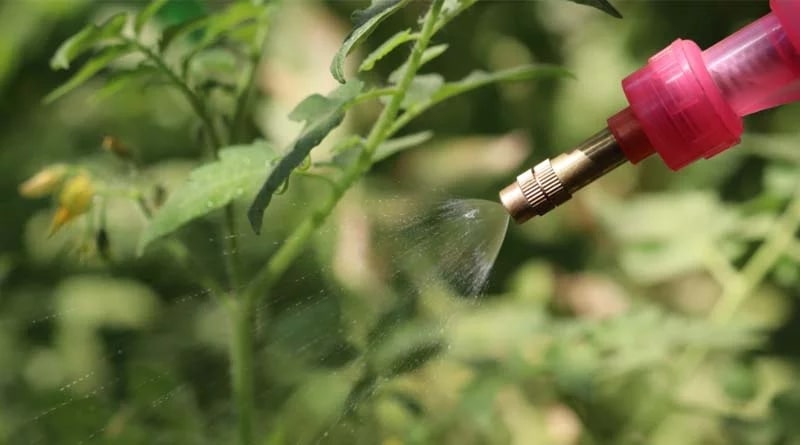
Only do chemical treatments as a last resort to other natural forms of treatments. This is because chemical treatments can be harsh to the plant and to the environment.
How to Harvest Container-Grown Pumpkins
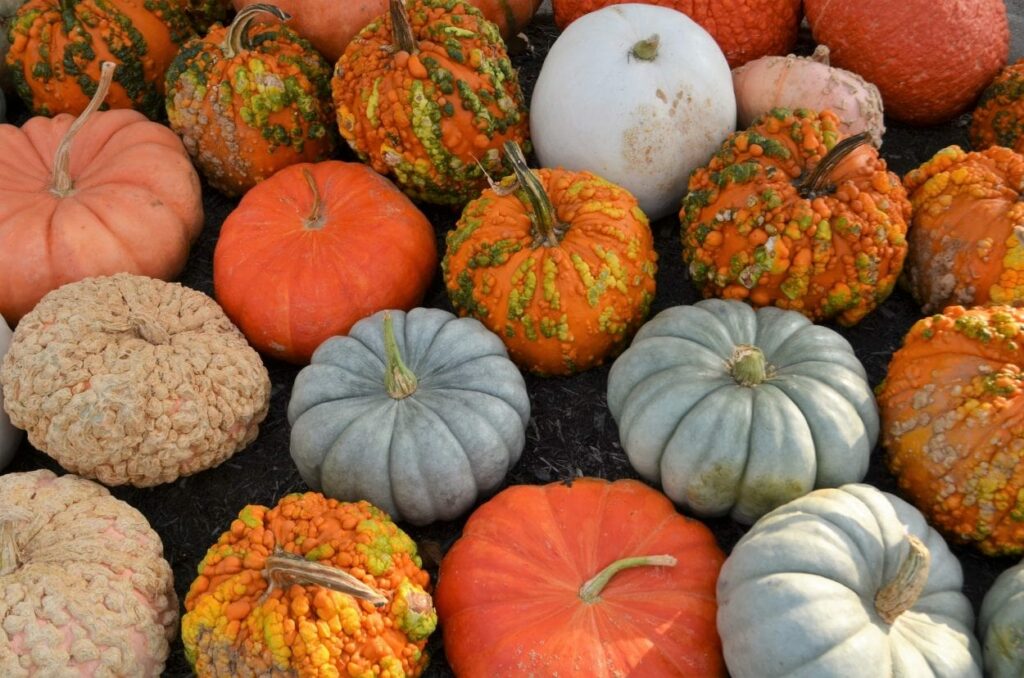
Now your pumpkins are growing and you might be thinking when’s the best time to harvest them – and how? Well, you’ve come to the right place and here’s how.
Check for Maturity
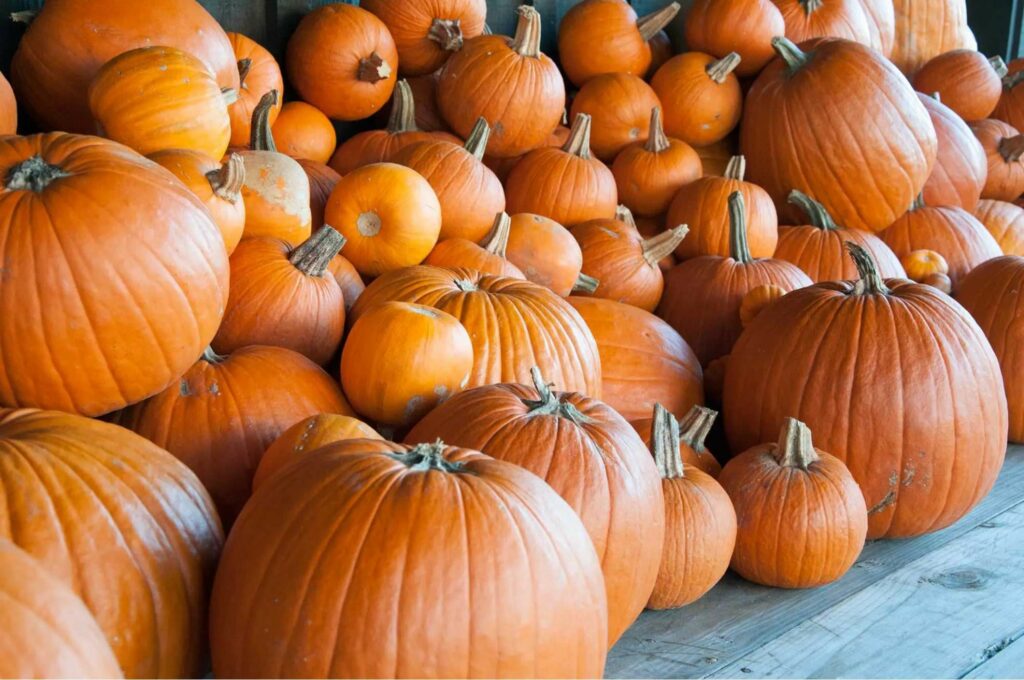
When your pumpkin’s skin is hard and the stem connecting the pumpkin to the vine starts to dry, it’s time. Also, make sure to double-check with your variety for the expected maturity date to give you an idea.
Select the Right Time
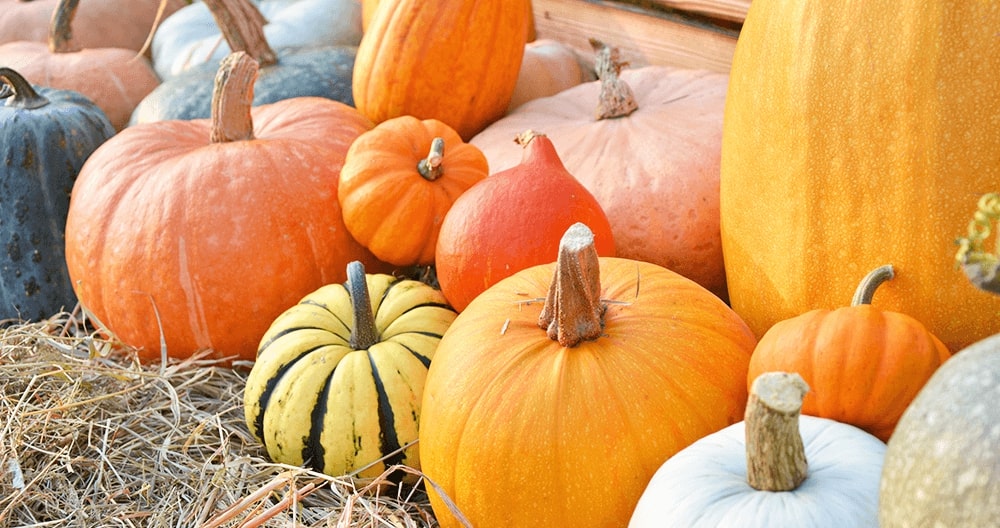
Wait for a warm dry day to harvest your pumpkins. Harvesting pumpkins during wet conditions or on rainy days will end up with soil sticking to the pumpkins.
Use Pruning Shears or a Knife
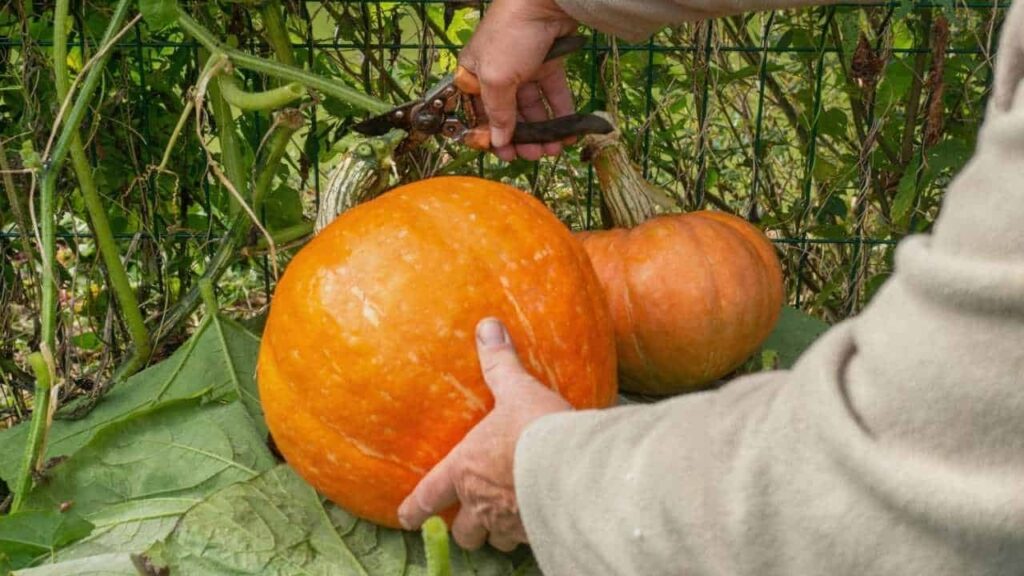
Get your clean and sterilized tools such as pruning shears or knives. Make sure they’re sharp as well so that you don’t damage the cut parts.
Leave the Stems
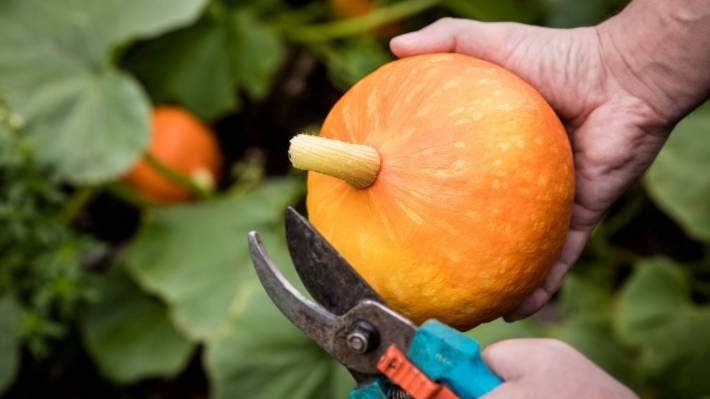
When you cut the stem, leave about 3 to 4 inches of the stem still attached to the pumpkin. A longer stem helps reduce the risk of rod and preserves the pumpkin’s freshness for longer.
Handle with Care
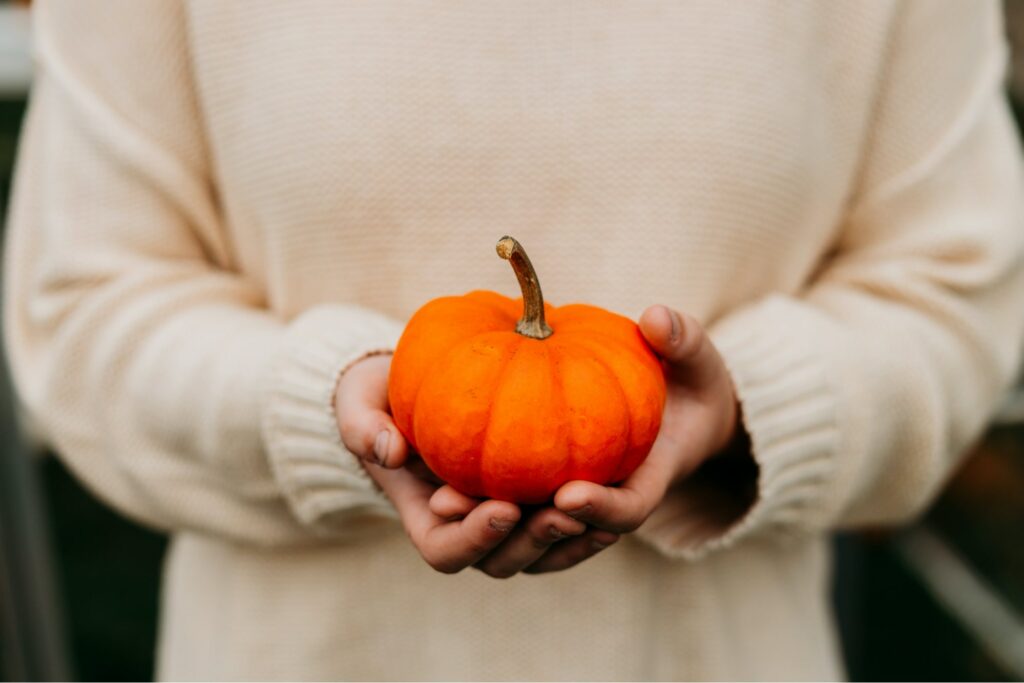
Image by Pexels
While they have tough skin, you still need to handle pumpkins carefully to avoid bruising or damaging them. Any damage can lead to pumpkin skin discolorations and even early decay inside.
Clean the Surface
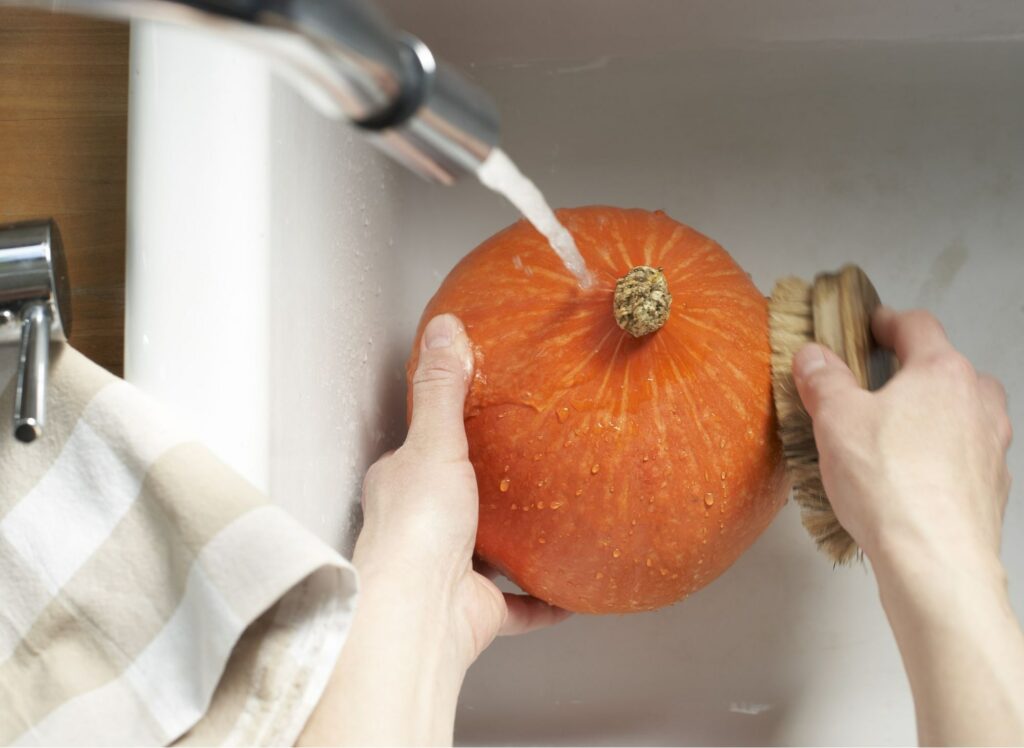
Wipe off debris and dirt on the pumpkin skin. Doing so lessens the risk of pests or diseases once you store your pumpkins.
Cure Pumpkin as Needed
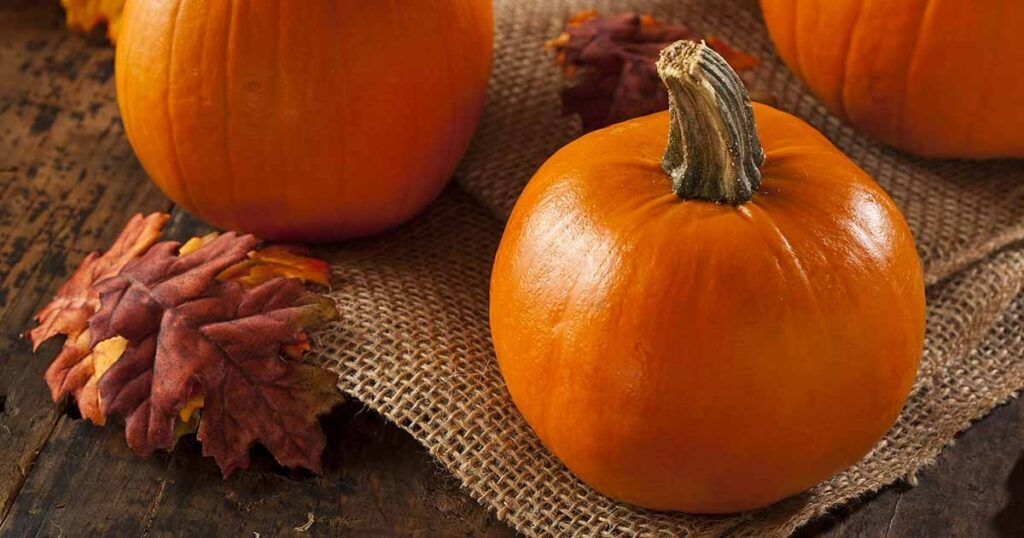
If you have a lot of harvested pumpkins and need to store them, it’s best to cure them. You can do this by placing them in a warm dry area for 10 days to toughen up the skin, improving their shelf life and quality.
Store in a Cool, Dry Place
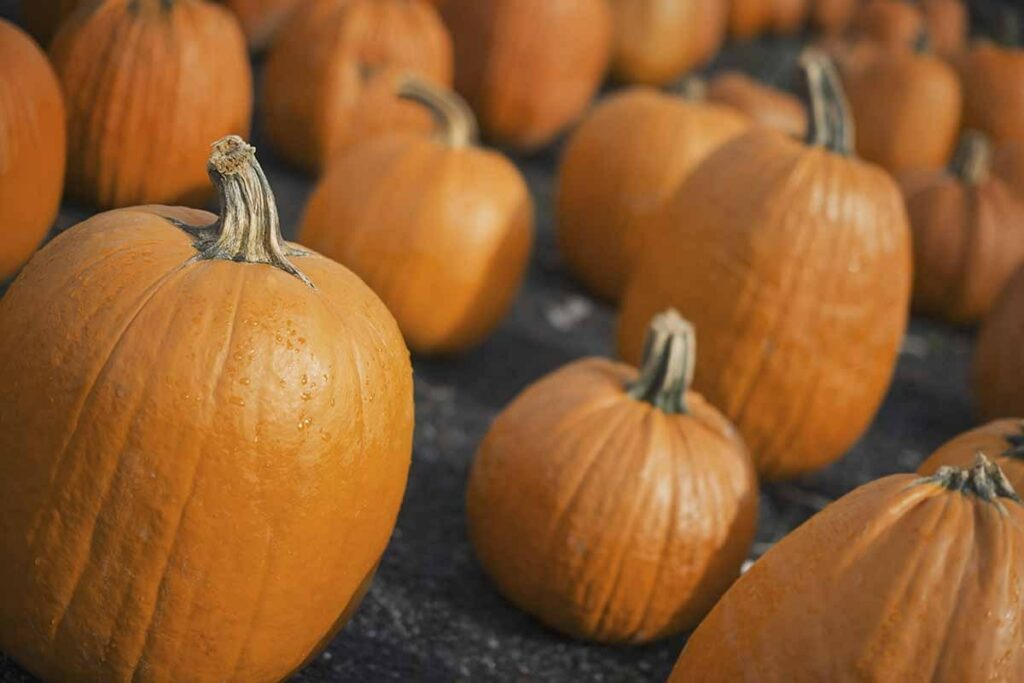
Keep your harvested pumpkins in a cool dry spot with good airflow. Keep them away from sunlight as it can cause them to age and deteriorate faster.
FAQs
Do pumpkins do well in pots?
Pumpkins do well in pots, especially smaller varieties grown in larger containers that are 20 to 25 gallons. Before planting pumpkins in pots, double-check the variety to see if it grows well as a container plant.
How long do pumpkins take to grow?
Generally, pumpkins take 90 to 120 frost-free days to grow to full maturity. The specific length of time will depend mostly on the chosen pumpkin variety.
What is the best climate for growing pumpkins?
The best climate for growing pumpkins is in a warm climate with full sunlight. Ideally, the temperature should be 70 to 85°F during the day and 50 to 65°F at night.
Do pumpkins grow slowly?
Pumpkins grow moderately, although the growth rate depends on a lot of factors. These factors include variety, climate, and plant care practices to ensure that the proper growing conditions are provided.


