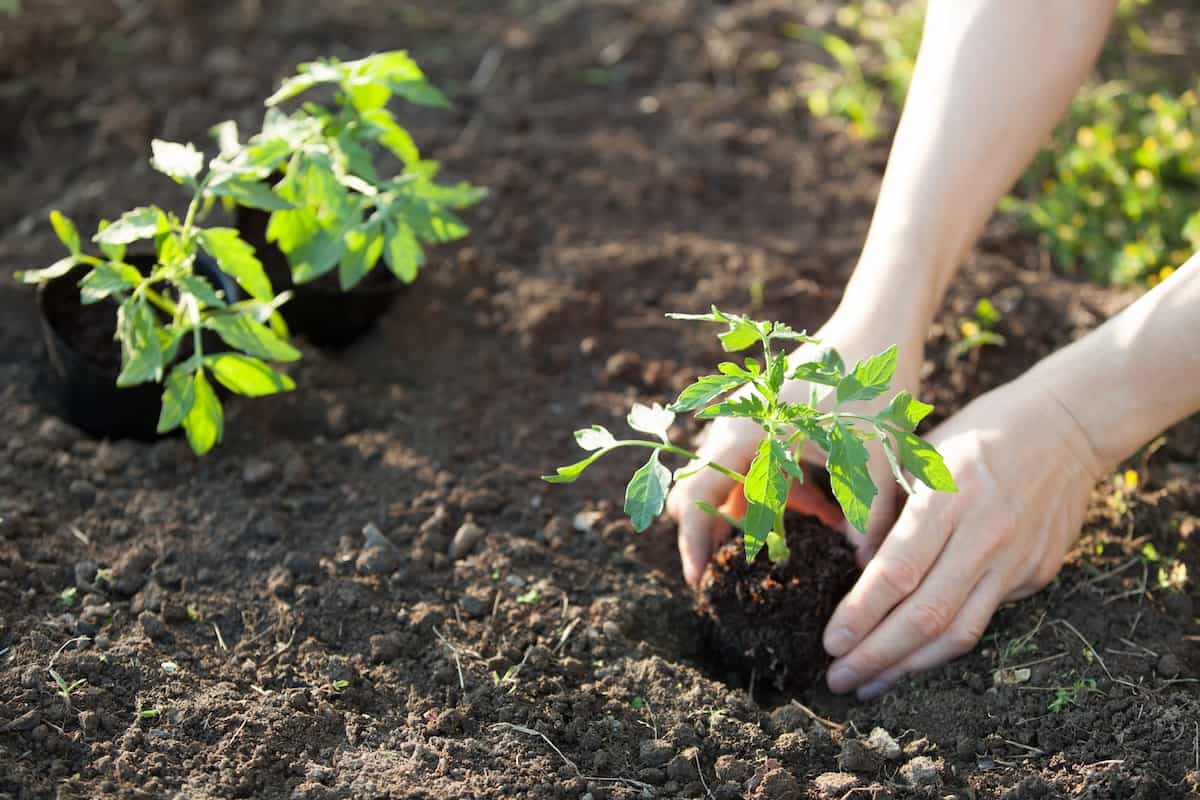
If it’s your first time growing tomatoes, you may have heard that they prefer slightly acidic to neutral soil pH levels. Growing in soil that has their ideal pH range allows it to absorb nutrients better and boost overall health and productivity.
In this article, we break down several ways you can make appropriate adjustments to your soil pH, helping you create a more favorable environment for your tomato plant.
Do tomato plants like acidic soil?
Tomato plants like acidic soil, specifically with pH levels ranging from 6.0 to 7.0 because it helps with nutrient availability and uptake along with boosting microbial activity.
If you didn’t know, slightly acidic soil makes essential nutrients like phosphorus, iron, zinc, and manganese more readily available in the soil. Thus, you won’t have to worry too much about constantly adding more to your soil.
Increasing the availability of important nutrients like calcium, which is a god-send for preventing blossom end rot, a common disorder often seen in tomatoes, plays a huge role in the overall health of your plant.
Slightly acidic soil also helps microbial activity thrive, helping break down organic matter which add more nutrients in the soil. Microorganisms can also help suppress pathogens, ultimately protecting your tomato plant from diseases.
What’s the ideal soil pH for growing tomatoes?
The ideal soil pH for growing tomato plants should be between 6.0 and 7.0. This range ensures that there’s enough soluble nutrients in the soil for your plant to absorb.
Any higher or lower could cause nutrients to be less available, which will eventually result in nutrient deficiencies and deteriorated plant health.
This could also cause soil structure issues which can affect aggregation, aeration, and root penetration. Over time, these will hinder your plant’s root development.
Here’s what your soil pH range does to your tomatoes:
| Soil pH Range | Characteristic | Results |
| 4.2 and below | Extremely acidic | • Reduced plant growth • Weakened nutrient uptake |
| 4.2 to 5.2 | Severely acidic | • Reduced plant growth • Lessened yields |
| 5.2 to 5.7 | Slightly too acidic | |
| 5.7 to 6.0 | Below ideal range | |
| 6.0 to 6.5 | Ideal range | |
| 6.5 to 7.0 | Slightly above ideal range | |
| 7.0 and above | Severely alkaline |
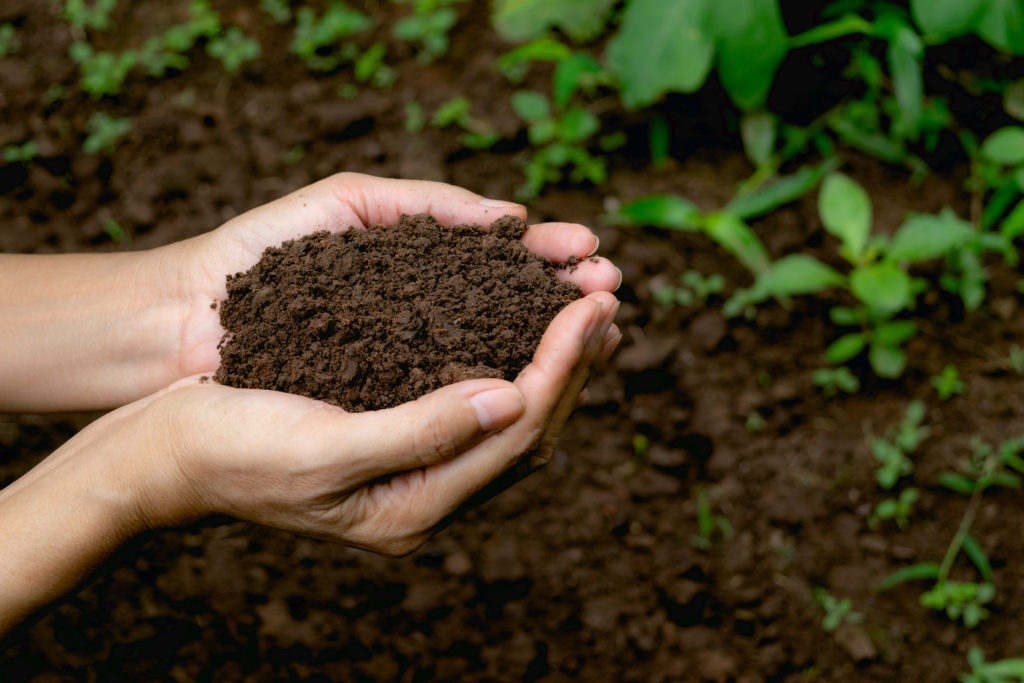
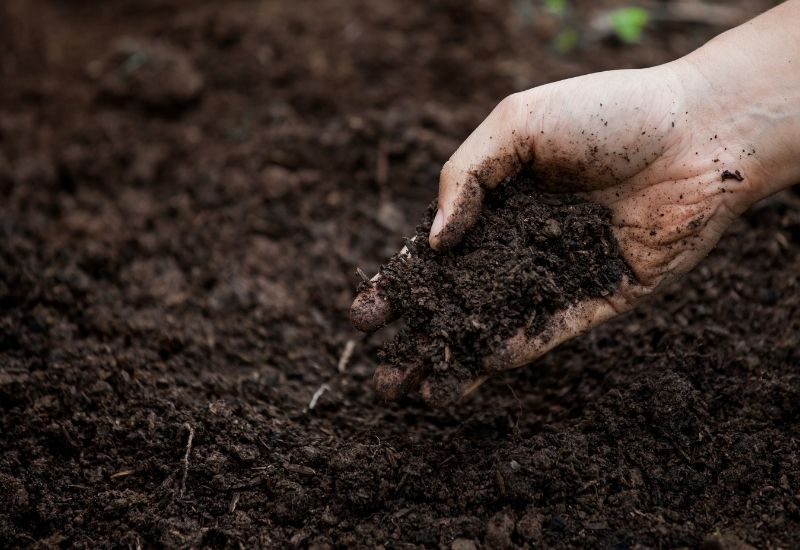
How To Test The Acidity of Soil
Send a soil sample to a lab
| Difficulty | Very Easy ●○○○○ |
| Speed | Moderate |
| Things You Need | • Soil testing kit or sanitized non-metal container • Shovel or trowel • Soil sample |
This method is definitely the easiest and most accurate of all the options listed in this article. Why? Because you’re sending a soil sample to a reputable laboratory that will give you the rundown on what your pH level is.
Along with that, it will give you a better idea of the status of your soil’s fertility and health by giving you figures on the presence of organic matter, macronutrients, and micronutrients.
Here’s how to do it!
What To Do
1. Select a reliable and reputable soil testing lab.
Do some research to find the best soil testing lab in your area. University and agricultural extension offices typically offer these services for a small fee, some even completely free.
If there aren’t any in your area, you can search the internet for private soil testing labs.
2. Pay the corresponding fees.
In some labs, they require payment before they can hand out testing kits and process the soils surrendered.
Be sure to double-check their payment options and any additional fees (if any) regarding shipment or acquiring a testing kit.
3. Acquire a soil testing kit.
In most cases, labs often have their own kits that you can use to collect a soil sample.
If you aren’t provided with one, you can use a clean and disinfected, non-metal container.
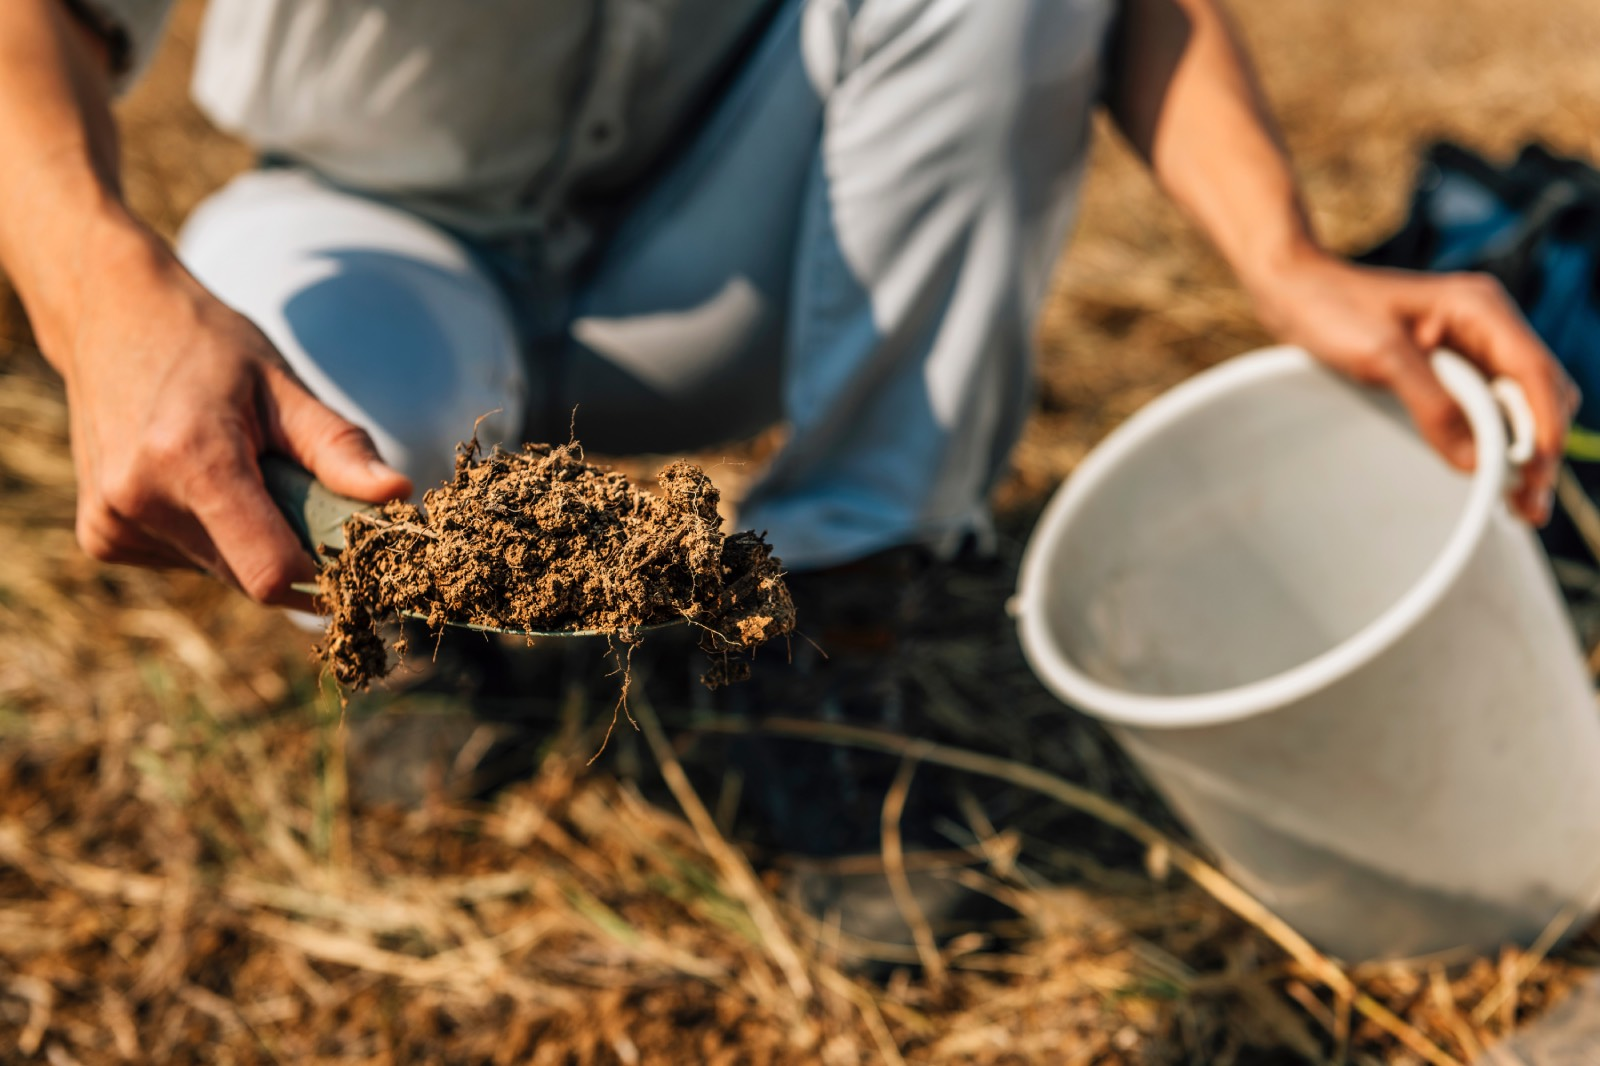
4. Identify which areas you’ll be collecting samples from.
Choose which areas in your garden you’ll be getting soil from.
5. Collect samples.
Using a shovel or trowel, collect about 6 to 8 inches worth of subsamples from each area.
6. Remove debris from the samples.
Ensure that your sample is clean from any roots, rocks, leaves, and other debris.
7. Allow the soil to air-dry.
Wet soil could affect the results due to the high moisture content, so it’s recommended to leave it to air-dry before testing.
8. Fill out the information sheet provided.
Answer the information sheet accurately and add any supplementary information that could be helpful.
9. Label and package the samples.
Package your soil in the kit provided. Alternatively, you can transfer it into a clean and disinfected plastic bag or container.
Label each package according to the area or crop it’s associated with.
10. Send the samples to the lab.
Deliver the samples to the lab. Alternatively, you can mail it to their provided mailing address.
11. Wait for your results.
Patiently wait for the lab to send you back your results together with recommendations based on their findings.
Conduct a DIY soil test
| Difficulty | Easy ●●○○○ |
| Speed | Fast |
| Things You Need | • Soil testing kit or sanitized non-metal container • Shovel or trowel • Soil sample |
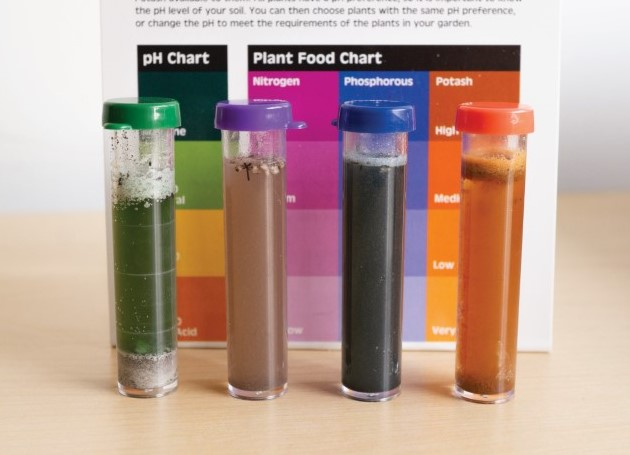
If there aren’t any labs that can run a soil test for you, then purchasing one online is your next bet. Luckily, it’s a pretty straightforward process as long as you’ve read and followed the instructions accordingly.
Soil tests should come with all the necessary materials such as test tubes, pH indicator solutions, and color charts, among others. You’ll need to collect a sample and mix it with the provided solution.
After a while, your solution should turn into a different color that matches one on the color chart, determining your soil’s pH level.
What To Do
1. Read the instructions on the kit.
Since you’ll be performing the test yourself, you’ll need to follow the directions to a T to get the most accurate results. Thus, reading the instructions carefully is essential as different kits could have certain guidelines and procedures.
2. Double-check your kit for all of the necessary equipment.
Your soil test kit should have all the materials needed such as test tubes, pH indicator solutions, and pH color charts, among others.
Read the packaging for the listed inclusions and double-check to ensure that you have everything you need.
3. Identify which areas you’ll be collecting samples from.
Choose which areas in your garden you’ll be getting soil from.
4. Collect samples.
Using a shovel or trowel, collect about 6 to 8 inches worth of subsamples from each area.
5. Remove debris from the samples.
Ensure that your sample is clean from any roots, rocks, leaves, and other debris.
6. Allow the soil to air-dry.
Wet soil could affect the results due to the high moisture content, so it’s recommended to leave it to air-dry before testing.
7. Perform the test according to the instructions.
Add the specified amount of soil into the pH indicator solution in the test tube provided. Then, stir or shake gently until both are well incorporated.
8. Observe the color change.
Wait a couple of seconds for the test tube to change colors.
9. Compare the resulting color to the pH color chart.
Set your test tube close to the pH color chart to accurately determine which color is the closest to the results. This will determine your soil’s pH level.
10. Perform the test a few more times on different sites to achieve more accurate results.
Since you’re doing the testing on your own, there’s likely more room for error which is why it’s recommended to redo the test using different soil samples.
Getting the same results across multiple sample areas will strengthen the credibility of the outcome.
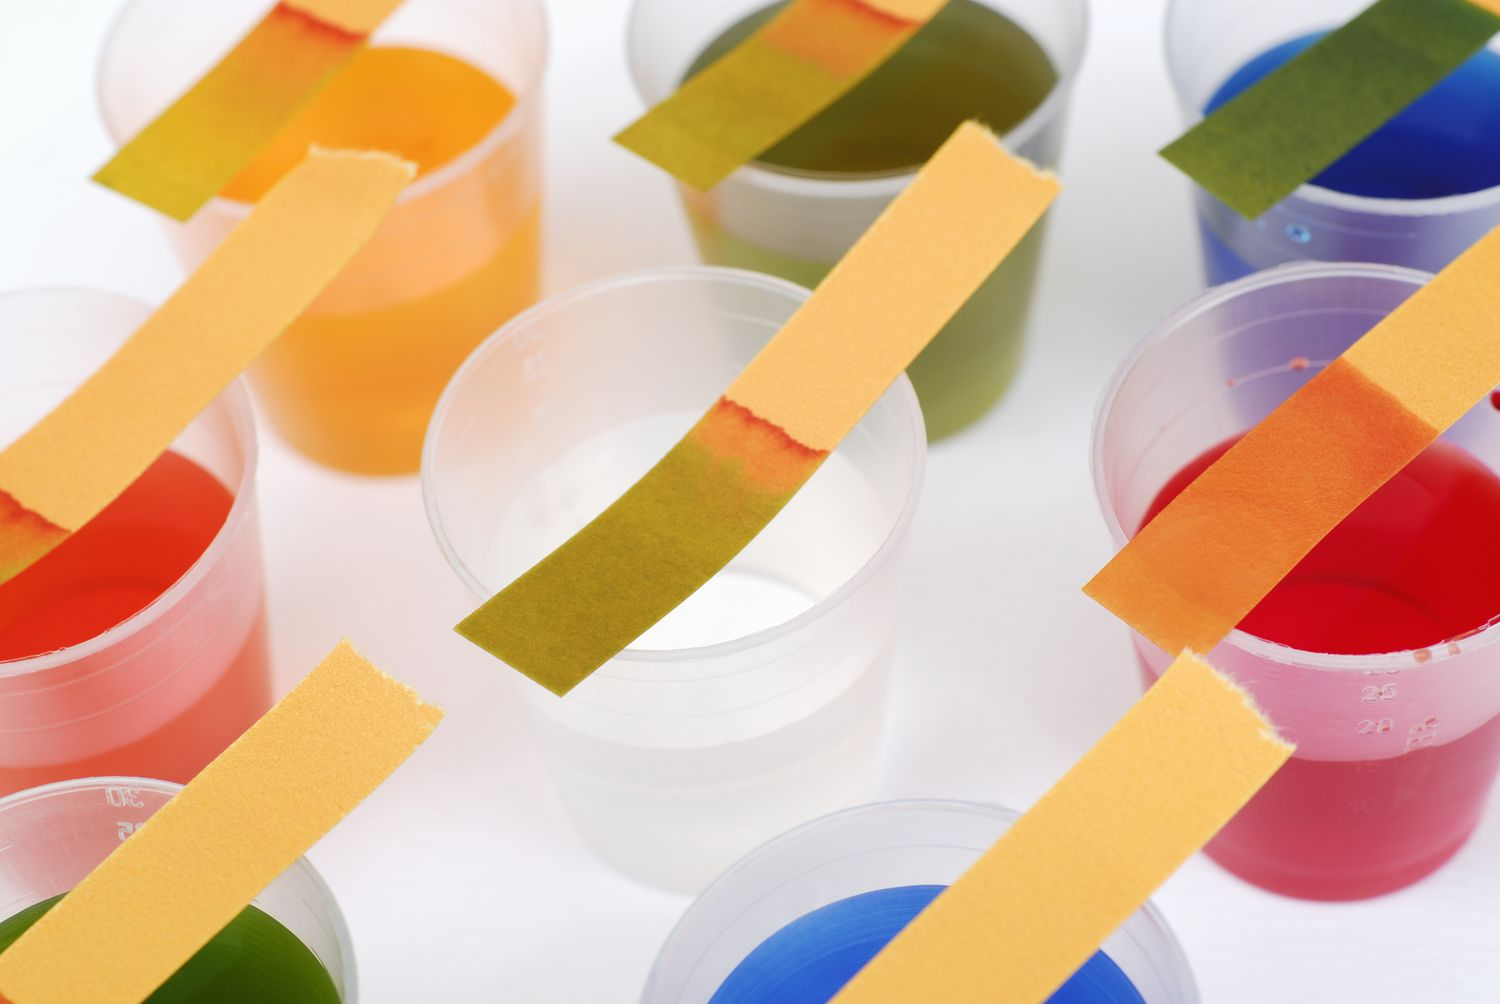
Test with litmus paper
| Difficulty | Easy ●●○○○ |
| Speed | Fast |
| Things You Need | • Soil sample • Shovel or trowel • Distilled water • Litmus paper • Container |
No local lab or soil testing kit? Don’t worry; we can do this the old-fashioned way through a test on litmus paper.
All you need to do is prepare a soil-water mixture composed of your soil sample and distilled water. Then, dip the litmus paper in, submerging it for a couple of seconds before shaking off any excess water.
After, wait a couple of seconds as the color of the paper changes. Compare the results to your pH color chart to determine the pH level of your soil.
What To Do
1. Acquire litmus paper.
Purchase litmus paper from your local gardening or scientific supply store. Be sure to double-check that the variant you’re getting covers a pH range of 4.5 to 7.0.
2. Identify which areas you’ll be collecting samples from.
Choose which areas in your garden you’ll be getting soil from.
3. Collect samples.
Using a shovel or trowel, collect about 6 to 8 inches worth of subsamples from each area.
4. Remove debris from the samples.
Ensure that your sample is clean from any roots, rocks, leaves, and other debris.
5. Allow the soil to air-dry.
Wet soil could affect the results due to the high moisture content, so it’s recommended to leave it to air-dry before testing.
6. Prepare the soil-water mixture.
In a clean and sanitized container, mix a tablespoon of soil and a tablespoon of distilled water. Mix thoroughly, ensuring that it’s well-incorporated.
7. Dip the litmus paper into the soil-water mixture.
Submerge the entire litmus paper into your soil-water mixture for a couple of seconds to completely soak. Then, remove and shake off any excess water.
8. Observe the color change.
Wait a couple of seconds for the litmus paper to change colors.
9. Compare the resulting color to the pH color chart.
Set your test tube close to the pH color chart to accurately determine which color is the closest to the results. This will determine your soil’s pH level.
10 Perform the test a few more times on different sites to achieve more accurate results.
Since you’re doing the testing on your own, there’s likely more room for error which is why it’s recommended to redo the test using different soil samples.
Getting the same results across multiple sample areas will strengthen the credibility of the outcome.
Test with ammonia

| Difficulty | Easy ●●○○○ |
| Speed | Slow |
| Things You Need | • Soil sample • Shovel or trowel • Distilled water • Ammonia • Glass container |
In case you didn’t know, ammonia can help tell whether your soil is alkaline or acidic. So if you don’t have easy access to a soil testing kit or litmus paper, you probably have a bottle of ammonia in your sink.
All you need to do is mix a few tablespoons of soil into a container with distilled water. Then, add a couple of drops of ammonia and come back in a couple of hours.
Clear water means that your soil is alkaline and dark water means your soil is acidic. Sadly, that’s as far as the results can go as far as interpretation is concerned, so if you want more accurate results it’d be best to acquire a testing kit.
What To Do
1. Identify which areas you’ll be collecting samples from.
Choose which areas in your garden you’ll be getting soil from.
2. Collect samples.
Using a shovel or trowel, collect about 6 to 8 inches worth of subsamples from each area.
3. Remove debris from the samples.
Ensure that your sample is clean from any roots, rocks, leaves, and other debris.
4. Allow the soil to air-dry.
Wet soil could affect the results due to the high moisture content, so it’s recommended to leave it to air-dry before testing.
5. Mix your distilled water and soil in a glass container.
6. Add a few drops of ammonia into your soil-water solution.
7. Wait for at least 2 hours and observe any changes.
8. Determine the pH results of your soil.
If you have alkaline soil, your water should be clear. If you have acidic soil, on the other hand, your soil should be dark.
9. Perform the test a few more times on different sites to achieve more accurate results.
Since you’re doing the testing on your own, there’s likely more room for error which is why it’s recommended to redo the test using different soil samples.
Getting the same results across multiple sample areas will strengthen the credibility of the outcome.
How to Adjust Soil pH for Tomatoes
Now that you have a more accurate idea of where your soil pH level is at, you can make the necessary changes to fix it. Here’s how you can raise and lower your soil pH!
Lower Soil pH (Increase Acidity)

How To Do:
Option 1: Add compost.
Option 2: Incorporate peat moss.
Option 3: Increase sulfur content.
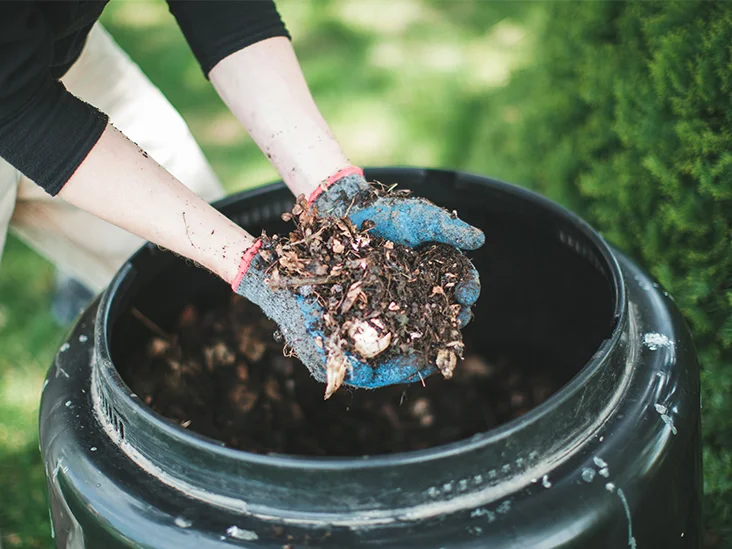
Add compost
| Difficulty | Easy ●●○○○ |
| Speed | Slow |
| Things You Need | Compost |
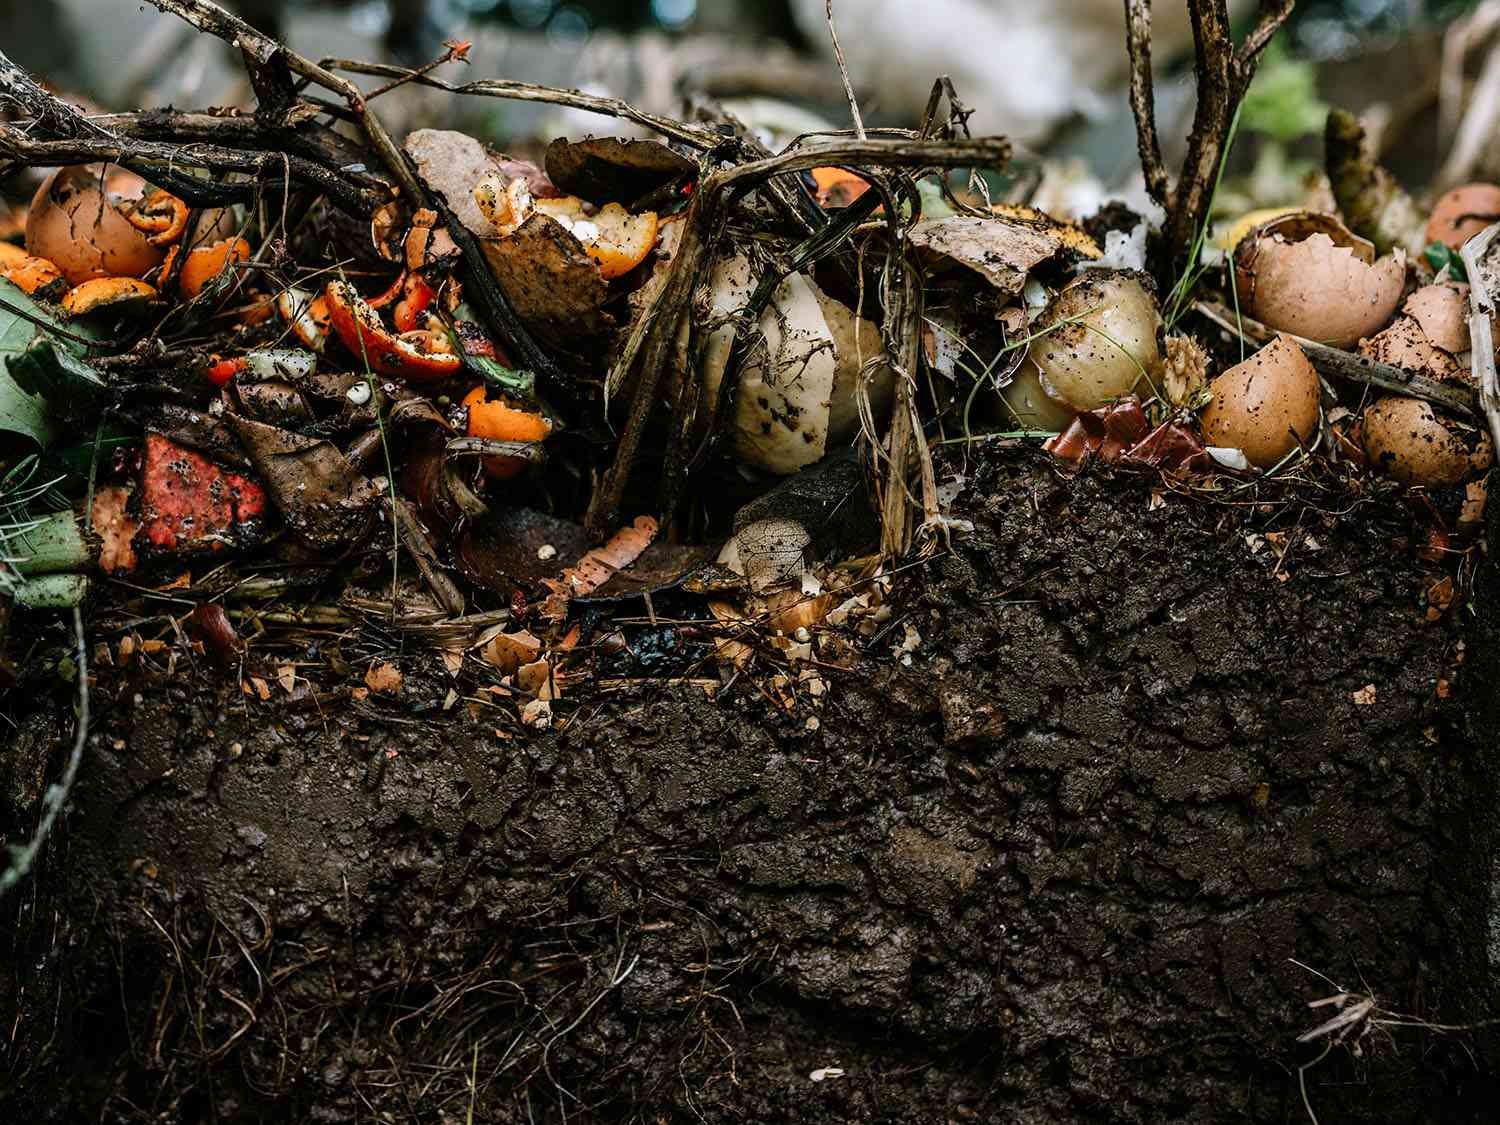
Among many other sought-after benefits, compost also helps decrease the acidity levels of your soil. As it decomposes, the organic matter present releases certain compounds that have a neutralizing effect on the soil.
It’ll also gradually help lower your soil’s pH level by increasing beneficial microbial activity. Having healthy and happy little critters means that they’re producing enough acids, which helps improve the soil’s overall pH balance.
Here’s a step-by-step guide on how to add compost to your soil!
What To Do
1. Get your compost ready.
Before you can add your compost to your soil, you need to make sure that it’s fully decomposed.
To be able to tell that your compost is well-rotted, keep an eye out for crumbly, dark, and earthy-looking organic matter.
2. Identify the best time to add your compost.
The best time to incorporate compost into the soil is either before planting or during the growing season. This way, your tomato plant will be able to take in all of the benefits your compost has to offer.
If your plant isn’t doing too well and your soil’s pH is way off, then you can simply add the compost in.
However, it’s important to note that you can only add compost to established plants because the nitrogen content may be too strong, resulting in burns.
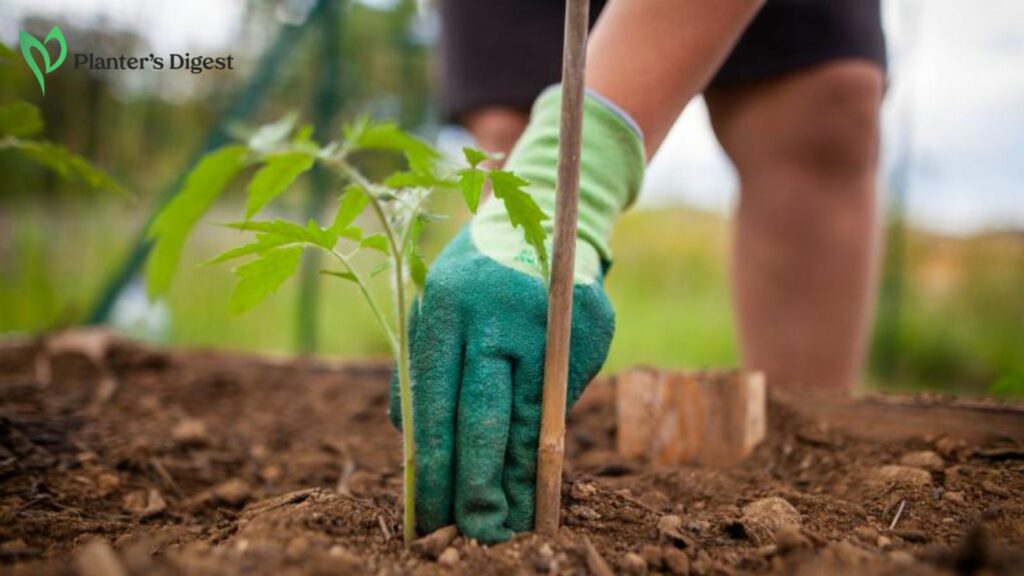
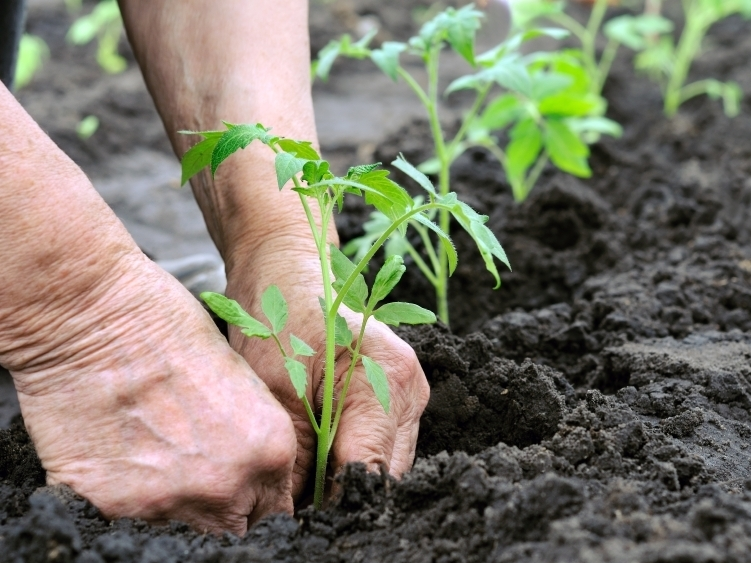
3. Add compost into the planting hole (for new plants).
If you’re adding compost before the growing season, dig a hole slightly bigger than the root ball of your seedling and mix in a handful of compost into the bottom.
Then, add in your seedling, making sure that the roots are extended and the tip is touching the bottom of the hole.
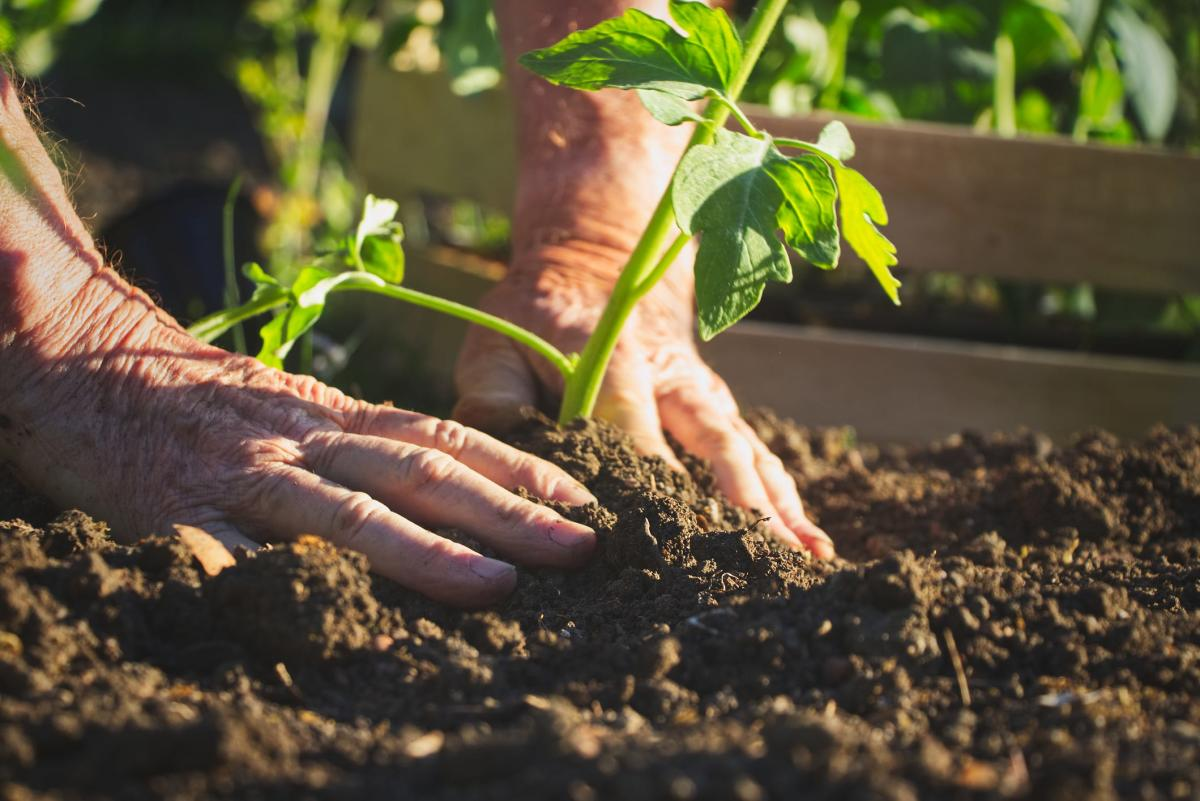
4. Mix in a layer of compost around the base of your plant (for established plants).
Put a 1 to 2-inch thick layer of compost directly onto the top of your soil. Ensure that it’s at least 5 inches away from the base of your stem to avoid accidental burns or stem rot.
Using a rake or your hands, spread the mulch evenly onto the surface. Gently mix it into the first few inches of your soil to get the decomposition process started.
5. Water the soil.
Right after layering on your compost, give your plants a thorough water to help the compost settle into the soil. This will also help it release nutrients, too.
6. Add more compost throughout the growing season as it decomposes.
Over time, your compost will decompose, so it’s important to replenish it as needed to keep your soil pH level balanced.
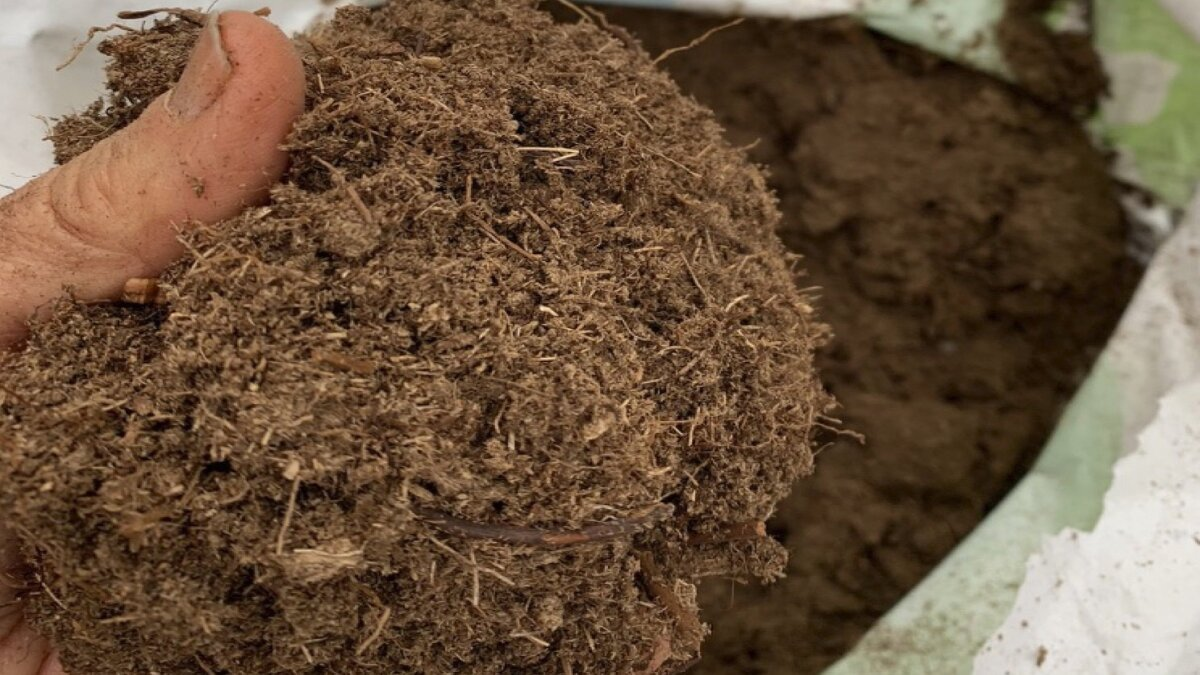
Incorporate peat moss
| Difficulty | Easy ●●○○○ |
| Speed | Slow |
| Things You Need | • Peat moss • Rake |
Thanks to its chemical composition, peat moss is another soil amendment that does wonder’s on lowering soil pH levels. Since it’s naturally acidic, it helps increase acidity in the soil as it decomposes over time.
Because peat moss decomposes quite slowly, it doesn’t shock the soil with a sudden pH level change. Instead, it’s gradual and steady over an extended period.
Here’s how you can add peat moss to your soil!
What To Do
1. Select the best peat moss available.
For the best results, source your peat moss from a reputable gardening center to be certain of its quality and effects.
2. Till the soil.
Before adding your peat moss, you’ll need to prepare the soil. To do, till the soil using a rake to help loosen it.
Till about 6 to 8 inches deep to ensure that most of the soil is effectively absorbing the peat moss.
While you’re at it, remove any debris such as rocks and weeds in the planting area.
3. Calculate how much peat moss you’ll need for your growing area.
More often than not, a 1 to 2-inch layer of peat moss is good enough. Thus, calculate how much peat moss you need according to the size of your area.
4. Dampen the peat moss.
Because peat moss is quite dry, it often repels water once incorporated into the soil. To avoid this, dampen the peat moss before mixing it in.
5. Evenly spread the peat moss on top of the soil.
Using a rake, gently spread the peat moss across the planting area, evenly distributing it.
6. Mix the peat moss a few inches into the soil.
Stir in the peat moss about 6 to 8 inches deep into the soil using a rake.
7. Water the soil.
Right after layering on your peat moss, give your plants a thorough water to help the peat moss settle into the soil. This will also help it release nutrients, too.
8. Add more peat moss throughout the growing season as it decomposes.
Over time, your peat moss will decompose, so it’s important to replenish it as needed to keep your soil pH level balanced.
Increase sulfur content

| Difficulty | Easy ●●○○○ |
| Speed | Slow |
| Things You Need | • Peat moss • Rake |
Through oxidation, sulfur reacts with oxygen and water to create sulfuric acid. This natural chemical helps lower the soil’s pH level gradually.
What’s great about this method is that sulfur can come in different forms. This includes elemental sulfur in the form of powders or pellets, fertilizers, and even sulfur-rich organic materials such as gypsum.
Read on to learn how you can add sulfur to your soil!
What To Do
1. Acquire the right type of sulfur for your soil’s needs.
If you have soil that’s in dire need of more acidity, then you’re better off with elemental sulfur which often comes in either powdered or pellet form.
In this formulation, elemental sulfur is often at its most concentrated and purest state, making it more effective.
Sulfur in fertilizer or gypsum, on the other hand, is best for soil that doesn’t mind a slow release.
2. Calculate how much sulfur you need based on the pH level of your soil.
In the packaging, it’ll often indicate how much sulfur is needed to achieve the target pH level. Use the results of your soil test to calculate how much sulfur you need.
3. Prepare the sulfur according to the packaging’s instructions.
Depending on what type of sulfur you have, you may need to do some preparatory steps. Say, some types of elemental sulfur often need to be broken down further into smaller granules for optimal absorption.
4. Evenly spread the sulfur on top of the soil.
Using a rake, gently spread the sulfur across the planting area, evenly distributing it.
5. Mix the sulfur a few inches into the soil.
Stir in the sulfur about 6 to 8 inches deep into the soil using a rake.
6. Water the soil.
Right after layering on your sulfur, give your plants a thorough water to help the sulfur settle into the soil.
7. Add more sulfur throughout the growing season as it decomposes.
Over time, your sulfur will decompose, so it’s important to replenish it as needed to keep your soil pH level balanced.
Increase Soil pH (Decrease Acidity)

How To Do:
Option 1: Add compost.
Option 2: Get rid of pine needles.
Option 3: Mix in wood ashes.
Option 4: Incorporate limestone.
Add compost
| Difficulty | Easy ●●○○○ |
| Speed | Slow |
| Things You Need | Compost |
Looking for a remedy that you already have in your garden? Compost is a great way to neutralize soil pH levels, so don’t be shy to toss a couple handfuls into your planting area.
Throughout its decomposition process, compost releases compounds that have a positive effect on stabilizing the soil pH. Since it takes a while for organic matter to break apart, compost is a low-maintenance long-term solution.
Read on for an informative guide on how you can incorporate compost into your soil!
What To Do
1. Get your compost ready.
Before you can add your compost to your soil, you need to make sure that it’s fully decomposed.
To be able to tell that your compost is well-rotted, keep an eye out for crumbly, dark, and earthy-looking organic matter.
2. Identify the best time to add your compost.
The best time to incorporate compost into the soil is either before planting or during the growing season. This way, your tomato plant will be able to take in all of the benefits your compost has to offer.
If your plant isn’t doing too well and your soil’s pH is way off, then you can simply add the compost in.
However, it’s important to note that you can only add compost to established plants because the nitrogen content may be too strong, resulting in burns.
3. Add compost into the planting hole (for new plants).
If you’re adding compost before the growing season, dig a hole slightly bigger than the root ball of your seedling and mix in a handful of compost into the bottom.
Then, add in your seedling, making sure that the roots are extended and the tip is touching the bottom of the hole.
4. Mix in a layer of compost around the base of your plant (for established plants).
Put a 1 to 2-inch thick layer of compost directly onto the top of your soil. Ensure that it’s at least 5 inches away from the base of your stem to avoid accidental burns or stem rot.
Using a rake or your hands, spread the mulch evenly onto the surface. Gently mix it into the first few inches of your soil to get the decomposition process started.
5. Water the soil.
Right after layering on your compost, give your plants a thorough water to help the compost settle into the soil. This will also help it release nutrients, too.
6. Add more compost throughout the growing season as it decomposes.
Over time, your compost will decompose, so it’s important to replenish it as needed to keep your soil pH level balanced.
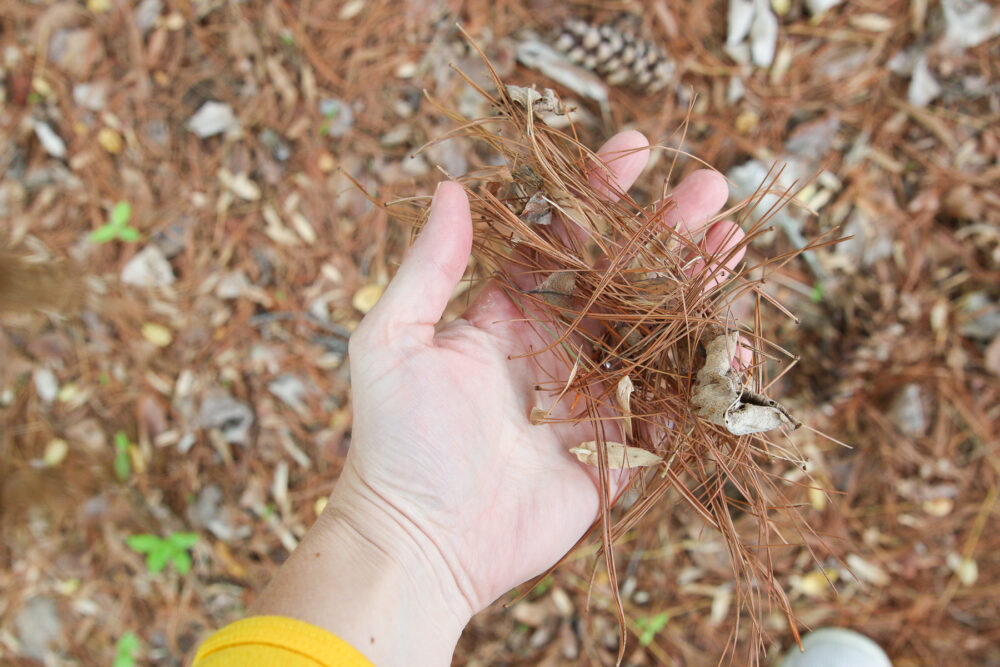
Get rid of pine needles
| Difficulty | Very Easy ●○○○○ |
| Speed | Fast |
| Things You Need | • Gardening gloves • Rake • Shovel • Plastic bag |
If you have a pine tree in your backyard, it’s worth highlighting that their pine needles acidify the soil. As they break down, they release acidic compounds like tannic acid into the soil.
While it has a slow decomposition process, the soil can become highly acidic over time, especially if it’s covered in a thick layer of pine needles.
Here’s what you can do to fix it!
What To Do:
1. Using a rake, gather all of the pine needles into piles.
Start from one end of the garden, gathering all of the pine needles into organized piles. Then, move across the garden as you go along making piles.
2. With a shovel, scoop up the pine needles into a plastic bag.
3. Pick up any leftover pine needles.
For tight areas or alongside delicate plants, you can simply handpick the pine needle. Don’t forget to wear gloves to protect your hands.
4. Dispose of the pine needles properly or compost them.
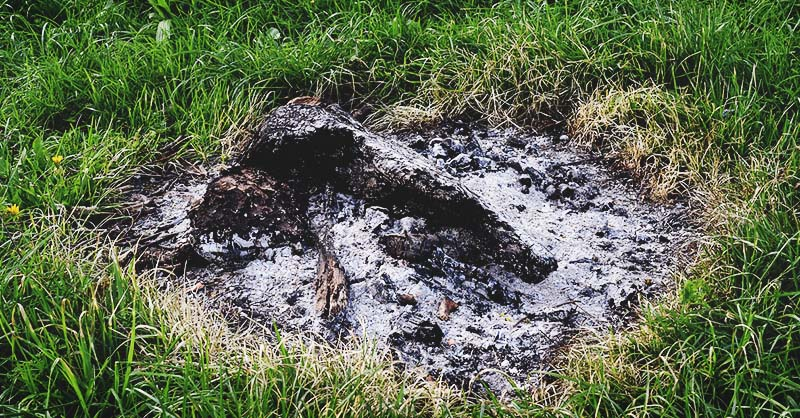
Mix in wood ashes
| Difficulty | Easy ●●○○○ |
| Speed | Slow |
| Things You Need | • Wood ash • Rake • Shovel |
A natural way to help lower the acidity levels of your soil is to mix in a good amount of wood ashes. Since they contain calcium carbonate, it helps neutralize the acidity when combined with hydrogen ions.
However, it’s worth mentioning that wood ashes slowly release calcium carbonate, so don’t expect an immediate effect on your soil.
Nevertheless, here’s how you can add wood ash into your soil!
What To Do:
1. Collect enough wood ash for your planting area.
Gather wood ash from a fireplace, wood-burning stone, fire pit, and similar other areas where wood is often entirely burned.
Remember to allow the wood ash to cool down completely before collecting and storing it in a dry container.
2. Spread the wood ash onto the top of the soil.
Carefully coat the top of your soil with wood ash.
3. Gently mix in the wood ash into the first few inches of soil.
Using a rake or a shovel, mix in the wood ash into about 6 inches of the soil.
4. Water the soil.
Right after layering on your wood ash, give your plants a thorough water to help the wood ash settle into the soil. This will also help it release nutrients, too.
5. Add more wood ash throughout the growing season as it decomposes.
Over time, your wood ash will decompose, so it’s important to replenish it as needed to keep your soil pH level balanced.
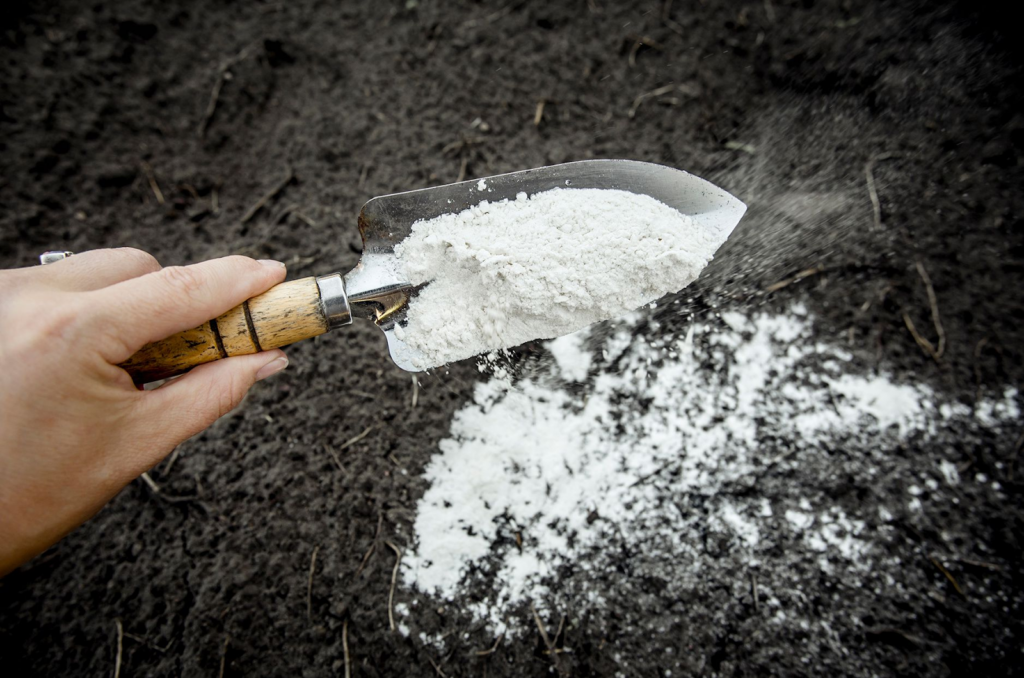
Incorporate limestone
| Difficulty | Easy ●●○○○ |
| Speed | Slow |
| Things You Need | • Limestone • Personal protective equipment • Rake or shovel • Soil test kit |
If you don’t have access to wood ash, limestone is your next bet. When limestone binds with hydrogen, it creates a water-soluble type of calcium, which can decrease how acidic your soil is.
What’s great about this method is that it’s relatively easy to find gardening limestone at gardening centers or online.
Keep in mind that this method is rather slow-acting because it’ll take time before the limestone can decompose completely and take effect.
What To Do:
1. Calculate how much limestone you need based on the pH level of your soil.
In the packaging, it’ll often indicate how much limestone is needed to achieve the target pH level. Use the results of your soil test to calculate how much limestone you need.
2. Evenly spread the limestone on top of the soil.
Using a rake, gently spread the limestone across the planting area, evenly distributing it.
3. Mix the limestone a few inches into the soil.
Stir in the limestone about 6 to 8 inches deep into the soil using a rake.
4. Water the soil.
Right after layering on your limestone, give your plants a thorough water to help the limestone settle into the soil.
5. Add more limestone throughout the growing season as it decomposes.
Over time, your limestone will decompose, so it’s important to replenish it as needed to keep your soil pH level balanced.
FAQs
Soil pH levels can drastically affect how a tomato plant grows because it influences the availability of nutrients, ability to uptake resources, soil health, and overall development.
Tomatoes prefer slightly more acidic soil because they’re quite heavy feeders, so they need the extra nutrients available in soil.
Natural fertilizers and soil amendments like sphagnum peat moss can increase the acidity levels of your soil while improving its structure.
Tomato varieties that are the least acidic are Ace, Supersweet, Golden Jubilee, San Marzano, and Gold Medal, among others.
Meanwhile, some of the most acidic tomato plant varieties are West Virginia Straw, Dr. Wyche’s, Dr. Caroline Pink, Camp Joy, Druzba, and Silvery Fir Tree, to name a few.