While trees can add a beautiful touch to any landscape, they can cause great trouble if they’re in unwanted areas. However, hiring a professional will leave quite a hole in your wallet.
Luckily, we’ve gathered tried-and-tested homemade tree and stump killers and provided simple step-by-step instructions that you can easily do yourself.
1. Dark-Colored Bucket or Heavy-Duty Black Trash Bag
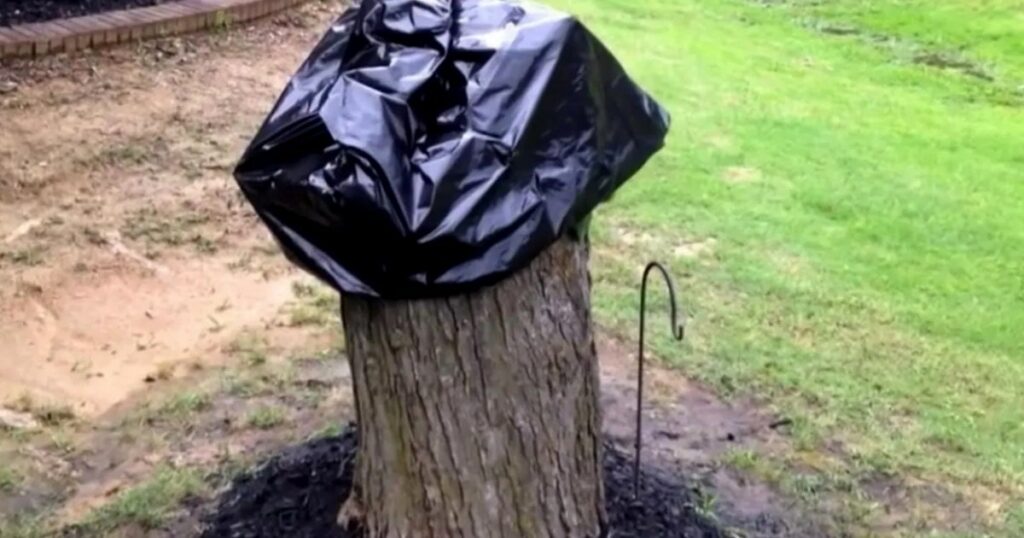
Covering the tree with a dark-colored bucket or a heavy-duty black trash bag is an easy and straightforward method of killing it.
But here’s the hitch: it can take ages, especially for older and most established trees, to die. In fact, it can take more than 6 months before any indication of decomposition begins to show.
Nevertheless, it’s known to be an effective homemade eradication method, particularly for hardy trees such as the Chinese Elm tree.
Thus, this is the best option if you’ve got a lot of time on your hands and would prefer the least laborious technique.
The way this method works is by removing access to water and sunlight. Taking away a tree’s basic needs inhibits photosynthesis which, in turn, prevents growth.
It’s important to note that the goal of this method is to dry out the tree. Hence, it’s vital that this is performed during the summer months when it’s unlikely to expect rainfall.
How-To
- Cover the tree or its stump with a dark-colored, heavy-duty trash bag.
Alternatively, you can use a tarpaulin or a similar nonporous covering.
For extra measure, you can cover it twice to prevent any damage to the covering.
- Seal the covering tightly to ensure that no moisture gets inside.
- Check on the stump after a month to inspect whether signs of deterioration are present.
- Once the tree and its stump have died, you can expect it to gradually fall apart on its own. Else, you can disassemble it on your own.
2. Epsom Salt
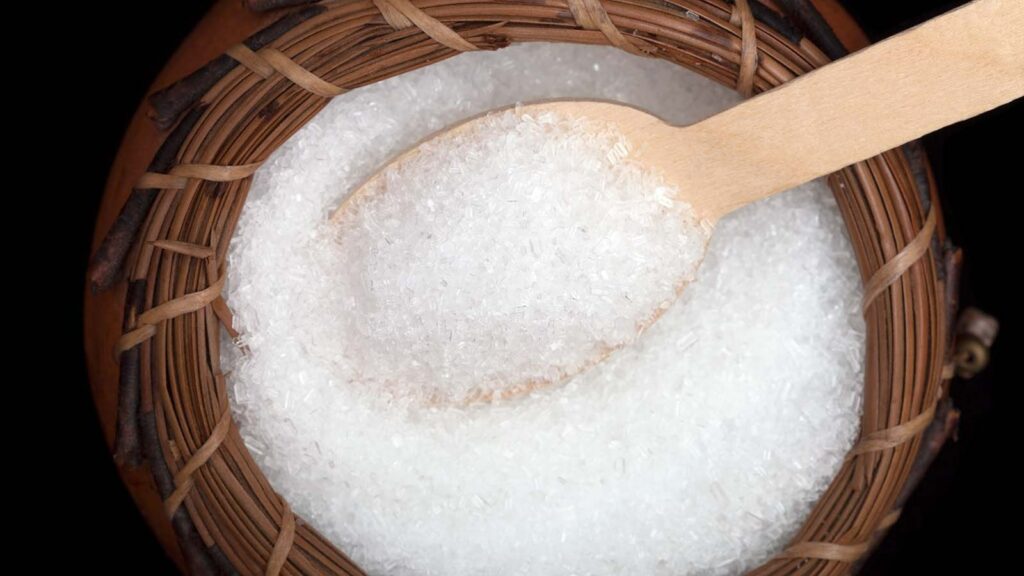
While Epsom salt is more popularly used for body care purposes, it also works wonders at killing trees.
To be specific, it’s great at speeding up the decomposition process of trees, or any kind of organic material.
Epsom salt is composed of magnesium sulfate which, in excessive amounts, can be toxic.
Too much Epsom salt will also inhibit the tree’s intake of valuable nutrients and minerals needed to survive.
Aside from that, it quickly removes any moisture from within the tree, successfully drying it from the inside out. This will also hasten the decomposition process, to boot.
While this method is a tried and tested technique, it’s known to work best on small to medium-sized trees. It’s also noted to be effective on evergreen varieties.
Nevertheless, it does work on larger trees, but expect slower-paced results. Overall, it can take anywhere from a few weeks to around half a year for your tree stump to completely decompose.
Even then, this method is definitely the one to go for if you’re looking for a cost-effective removal.
Be warned, though, that large quantities of Epsom salt could cause harm to nearby plants.
How-To
- Use a power drill to puncture several deep holes into the tree’s base, stump, and surface roots. You’ll want as much exposed interior as possible to ensure effectiveness.
Depending on how thick your tree is, the depth of your hole may vary. While the holes don’t need to be wide, they need to be deep enough that the Epsom salt will be able to reach the tree’s insides and roots.
- Mix 6 cups of Epsom salt with a gallon of water.
- Pour a generous amount of the mixture into each of the holes. Evenly spray the mixture onto the tree’s foliage, too.
- To maximize effectiveness, add more undiluted Epsom salt into the holes. You can fill these cavities to the brim.
- Cover all of the holes with heavy-duty plastic or tarpaulin to prevent water from getting inside.
- Inspect the holes after 2 to 3 weeks to check on their decomposition progress and repeat the process as needed.
- Once the tree and its stump have died, you can expect it to gradually fall apart on its own. Else, you can disassemble it on your own.
3. Rock Salt
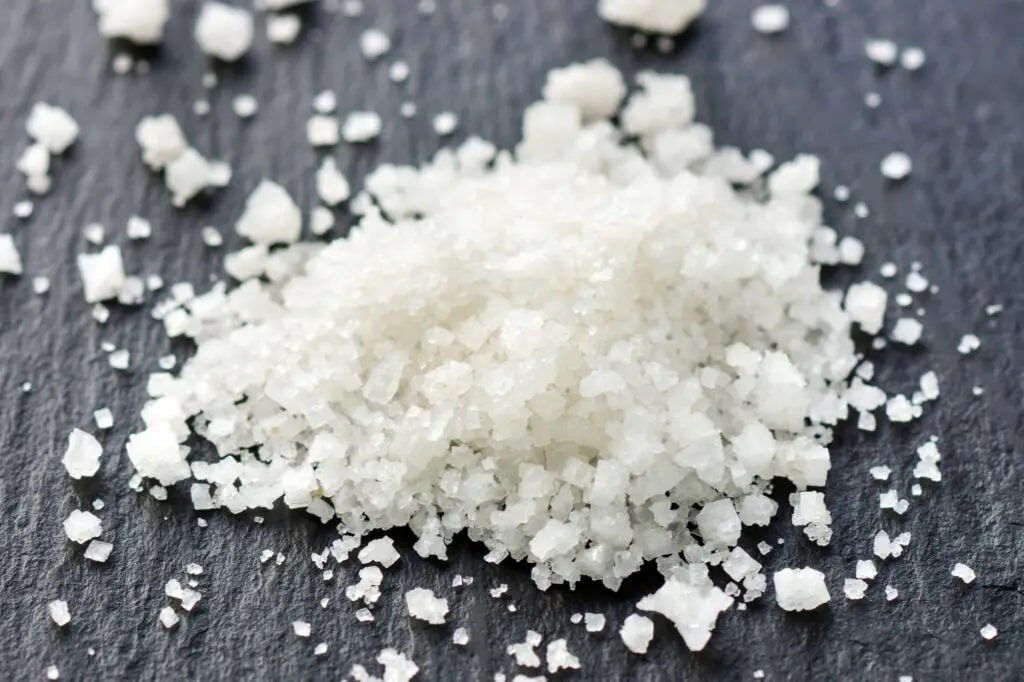
Using rock salt to kill a tree is another easy and budget-friendly technique as you definitely have some in your pantry.
Just like Epsom salt, rock salt can cause a great deal of damage to plants when applied in large quantities.
It contains an active ingredient called sodium chloride which is known to work great at removing moisture and drying out plants.
As a result, plants can no longer absorb the necessary nutrients and minerals in the soil. Its poor state also inhibits its ability to perform photosynthesis, ultimately killing it.
This process takes anywhere from 1 month to 1 ½ months before the stump decomposes entirely. However, there are certain cases where it can take longer than that.
While the idea is nearly identical to the Epsom salt technique, using rock salt requires a slightly different approach.
How-To
- Using a power drill, penetrate a handful of deep holes into the base, stump, and roots of the tree.
To ensure optimal results, you’ll want to puncture deep into the interior of the tree.
Keep in mind that the thickness of the hole isn’t very important. It just needs to be deep enough that the salt mixture can easily be absorbed inside.
- Mix 2 to 3 cups of rock salt with a gallon of water.
- Pour a generous amount of the mixture into each of the holes. Evenly spray the mixture onto the tree’s foliage, too.
- To maximize effectiveness, add more undiluted Epsom salt into the holes. You can fill these cavities to the brim.
- To hasten the process, add a 2-inch layer of rock salt at the base of the tree. Douse the surface with hot water to help the salt trickle into the soil easily.
- To ensure that no moisture gets inside, seal off the holes with heavy-duty plastic or tarpaulin.
- Inspect the holes after 2 to 3 weeks to check on their decomposition progress and repeat the process as needed.
- Once the tree and its stump have died, you can expect it to gradually fall apart on its own. Else, you can disassemble it on your own.
4. Mulch
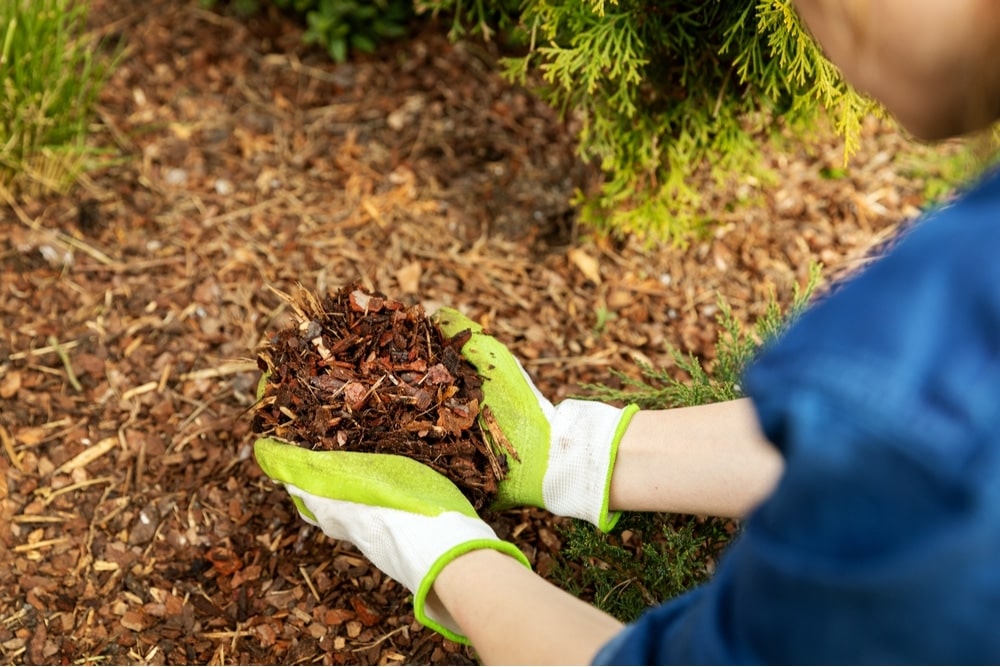
Mulch is a mixture composed of several kinds of organic matter such as dead plant materials, compost, and clippings, to name a few.
It’s evenly layered on top of the soil at about 1 to 4 inches thick to suppress weed growth and retain moisture. For raised beds, mulch layers can be a bit higher.
So, how is something that’s supposed to be beneficial to the plant’s soil capable of killing a tree?
As mentioned earlier, mulch should only be around an inch or two thick when used on trees. Any more than this, say 6 to 10 inches deep, various problems will begin to arise.
In fact, over-mulching is often called volcano mulching. As the name suggests, it
involves placing high piles of mulch around the base of the tree, similar to the structure of a volcano.
Heaps of mulch will inhibit air circulation as the top of the soil is covered. As a result, oxygen won’t be able to easily travel down to the roots.
Inadequate oxygen levels will inhibit growth and, over time, suffocate the tree to death.
Mulch is also known to retain moisture in the soil. However, constantly wet soil is practically an invitation for mold and bacterial growth along with pest infestations.
As the organic matter decomposes, its close proximity to the bark of the tree can cause the tree to decay as well.
Aside from that, roots can sometimes grow into the mulch, heightening the risk of girdling roots. This essentially means that roots don’t grow out normally, but in a circular or spiral pattern, eventually strangling themselves.
How-To
- Spread about 10 inches high’s worth of mulch all over the base of the tree making sure that it’s making direct contact with the bark.
- Gently compress the mulch.
- Leave the mulch alone.
- Inspect the decomposition process every now and then. Add more mulch as needed.
- Once the tree and its stump have died, you can expect it to gradually fall apart on its own. Else, you can disassemble it on your own.
5. White Vinegar

Using undiluted vinegar is one of the oldest tricks in the book. Also known as acetic acid, white vinegar has 5% acidity which is why it’s also commonly used as a cleaning agent.
It’s also the next best thing if you can’t get your hands on horticultural vinegar. Hence, it’s the go-to solution for many homeowners looking for a homemade fix to killing trees.
To boot, it’s non-toxic since it doesn’t contain any chemicals. Thus, it’s a great option if you have kids and pets around.
For gardening, it’s commonly used for getting rid of unwanted plants such as weeds. However, it’s not the most ideal solution to killing more established, woody plants.
Nevertheless, you can still use undiluted white vinegar in its most concentrated form to kill trees. In large amounts, it can actually burn the leaves and damage the roots.
Over time, your tree will gradually have difficulty doing photosynthesis. Since this method may take a while, it’s recommended to reapply every now and then.
The absence of visible results may also be a sign that the holes weren’t deep enough for the vinegar to have direct contact with the roots.
Having said that, you may want to inspect the depth of your holes if there have been no signs of the tree decaying yet.
You’ll also want to perform this method during the summertime when there’s little to no rainfall. This way, the tree can’t get any water.
How-To
- Using a power drill, create several deep holes into the stump, base, and roots of the tree.
To ensure optimal results, you’ll want to puncture deep into the interior of the tree.
It’s important to highlight that the more root system exposure, the better. This is because, for optimal results, the white vinegar has to be applied directly onto the roots.
- Pour a generous amount of white vinegar into each of the holes. Evenly spray the white vinegar onto the tree’s foliage, too.
- To ensure that no moisture gets inside, seal off the holes with heavy-duty plastic or tarpaulin.
- Inspect the holes after 2 to 3 weeks to check on their decomposition progress and repeat the process as needed.
6. Boiling Water

Using boiling water is another cheap yet effective way to kill a tree. To boot, it doesn’t require that much effort either.
Similar to the Epsom salt, rock salt, and white vinegar methods, the boiling water technique requires an exposed root system.
The scalding hot water will cause a great deal of damage to the roots. Due to the shock, it won’t be able to recuperate quickly and eventually die.
Once you’ve successfully killed the tree, it’ll naturally rot away.
Though, it’s worth noting that there are cases wherein the roots don’t die after being doused with boiling water.
If this happens to you, this can either mean that the water you used wasn’t hot enough or you need more exposed roots.
How-To
- With the help of a power drill, make a couple of deep holes all over the stump, base, and roots of the tree.
To achieve ideal results, expose as much of the tree’s root system as possible.
- Boil water to temperatures above 120°F or 148°C. For a stronger reaction, heat up the water until it’s scalding hot.
- Carefully pour the boiling water over the holes and around the tree. If there isn’t enough water for all of the holes, just boil more water.
- The tree will go into shock and begin to display signs of decay after a couple of weeks.
FAQs
Bleach can kill a tree, but it’s an incredibly unsafe and destructive method. It can cause more damage to plants than your average commercial herbicide which is why it’s not recommended.
Diesel or motor oil can effectively kill trees, but it’s a highly discouraged method.
It’s an insoluble material that contains many harmful contaminants, harsh chemicals, and heavy metals that can hurt the environment.
Grinding away the tree and its stump is the fastest way to effectively kill and remove it. However, it isn’t a DIY-friendly method and usually requires the assistance of professional removalists.
You can cause a tree to naturally rot by covering the base with about 6 to 10 feet of mulch. The high moisture content will increase the decomposition process.
Due to the mulch’s close proximity to the tree, it’ll eventually cause the base of the tree to decay as well.


