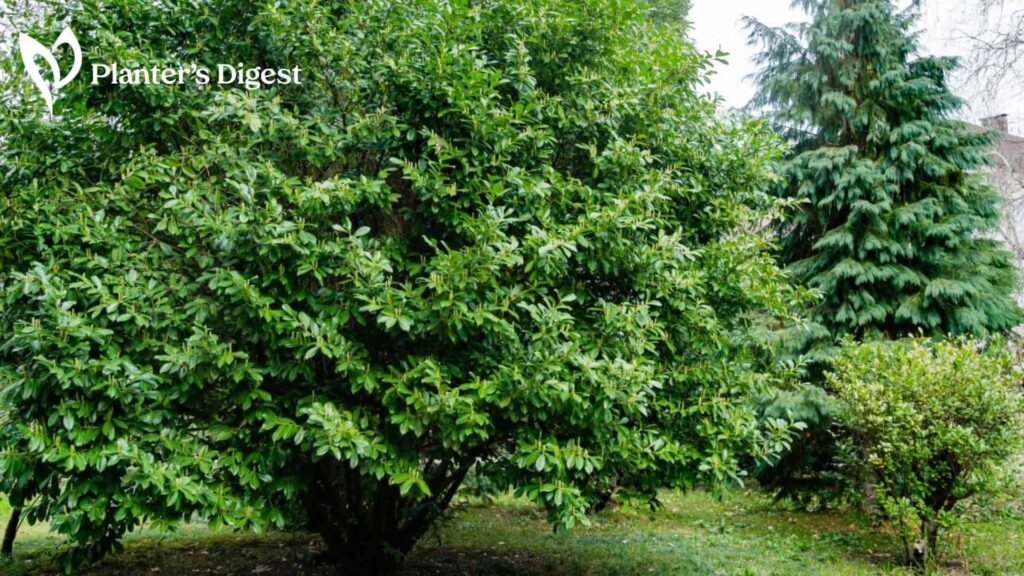
Whether you have a tree or shrub, laurel evergreens are incredibly popular for their dense foliage. Hence, aside from their luscious and full look, they also double as landscape plants that offer great privacy and separation.
Even then, laurel plants aren’t on everyone’s good side. So if you’re not particularly fond of them and are looking for effective ways to get rid of them, then stick around!
In this article, we’ve listed the best ways to kill laurels along with easy-to-follow directions that’ll make working on this project a complete breeze.
Best Way To Kill Laurels

The best way to kill laurels is to use any systemic herbicide through the hack-and-squirt, foliar spray, or basal bark spray methods.
This will plant from the inside out and ensure that it can’t produce any suckers which it can propagate from.
Ways To Kill Laurels

Read on as we cover the best ways to kill laurels accompanied by step-by-step instructions on how you can do it yourself.
Before that, don’t forget to wear personal protective gear, especially when handling chemical herbicides. Be sure to use face coverings, gloves, and appropriate clothing that covers the skin.
Other than that, try to enlist the help of friends or family that can give you a couple of extra hands to make the process quicker and easier.
1. Girdling or Ring Barking

| Difficulty | Moderate – Hard ●●●●○ |
| Speed | Slow-acting |
| Things You Need | • Personal protective equipment • Herbicide • Ax, hatchet, or chainsaw • Dye (optional) |
Girdling or ring barking is the way to go if you aren’t up to cutting down any part of the tree or applying any chemical herbicide.
In fact, you’ll only need a sharp carving tool such as an ax, hatchet, or chainsaw to strip away several layers around the entire circumference of the tree’s stem.
However, girdling will be more of a challenge the more mature your tree is. This is primarily because laurel trees are known to have tough barks that only get tougher as they mature.
The secret to ensuring that this method is a success is to create a laceration that’s deep enough to penetrate through the essential layers of the tree.
To be specific, you’ll need to remove the following:
- Bark, which is the outer protective covering of any woody plant. It’s the first layer that you’ll see as it shields the tree from damage from the outside world.
- Cambium, which is the next layer after the bark. It’s a cell layer responsible for growing new wood, making the trunk, roots, and branches thicker.
- Phloem, which can either be dead and become a part of the tree’s bark or alive and found in the inner bark. It’s in charge of transporting food created from photosynthesis along with storing water, proteins, and carbohydrates.
- Xylem, which is located inside the cambium. It’s responsible for the transportation of water and minerals, acting as a channel from the roots to the leaves.
Having said that, you should be removing a large chunk of the stem’s circumference. In particular, about 2 to 4 inches deep and 4 to 8 inches wide.
For extra measure, you can also girdle several layers around the stem, branches, and surface roots, making them just a couple of inches apart.
It’s worth noting that this method is incredibly slow-acting. In fact, it can take anywhere up to several years for a tree to die after girdling.
To speed up the deterioration process, you can apply a chemical herbicide on the freshly girdled stem. This is especially helpful if you’ve got large and mature trees or a large infestation that you want to get rid of.
When done correctly, you can expect your tree to appear a little under the weather within the first 48 hours.
If your tree looks all fine and dandy, then it probably means that you didn’t remove enough layers to significantly affect the tree’s food and water transportation systems.
| How To Do 1. Using your carving tool, start by removing pieces of the bark in a 45-degree downward motion. Make a line that’s about 4 to 8 inches long. Then, start carving going either left or right, depending on your preference. Here, you don’t want to pay too much attention to whether your cuts are perfectly straight or deep enough. Your initial incisions should be focused on getting decent-sized chunks out to help make the removal process easier. 2. After, begin carving out the circumference of the trunk. At this point, try to make your way around and take away pieces that are about 2 to 4 inches deep. 3. Keep an eye out for signs that the laurel plant is deteriorating. If this technique is working, you should expect your plant to show the following: • Discolored leaves that are usually yellow or brown • Wilted, distorted, or curled leaves • Sparse canopy • Stopped growth • Drooped branches 4. Once your laurel tree has died, have it removed by a professional arborist, ensuring that even the underground roots are pulled out. Alternatively, you can remove the tree yourself. Just make sure that you’re doing it safely and with the necessary equipment. |
2. Performing the Hack-and-Squirt Technique
| Difficulty | Moderate ●●●○○ |
| Speed | Slow-acting |
| Things You Need | • Personal protective equipment • Systemic herbicide • Ax, hatchet, or power drill • Heavy-duty plastic sheet (optional) • Dye (optional) |
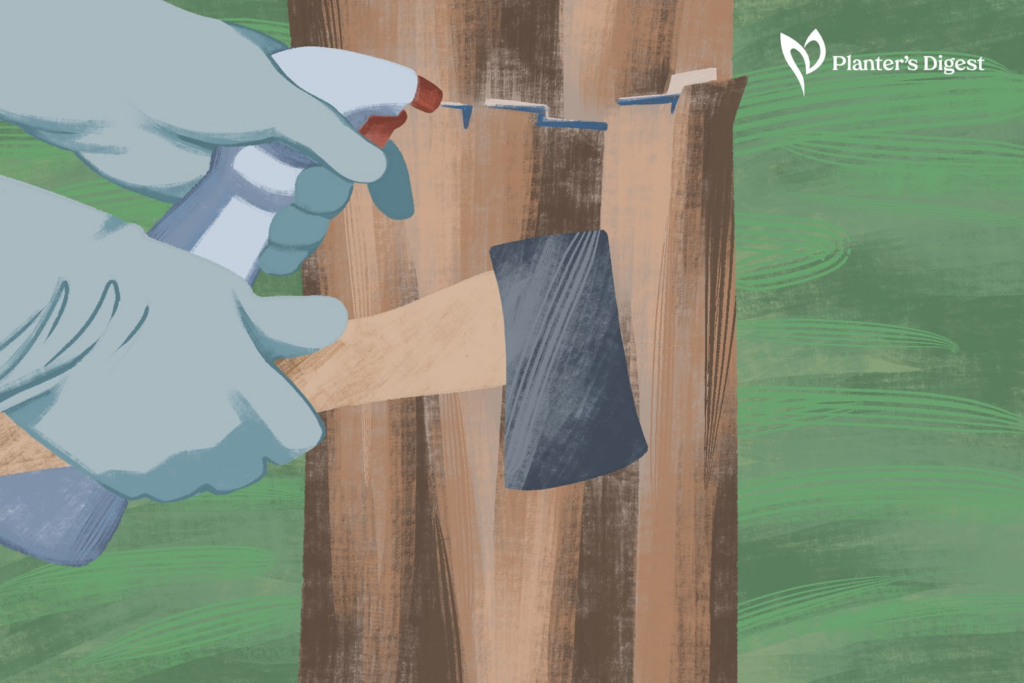
The hack-and-squirt technique, also commonly called the cut surface treatment, is actually a combination of both the girdling and herbicide injection methods.
It’s great for those who have only a minimal to moderate laurel infestation since this method does require quite a bit of effort.
It involves hacking away at a downward angle a couple of layers into the stem of the tree. Then, applying a generous coat of chemical herbicide onto the freshly cut injury.
Alternatively, this method can also be done by drilling several holes also at a downward angle. Then, pouring a liberal amount of chemical herbicide immediately after.
It’s worth noting that the cut has to be quite deep and at a 45-degree angle. This way, the gash is able to cup some of the herbicide instead of having it simply drip off.
That’ll also give your tree enough time to properly absorb the herbicide into the tree’s innermost layers.
For the best results, you’ll want to do the hack-and-squirt technique on a clear and sunny day. This is because rain and wind can interfere with the effectiveness of the herbicide.
Specifically, the rain can dilute or even completely wash off the herbicide from the cut. Meanwhile, the wind can blow it away and transfer the herbicide onto nearby plants.
For extra protection, you can opt to cover the gashes with a plastic sheet. Just make sure that it’s heavy-duty so that it can withstand the elements.
Another optional add-on is a dye. You can mix a dye of any color with your herbicide so that you can easily keep track of which cuts have already been treated.
It’s worth highlighting that the hack-and-squirt technique may require reapplication such as if your laurel plant isn’t showing any signs of deterioration.
In this case, you may need to bring in the big guns and use a systemic chemical herbicide with a higher concentration of 2,4-D, triclopyr, glyphosate, or picloram as its primary active ingredient.
| How To Do 1. Start by getting the chemical herbicide ready according to the label’s directions. Keep in mind that chemical herbicides can come in various concentrations and instructions. Some may require dilution while others come in a ready-to-use form. Ensure that your herbicide is in a container that’s easy to work with. For easier application, you can use a squeeze-top water bottle to give you more control. 2. Afterward, create the cuts or holes where you’ll be putting the herbicide. For the cuts, use a hatchet or ax to create a downward 45-degree cut. For the holes, use a power drill to create a 2 to 7-inch deep hole at a 45-degree angle. Continue to create these incisions all over the circumference of the stem about 2 inches apart from each other. To increase effectiveness, you can make incisions on the plant’s surface roots, too. 3. Smear a good amount of herbicide into the hole or cut. While you want to apply a liberal amount, you don’t want the herbicide to be overflowing. 4. Next, cover the hole or cut with a heavy-duty sheet of plastic. You can use duct tape to temporarily stick the sheet of plastic onto the bark. When removed carefully, this won’t damage the tree. 5. Allow the tree to absorb the herbicide while closely monitoring to see whether you’ll need to add more. At this point, you’ll want to leave the laurel plant alone to let it do its thing. If it has absorbed the herbicide completely within the day, reapply another helping to increase effectiveness. 6. Keep an eye out for signs that the laurel plant is deteriorating. If this technique is working, you should expect your plant to show the following: • Discolored leaves that are usually yellow or brown • Wilted, distorted, or curled leaves • Sparse canopy • Stopped growth • Drooped branches 7. Once your laurel tree has died, have it removed by a professional arborist, ensuring that even the underground roots are pulled out. Alternatively, you can remove the tree yourself. Just make sure that you’re doing it safely and with the necessary equipment. |
3. Poisoning the Tree with Rock Salt
| Difficulty | Easy ●●○○○ |
| Speed | Slow-acting |
| Things You Need | • Rock salt • Power drill • Heavy-duty plastic sheet • Water |
If you’re the type of gardener that simply likes to work with what you already have at home, then this is the method for you (assuming that you already have rock salt in your pantry, that is!).
Unlike in humans, excessive amounts of salt don’t cause trees to develop high blood pressure. Instead, it removes the moisture from within along with causes nutrient and mineral imbalances.
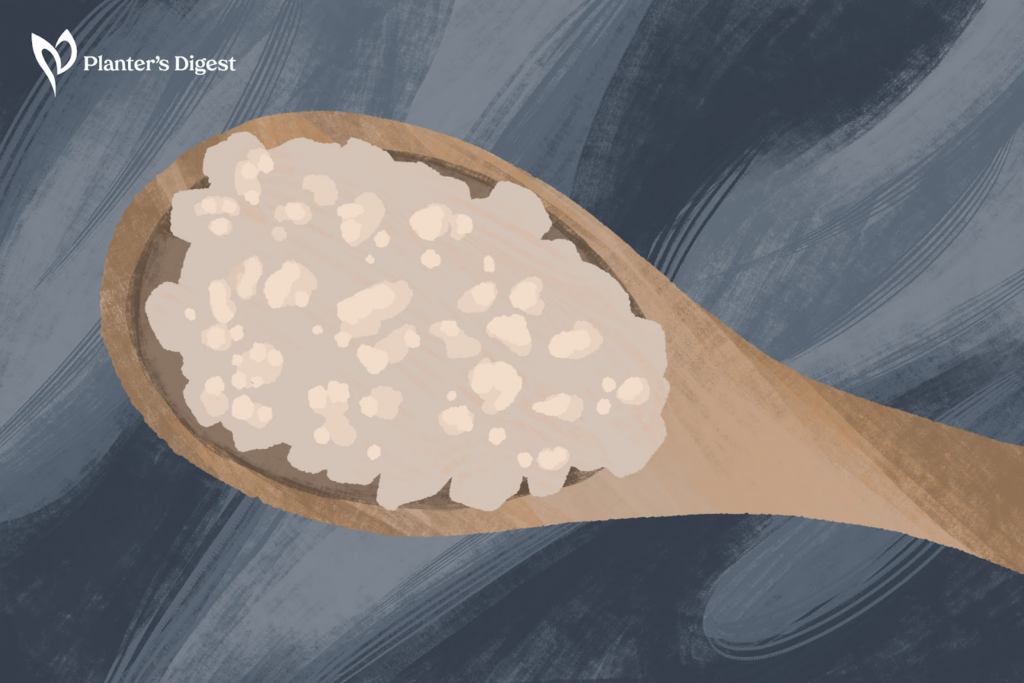
To get the salt inside the plant, you’ll need to use a power drill to create several deep holes. This can be done around the base of its stem or on any surface roots.
After, simply pour a ridiculous amount (yep, you read that right – ridiculous!) of rock salt into each hole and add a little bit of water to help dilute it. Go back every few days to add more water as necessary.
After a few months, you’ll begin to notice that your laurel plant isn’t looking too shabby. This is a good sign that it’s working and that the plant is slowly deteriorating.
It’s also worth highlighting that salt can harm nearby plants that are particularly sensitive to high saline levels. In this case, we recommend performing a soil test to check the pH level and then remedying it accordingly.
| How To Do Using your power drill, create several holes into the base of the stem or surface roots. It’s essential that these holes are deep enough so that you can put in as much salt as possible. After you’ve prepared the holes, pour a generous helping of salt into each one. Pour a cup or two of water to lightly dilute the salt. This will help make it easier for the tree to absorb it. Using heavy-duty plastic, cover the holes to protect it from the elements. Monitor how much of the salt mixture is left and replenish as necessary for a couple of months until your laurel plant begins to show signs of decline. You should be looking for the following: • Discolored leaves that are usually yellow or brown • Wilted, distorted, or curled leaves • Sparse canopy • Stopped growth • Drooped branches Once your laurel tree has died, have it removed by a professional arborist, ensuring that even the underground roots are pulled out. Alternatively, you can remove the tree yourself. Just make sure that you’re doing it safely and with the necessary equipment. |
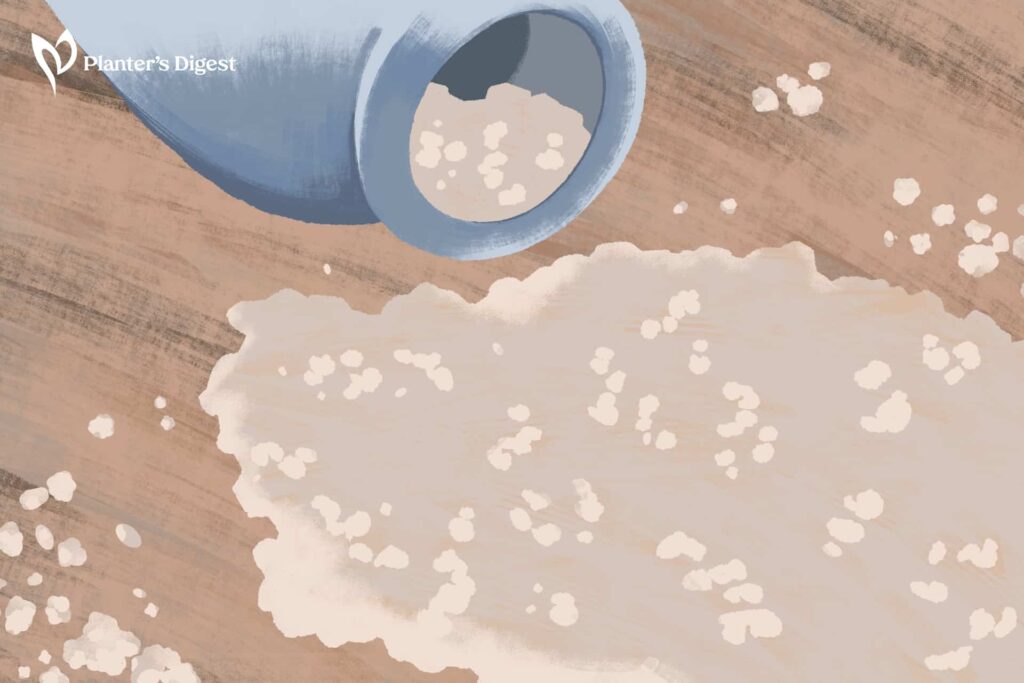
4. Poisoning the Tree with Epsom Salt
| Difficulty | Easy ●●○○○ |
| Speed | Slow-acting |
| Things You Need | • Epsom salt • Power drill • Heavy-duty plastic sheet • Water |
This Epsom salt technique is great for those on the hunt for budget-friendly and doable methods to remove laurels.
Similar to the rock salt technique mentioned earlier, this method also kills by dying out the plant from the inside out.
This method calls for a mixture of 2 parts water and 1 part Epsom salt. Be sure that your solution isn’t too watered down as it won’t be potent enough to affect the plant.
You’ll then need to create several deep holes in the stem of the plant. Keep in mind that the deeper the hole, the better, because you’ll want as much of the inner layers of the plant absorbing the salt mixture as possible.
After a few months, your plant will begin to slowly die. At this point, you can simply wait it out until your laurel plant is completely withered before it’s time to have it removed.
However, you’ll need to be careful about where you’re applying the salt mixture as some plants are more easily damaged by excessive amounts of salt content.
Nevertheless, you can easily remedy this by taking a pH test and fixing it accordingly.
| How To Do 1. Using your power drill, create several holes into the base of the stem or surface roots. It’s essential that these holes are deep enough so that you can put in as much salt as possible. 2. Next, create your salt mixture by combining 2 parts of water and 1 part of Epsom salt. Be sure not to add too much water as this could dilute the solution and reduce the effectiveness of the salt. 3. Pour the salt solution into the holes. 4. After, use heavy-duty plastic to cover the holes. This ensures that rainwater won’t get inside the holes and further dilute the solution. 5. Check how much of the salt mixture is left and replenish as necessary for a couple of months until your laurel plant begins to show signs of decline. You should be looking for the following: • Discolored leaves that are usually yellow or brown • Wilted, distorted, or curled leaves • Sparse canopy • Stopped growth • Drooped branches 6. After your laurel tree has died, have it removed by a professional arborist, ensuring that even the underground roots are pulled out. Alternatively, you can remove the tree yourself. Just make sure that you’re doing it safely and with the necessary equipment. |
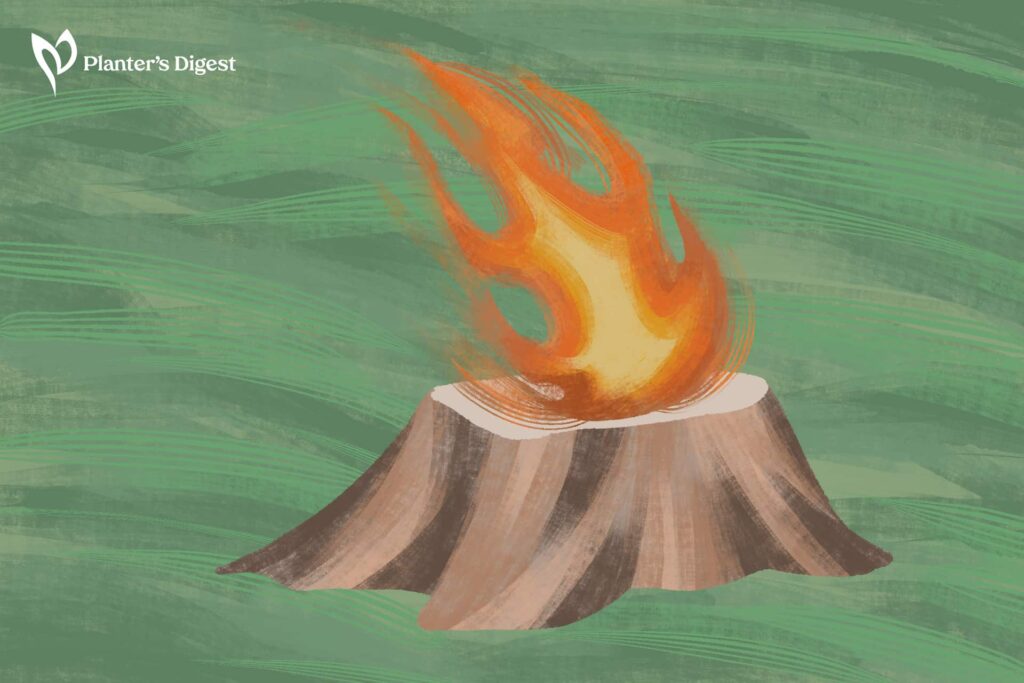
5. Cutting the Tree and Burning the Stump
| Difficulty | Moderate – Hard ●●●●○ |
| Speed | Fast-acting |
| Things You Need | •Diesel, kerosene, gasoline, or motor oil •Funnel (optional) •Flammable materials such as firewood and dried leaves •Metal barrel with an open top • Charcoal • Chainsaw • Shovel Hatchet or ax |
If you’re not one for dilly-dallying, then this method is for you. It’s as straightforward as, well, cutting the tree and then burning the stump.
Aside from being relatively quick and cost-efficient, burning the stump into crisp ensures that there won’t be any chances of sprouts growing.
It’s important to highlight that the act of burning trees or plants of any kind is illegal in some places. To see if it’s allowed in your area, we suggest getting in touch with your local government and checking out your fire codes.
However, this method will require quite a bit of manpower, especially if it’s your first time. Cutting down a tree can already take a day or two to accomplish, while burning can take another couple of days.
While it does take about a week to complete, it’s still one of the fastest methods out there.
You’ll also want to check what the weather forecast will be like throughout the duration of your project. The last thing you’ll want is to already have cut down the tree and then have heavy rainfall soaking your stump.
Apart from that, having a few helping hands won’t hurt, especially in case an emergency arises.
Having mentioned that, don’t forget to have a fire extinguisher and water hose nearby. You’ll also want to clear the surrounding area of anything flammable such as plants, lawn furniture, and the like.
| How To Do 1. To prepare the tree to be cut, start by pruning the foliage off using shears. 2. Afterward, begin by removing the branches using a chainsaw. If you’ve got a thick branch that proves to be difficult, we don’t suggest cutting through it in one slice. Instead, it’s safer to cut them into small chunks. Start from the part of the branch farthest from the stem. Then, measure a couple of feet and plot where you’ll make your first cut. Make a slit from the top of the branch towards the middle. Then, make another slit from the bottom of the branch towards the middle of your initial cut. 3. Next, step back and pay close attention to the direction where the tree is leaning. This will give you an idea of where the tree is most likely to fall. This also means that the opposite direction is where you’ll want to make your exit route. 4. Make a 70-degree angled cut onto the base of your tree on the side where it’s leaning towards. If your tree is leaning to the left, make your angled cut on the tree’s left side. 5. Then, make a horizontal slice at the bottom of the angled cut. This should give you a triangle-like chunk. At this point, your tree could fall any minute so you’ll want to be quick but careful. 6. Make the final cut by going back into where you made your horizontal cut, parallel to the ground, and finishing it off by coming out of the other side. 7. Turn on your chainsaw’s chain break feature and get out of the way via your escape route. 8. When you’re at a distance, watch your tree fall all while yelling out “timber” to notify passersby that a tree is going down. 9. After you’ve cut down the tree, it’s time to prepare the stump by digging out the soil within the perimeter. You’ll want to remove as much soil as possible and expose any underground roots. Don’t worry too much about how deep you’re digging as you’ll want to make a ditch that’s anywhere from 12 to 18 inches deep to help contain the fire. 10. Next, create several holes downwards that are around 1 to 3 inches apart from one another that are 8 to 10 inches deep. If your stump isn’t that tall or if you have a long attachment, try to drill as far as you can. Don’t forget to clear any debris that was created from the drilling. Save these for later to be used to enhance the fire. 11. Prepare the stump by soaking it in diesel, kerosene, motor oil, or gasoline for at least 2 days. Check on your stump every few hours and replenish the holes as necessary. You’ll want the stump to have absorbed as much of the fuel as possible so that it’s easier to set ablaze. 12. Put a metal barrel with an open top above the stump. This is meant to hold in heat and contain all of the flammable materials needed to keep the fire going. Be sure that your barrel is big enough to comfortably contain the stump and materials all while having enough space for air to circulate. 13. Once your barrel is in place, add your flammable material and charcoal into the barrel and inside of the holes. 14. Pour a generous amount of diesel, kerosene, motor oil, or gasoline all over the stump, exposed roots, and materials. 15, Then, set the stump on fire. 16. Continue to observe the state of the fire, ensuring that it doesn’t get too aggressive. If it seems to be dying out, simply add more fuel and flammable materials. To prevent nearby grass from catching on fire, wet the surroundings every now and then. 17. If the stump hasn’t burned completely by nightfall, put out the fire. 18. The following morning, re-drill the holes and refill with your fuel of choice. 19. Restart the fire and continue to monitor and make adjustments as needed. 20. After the stump has burned completely, leave the ashes alone overnight to cool down completely before disposing of them. 21. Fill in the ditch with some soil and sawdust. |
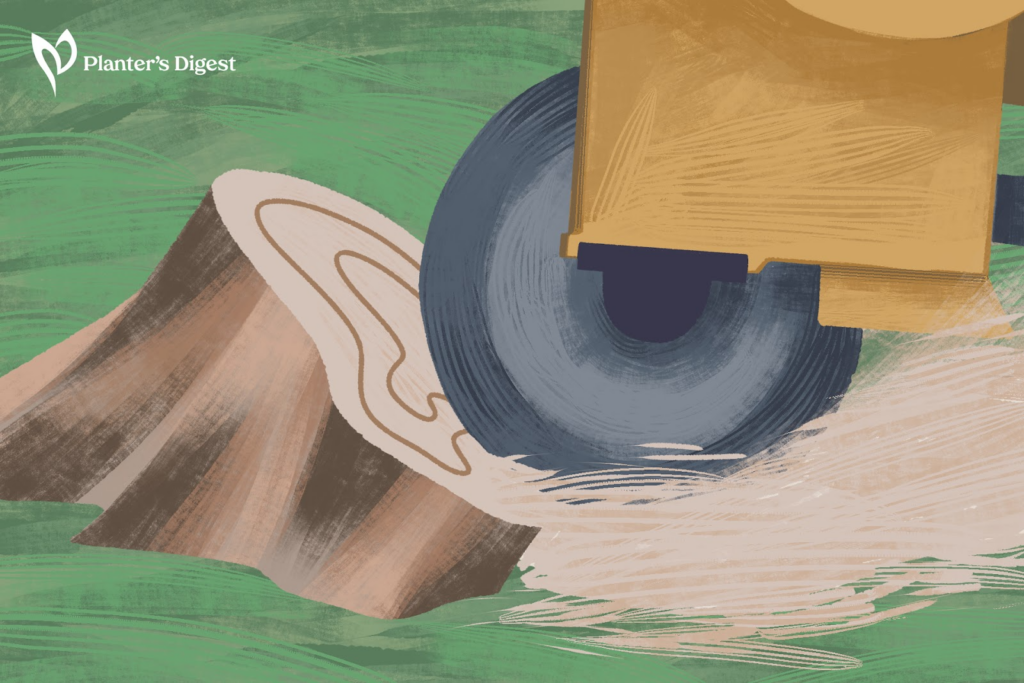
6. Cutting the Tree and Grinding the Stump
| Difficulty | Moderate – Hard ●●●●○ |
| Speed | Fast-acting |
| Things You Need | • Chainsaw • Pruning shears • Grinder • Shovel |
If burning isn’t allowed where you’re from, you’re in luck as grinding is the next best thing. It’s a win-win situation as you get to remove your laurel plant while getting wood scraps that you can add to your pots or compost.
Since most people don’t have a tree grinder on hand, you can check out your local hardware store as most typically have equipment for rent. However, note that sometimes these grinding tools aren’t of the best quality.
As a result, this method could prove to be challenging, especially if you’re not used to working with large, heavy equipment.
Having said that, you may want to simply hire a professional arborist if you’ve got some cash to spend. What’s great about hiring someone else to do it is that you don’t have to do anything else besides pay them for their services.
| How To Do 1. To prepare the tree to be cut, start by pruning the foliage off using shears. 2. Afterward, begin by removing the branches using a chainsaw. If you’ve got a thick branch that proves to be difficult, we don’t suggest cutting through it in one slice. Instead, it’s safer to cut them into small chunks. Start from the part of the branch farthest from the stem. Then, measure a couple of feet and plot where you’ll make your first cut. Make a slit from the top of the branch towards the middle. Then, make another slit from the bottom of the branch towards the middle of your initial cut. 3. Next, step back and pay close attention to the direction where the tree is leaning. This will give you an idea of where the tree is most likely to fall. This also means that the opposite direction is where you’ll want to make your exit route. 4. Make a 70-degree angled cut onto the base of your tree on the side where it’s leaning towards. If your tree is leaning to the left, make your angled cut on the tree’s left side. 5. Then, make a horizontal slice at the bottom of the angled cut. This should give you a triangle-like chunk. At this point, your tree could fall any minute so you’ll want to be quick but careful. 6. Make the final cut by going back into where you made your horizontal cut, parallel to the ground, and finishing it off by coming out of the other side. 7. Turn on your chainsaw’s chain break feature and get out of the way via your escape route. 8. When you’re at a distance, watch your tree fall all while yelling out “timber” to notify passersby that a tree is going down. 9. After you’ve cut down the tree, it’s time to prepare the stump by digging out the soil within the perimeter. You’ll want to remove as much soil as possible and expose any underground roots. 10. Once you’ve finished getting your stump all prepped, it’s time to grind away. 11. Then, simply fill up the ditch with the soil that you removed. You can also add some loam soil and sawdust. |
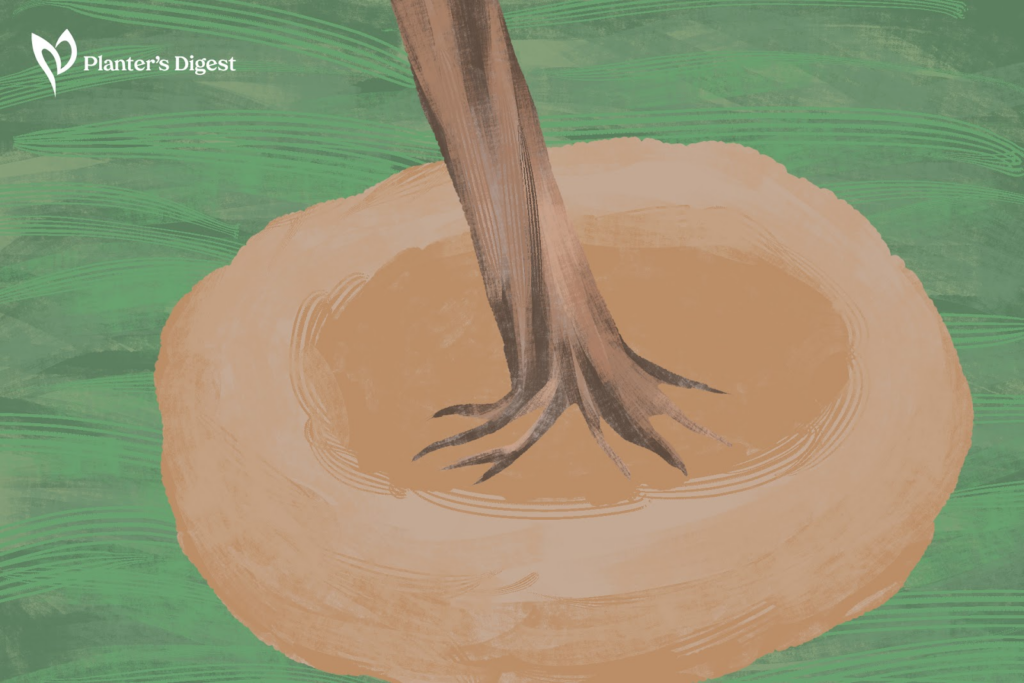
6. Pulling the Tree from the Ground
| Difficulty | Easy – Moderate ●●●○○ |
| Speed | Fast-acting |
| Things You Need | • Shovel • Hatchet or ax • Water |
If you’re one for doing things the old-fashioned way, then pulling a tree from the ground is as old-school as it gets.
However, this technique works best on young and small laurel plants. This is because plants of this size typically don’t have a deep and extensive root system just yet, so they’re easier to pull out.
We’ll let you in on a little tip – you’ll want to deeply soak the soil the night before you plan to pluck the plant. The following day, your soil should be soft and loose.
If it isn’t, you can use any kind of stick or shovel to gently loosen the soil. Then, remove all of the excess soil, exposing all of the underground roots to ensure there’s no resistance.
| How To Do 1. The night before you plan to pull the plant out, heavily water the surrounding soil to moisten and soften it. 2. Afterward, check to see whether the soil seems more pliable. If not, dampen it a bit and use a sturdy stick or a shovel to loosen it up. 3. Using your shovel, remove all of the soil to expose as much of the underground root system as possible. Be careful not to damage the main root as you’ll want it to come out in one piece. For extra stubborn chunks of soil, you can use a grub hoe to hack at it. 4. Rock your plant back and forth every now and then to get a feel of how much of its root system is still attached to the soil. 5. Once you’ve dug far enough to find the root ball, remove it. 6. Next, pull out the plant gently, ensuring that all of its roots are intact. 7. Then, simply fill up the ditch with the soil that you removed. You can also add some loam soil and sawdust. |
7. Applying a Foliar Spray

| Difficulty | Easy ●●○○○ |
| Speed | Fast-acting |
| Things You Need | • Backpack sprayer or spray bottle • Glyphosate or triclopyr-based herbicide • Dye (optional) |
Applying foliar spray is the best course of action for reasonably-sized laurel plants that have dense foliage. It’s also great for those who prefer a straightforward process that requires little effort.
To boost effectiveness, you’ll want to use a systemic herbicide. You can use one that has any of these as its main active ingredient:
- Glyphosate
- Triclopyr
- Picloram
- 2,4-D
Other than that, you’ll want to ensure that you’ve got clear and sunny weather for a week or so. This is because you’ll want to give the herbicide enough time to properly adhere to the leaves.
Poor weather will affect the potency of the herbicide – the wind will blow it away while the rain will wash it away.
Hence, be sure to double-check your local weather forecast so that you can plan accordingly. Else, you may have to repeat the application when the weather’s better.
Despite that, there may be instances wherein reapplication is necessary. This is either because the initial application wasn’t enough or you need a herbicide with a stronger concentration.
Though, don’t be disheartened as the foliar spray method is widely used for its effectiveness.
| How To Do 1. Firstly, get your herbicide prepared according to the directions on the label. Depending on the type of herbicide you have, you may need to dilute it in water. Once you’ve got it ready, transfer it into a backpack sprayer for a smoother and easier application. While this is optional, you can mix dye into your herbicide so that you can easily identify which areas that already have herbicide. 2. Evenly coat the canopy, starting from the top then slowly moving from left to right, and then downwards. Starting from the top ensures that any excess herbicide falls onto the leaves below instead of the ground, which reduces wastage. Applying in a systemic and organized way also makes certain that you’re applying an even coating all throughout. However, be careful not to overdo it. While you want to coat each leaf generously, you don’t want it to be dripping wet. 3. Keep a close eye on signs that your plant is declining. This means that the herbicide was effective. Here are signs that you need to look out for: • Discolored leaves that are usually yellow or brown • Wilted, distorted, or curled leaves • Sparse canopy • Stopped growth • Drooped branches 4. After your laurel tree has died, have it removed by a professional arborist, ensuring that even the underground roots are pulled out. Alternatively, you can remove the tree yourself. Just make sure that you’re doing it safely and with the necessary equipment. |
8. Using a Basal Bark Technique

| Difficulty | Easy ●●○○○ |
| Speed | Fast-acting |
| Things You Need | • Backpack sprayer or spray bottle • Triclopyr-based herbicide • Dye or colorant (optional) |
The basal bark technique, as the name suggests, is when you apply herbicide onto the base of the plant’s stem.
It’s actually pretty similar to the foliar spray method except that the treated area is different. Hence, this is the way to go if you’re not too keen on spraying a ton of foliage.
However, this technique is only suitable for laurel plants that have thin barks and stems that have a diameter that’s no more than 6 inches.
If you’ve got large and well-established laurel plants, you’re better off with the hack-and-squirt method or cutting it down.
Going back, this technique is pretty simple as you only need to treat the lower half of the plant’s stem, evenly coating it with a triclopyr-based herbicide.
If triclopyr isn’t accessible to you, you can use any other oil-soluble herbicide instead.
Afterward, you’ll want to leave the herbicide on the bark, allowing the plant to absorb it.
You can also mix dye or colorant into the solution so that you can easily spot which areas have already been treated.
Be sure to double-check your local weather forecast as you’ll want to perform this treatment on a clear and sunny day. Rainfall can affect the potency of your herbicide and even wash it away.
Note that this method isn’t recommended if you have grazing animals, especially the kind that like to scratch themselves against your laurel plants. The last thing you want is the herbicide transferring onto your animals.
| How To Do 1. Prepare your triclopyr-based herbicide as directed by the label. Afterward, transfer it into a backpack sprayer for a smoother and easier application. While this is optional, you can mix colorant or dye into your herbicide so that you can easily identify which areas that already have herbicide. 2. After, apply an even and generous coat onto the bottom half of your plant’s stem, from the ground up to around 12 to 15 inches. Don’t apply too much to avoid the excess herbicide pooling at the bottom. 3. Keep a close eye on signs that your plant is declining. This means that the herbicide was effective. Here are signs that you need to look out for: • Discolored leaves that are usually yellow or brown • Wilted, distorted, or curled leaves • Sparse canopy • Stopped growth • Drooped branches 4. Once your laurel plant has died, have it removed by a professional arborist, ensuring that even the underground roots are pulled out. Alternatively, you can remove the tree yourself. Just make sure that you’re doing it safely and with the necessary equipment. |
9. Hiring a Professional Arborist

If none of the methods listed work for you, then you’re probably better off simply hiring an arborist to remove your laurel plant.
What’s great about hiring a professional is, well, they’re a professional. They’ve got years of experience and knowledge on plant removals that most gardeners don’t.
Apart from that, they’ve got all the heavy-duty and high-tech equipment and tools to ensure their removal is as safe and easy as possible.
This is important in tricky areas with a lot of obstructions such as powerlines, buildings, and the like. It’s unlikely that you’ll be able to rent out these tools at your local hardware store.
All said, this is hands down one of the best methods since it requires the least amount of effort on your end. So if you’ve got some cash to spend, we definitely suggest simply hiring a certified arborist to remove your laurel plants.
FAQs
In most cases, laurel plants don’t grow big enough to develop sizable roots to become destructive. Even then, remember that the more leaves your plant has, the bigger root system it’ll grow.
Hence, if you want to manage your laurel plant’s root development, you’ll also need to control the number of leaves that it grows through regular pruning.
You can use the wood of laurel trees as firewood. However, it doesn’t provide that much warmth, so it isn’t ideal to be used as a source of heat.
Some laurel plants such as the cherry laurel and spurge laurel are considered invasive species in areas where they’re not native.
Laurel bushes grow shallow root systems which make them relatively easy to remove through uprooting.


